I also wanted to come up with somethat that handled pretty well. I kept the roll center height up and the roll axis sloped down toward the front of the jeep. I don't really feel like explaining all of this... PBB has a lot of great threads, if you don't mind spending the time to sort through the BS. This is a pretty good thread
http://www.pirate4x4.com/forum/showt...ght=suspension
-
I finally came up with a functional and fabricatable design for my 4 link. I started out on paper and some good tech articles. The 4 link analizer v3.1 really saved a lot of erasing on paper and its a great way to see how changing the variables affects the end numbers
The big word everyone associates with rear 4 links is ANITSQUAT. Most of the people that try to dial in their antisquat using the calculator are forgetting one thing; that is most people assume a Center of Gravity height.
I encourage anyone interested in 4 link suspension to download the 4 link calculator... After you put in all you link mounting points, mess with the COG height. Changing the height an inch can change the AS value drasically. That being said, the COG is ever changing, especially in a Jeep: Passengers, windshield, hard top, soft top, no top, fuel, tools, etc, all put weight in different spots and move the COG around.
Therefor, I felt more inclined to look at the Antisquat and the rest of the suspension design from a dynamic rather than static. I wanted to start with 70-90% antisquat static. A big problem associated with too much antiquat is hopping. Theoretically, numbers over 100% will cause the rear to rise when you hit the throttle, and continue to rise and rise as traction is gained and lost from the load shifting. Too little antisquat and the rear will just sink and not put the power to the ground. So I wanted to design a suspension that INCREASED the AS as the suspension compressed and DECREASED the AS as the suspension drooped.
I have to be up at 5:30 tomorrow, so I will write more tomorrow night... and some pics possibly... I started to make some of the bracketsLeave a comment:
-
Its "smoothed" I took almost an inch off of the bottom of the diff to remove the "grappling hook" shape that it has stock. It slides over stuff a lot better. I might do a more aggresive shave someday, but I have enough other stuff going on with this project to take on any more. The axle was already setup from my old rig. Shaved, discs, gears and a detroit.Leave a comment:
-
any plans to shave the 14b, or is it already? i can't really tell by the picturesLeave a comment:
-
Now that your rainbow desiel is in the paint shop you can get this thing wrapped up. We are all waiting on its maiden voyage hahaLeave a comment:
-
I started running the 4 link calcs on the jeep, but realized I wanted to do a couple of other things first
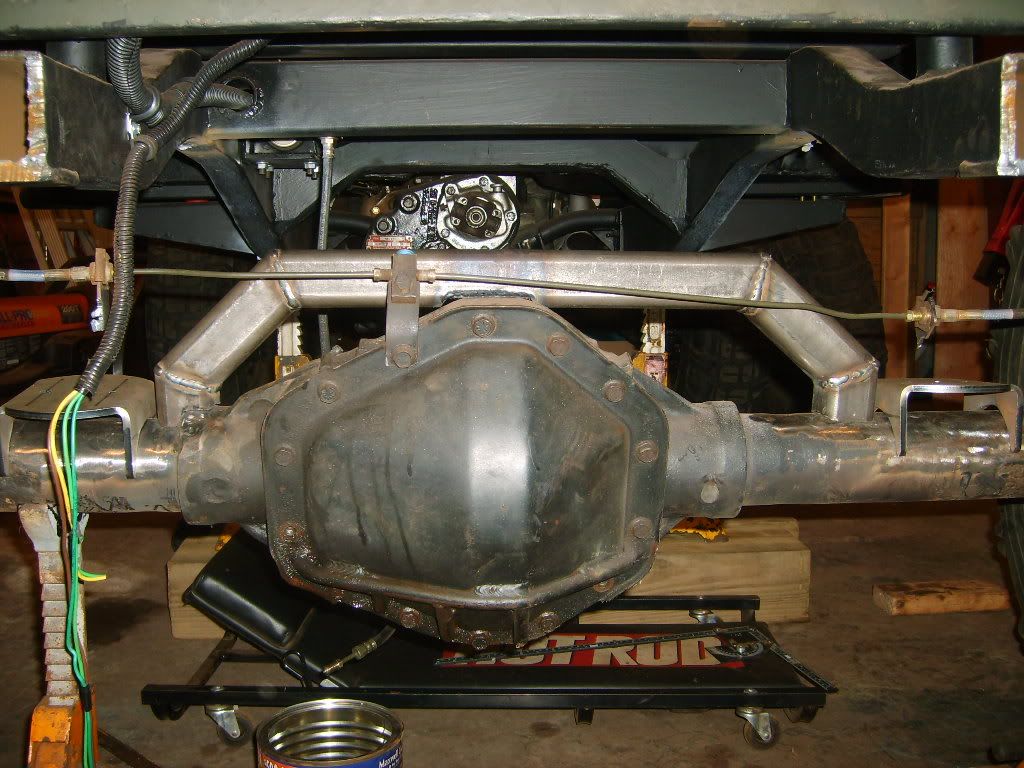
First off was to make an axle crossmember/truss for the upper links to attach to. Material is .25 wall 2" square tube

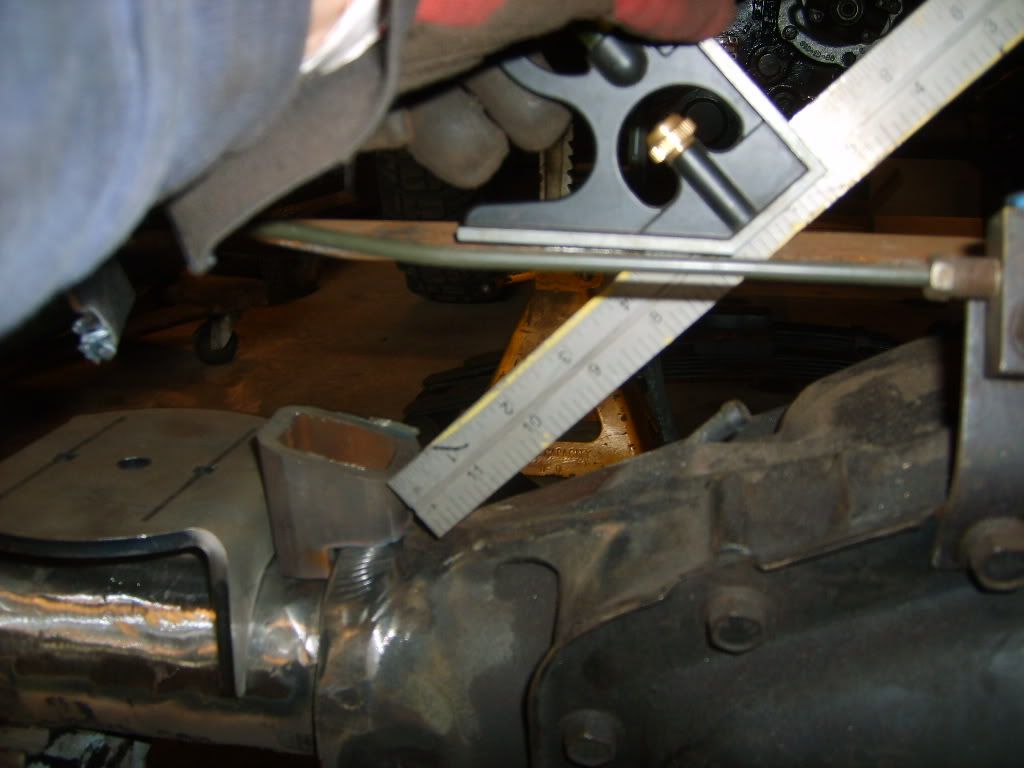
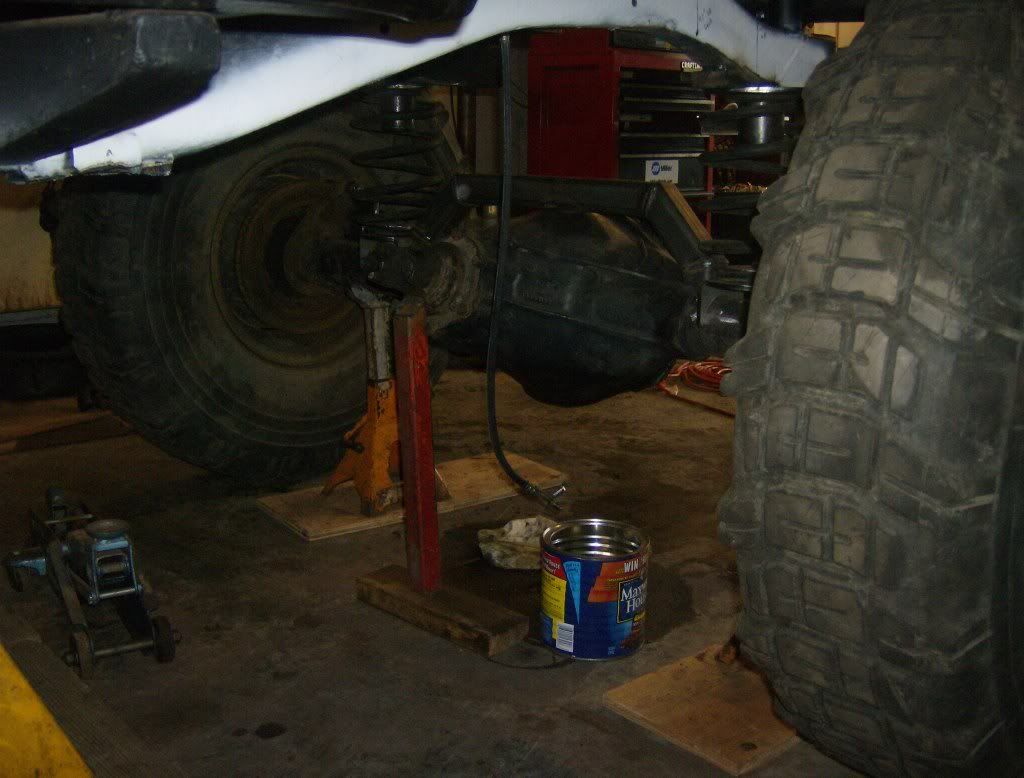
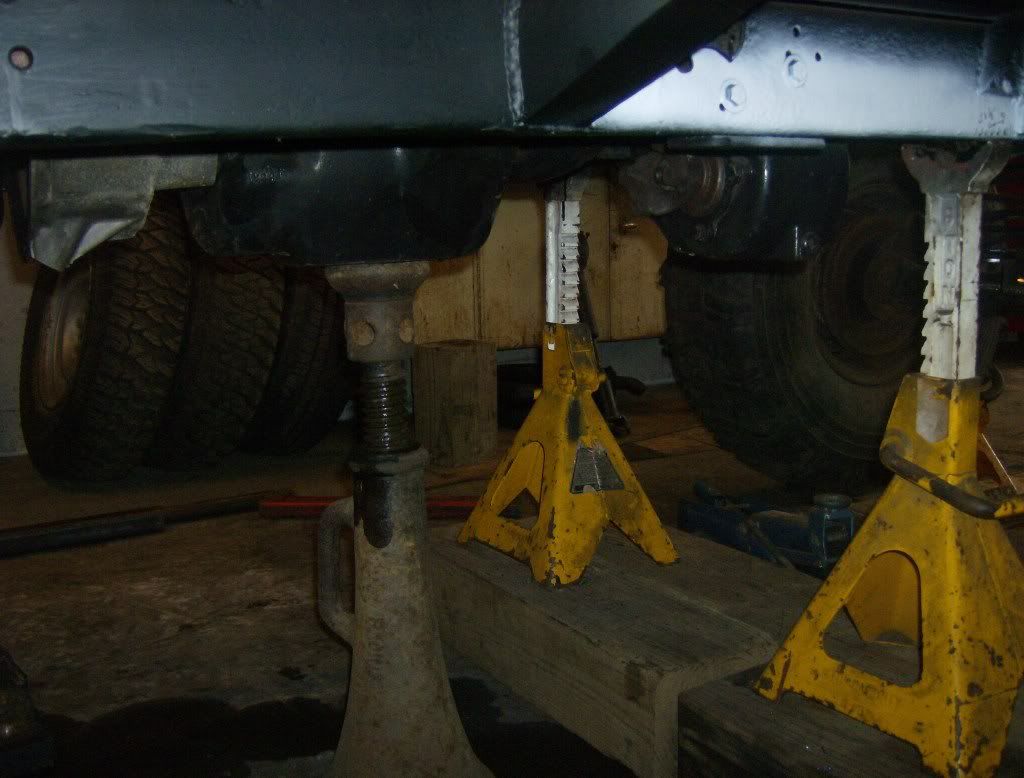
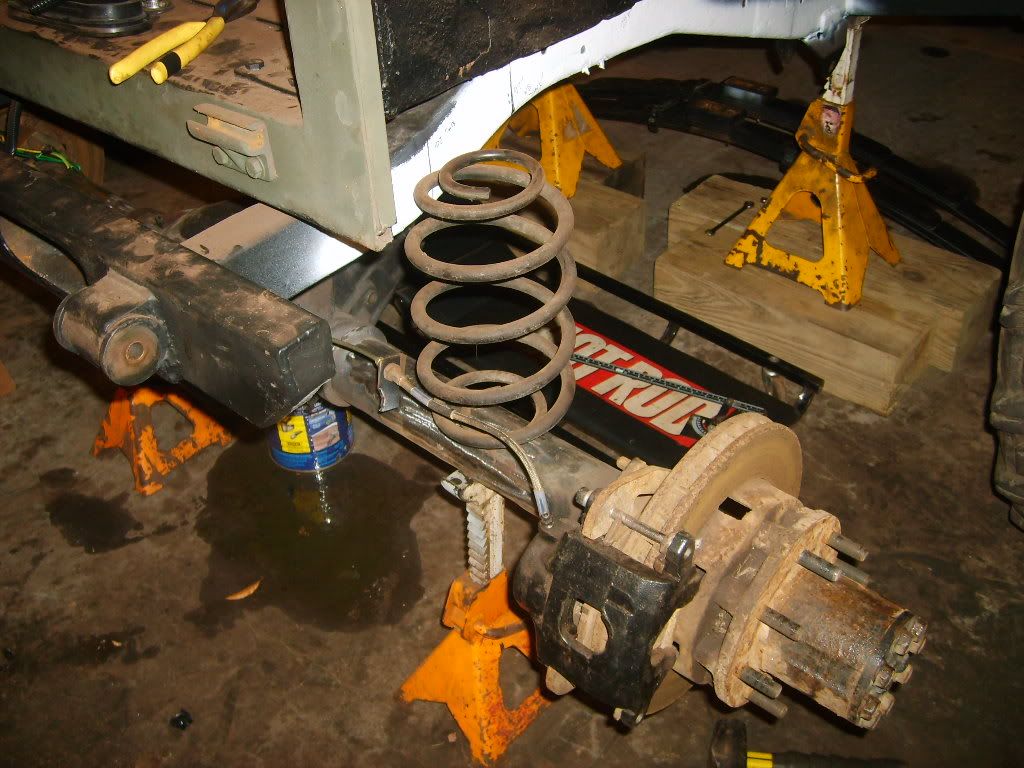
Then I wanted to get my jeep setup on the spings, to see what the ride height was going to be like

At this point, I decided to raise the rear driveline up 2 inches for better ground clearance. I wanted to do this before building any chassis link mounts, as I may incorporate the link mounts and skid plate all in one.
This rise in driveline involved starting with cutting the floor some more

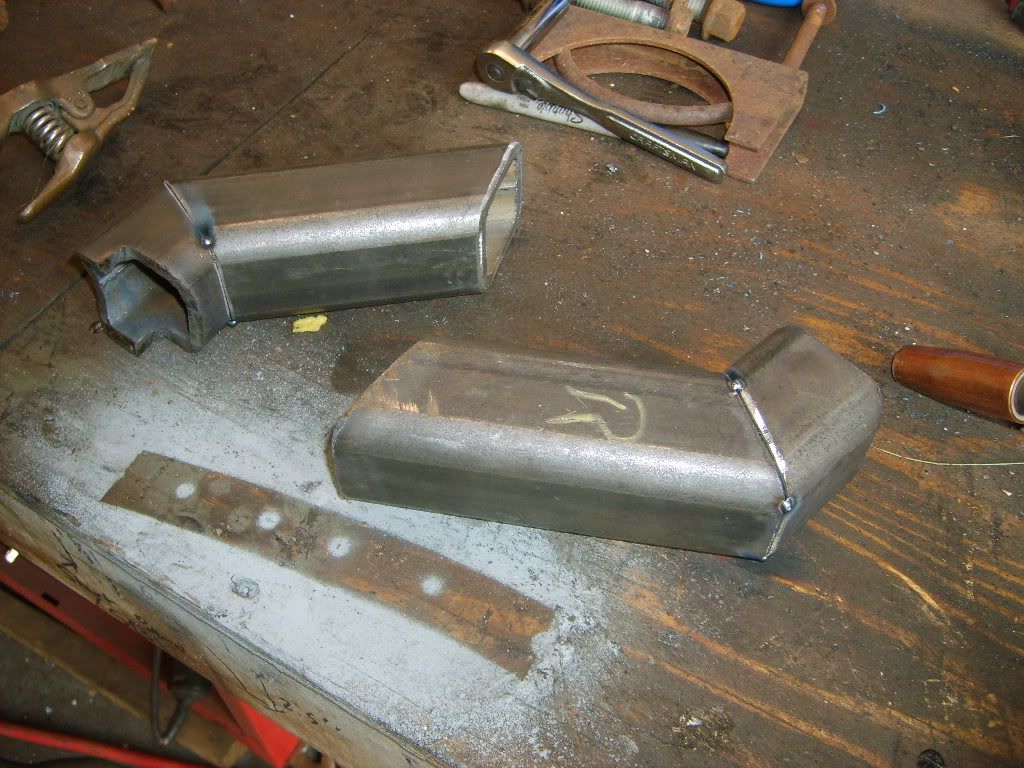
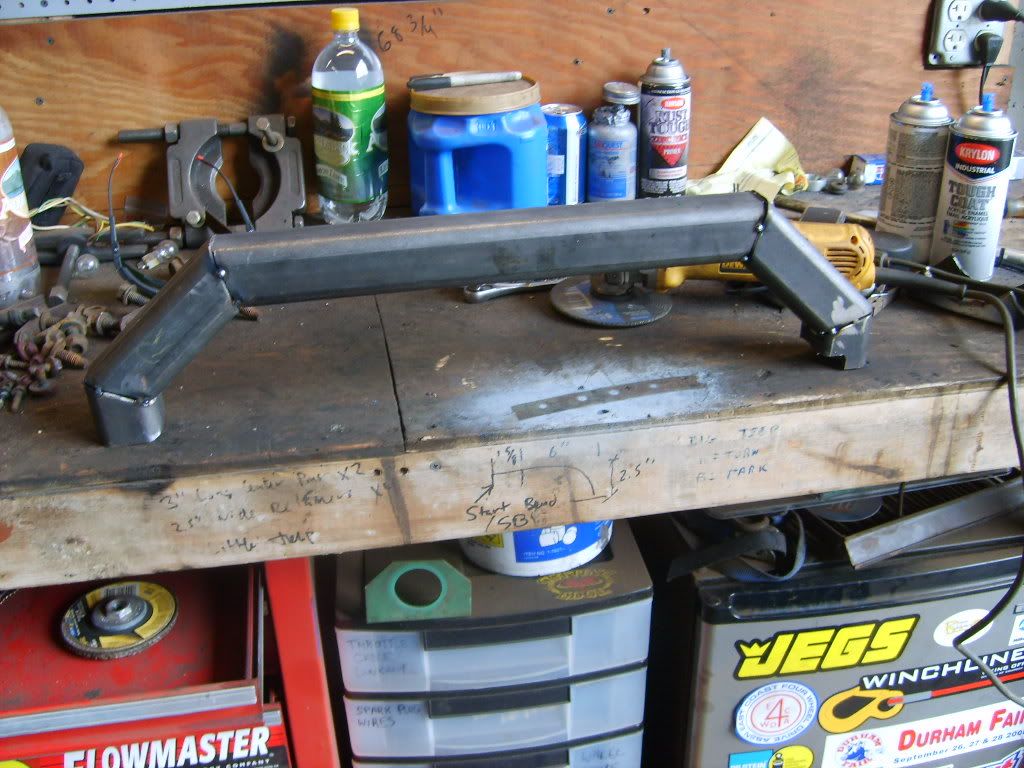
Next I am going to build a new crossmember to support the drivetrain... Well I already started it, will post up completed pics nextLeave a comment:
-
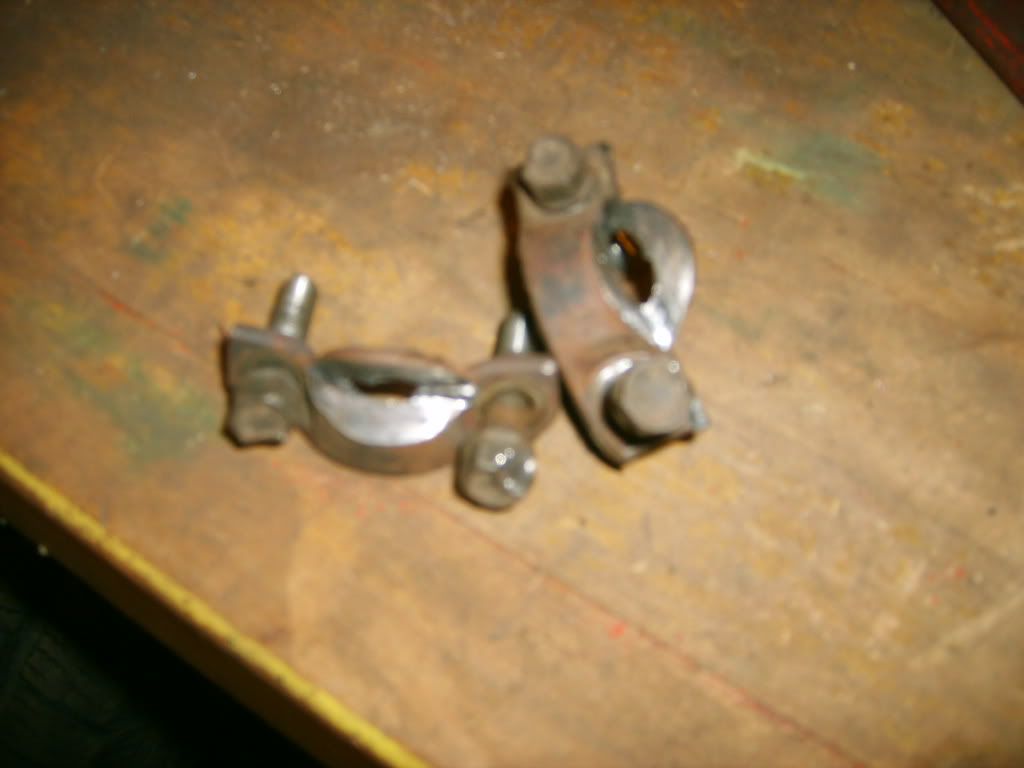
Here is how bad the axle wrap was. I ripped it around the parking lot at my shop a few times. My friend said the pinion would twist almost 90 degrees when I would get on it, making the driveshaft bind, as you can see here. The binding mashed the Ujoint caps on the 14 bolt yoke
Prep axle
Plasma cut off the perches that helped the jeep move .03 miles
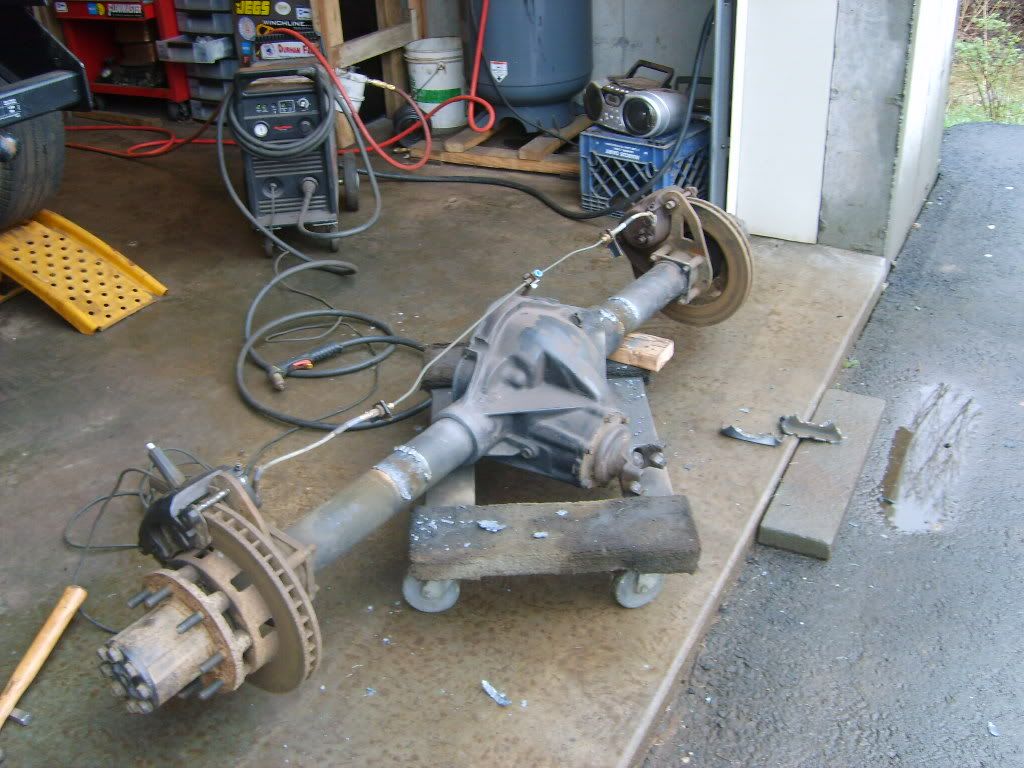
Smooth

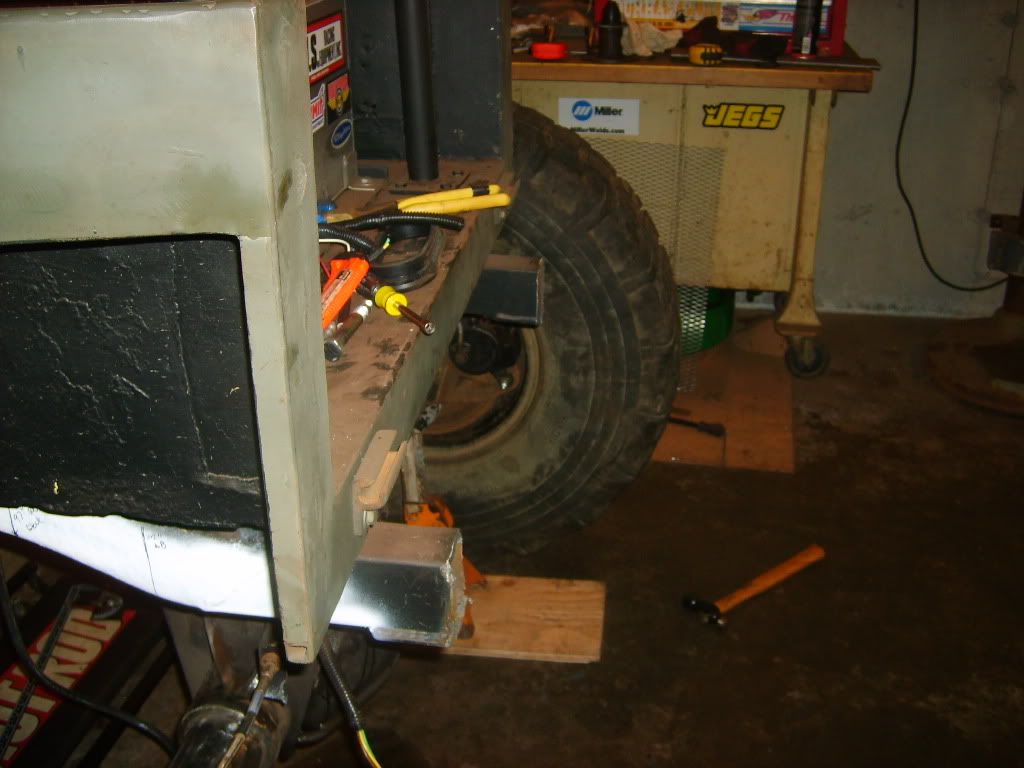
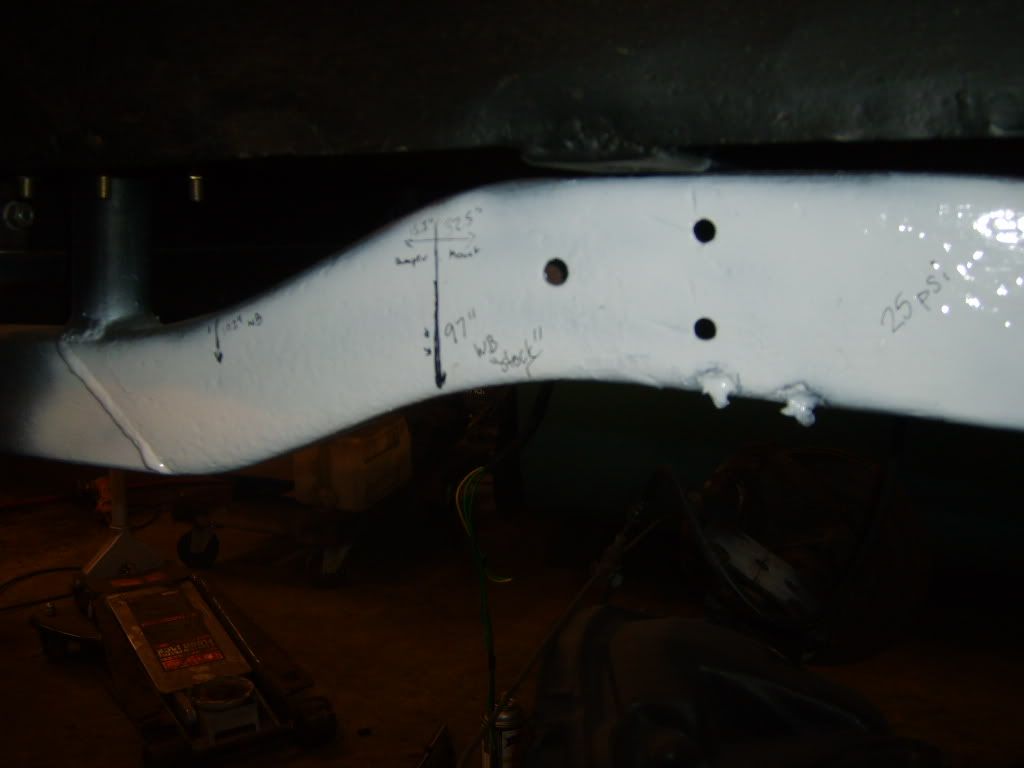
Next, I wanted to set the axle back up to see what my new wheelbase is going to look like. The jeep was at 97" before, I am going to 102". Someone told me that is too long, but I do not agree.

Removed the rear bumper and I am going to move it back. It has a pretty good departure angle now
Next thing I have to do is redraw my 4 link design and start making my truss/ upper link mounting pointsLeave a comment:
-
2" square tube, .25 wall. there is no weak link except my fab skillsOriginally posted by crosbike View Post
I decided it was time to get some shit done, while waiting for paint to dry on my other project... so here we go
Start
I bought a new computer to run the 4 link analizer plus I needed one anyway and I don't think my girlfriend would let me bring hers to my shop.
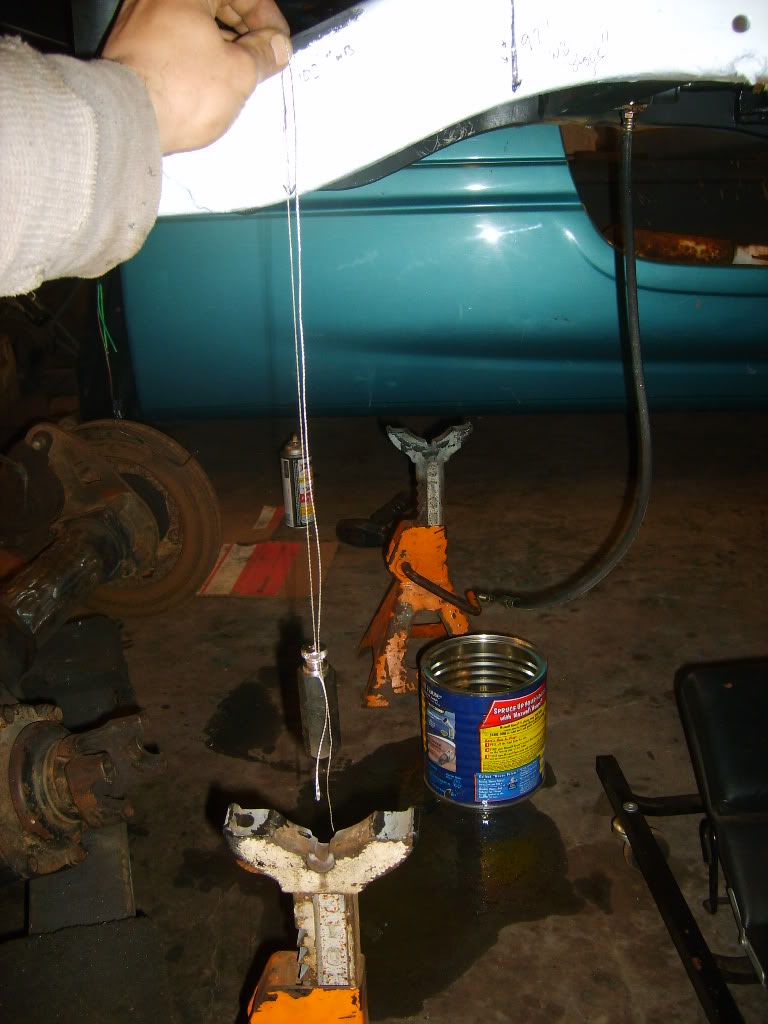
I painted frame white so I can write with a Sharpie.
I used a plumbob to mark the old axle location relative to the frame and measured to a few refereneces as well
Next remove all of the old leaf spring shiz

Leave a comment:
-
OOOO i wish... they would send me my orderrrrrr
im not impressed whit ballistic at this pointLeave a comment:
-
those joint are goint to be bigger then then arms, mite make the arm the new weak pointLeave a comment:


 plasma cutter
Leave a comment: