-
fuckin sick man. 4 link is looking sexy. but heim joints are soo 2003
i swear im going to come out to your shop one of these days
aka me and andy are comming bye next week, when are you going to be there?Last edited by grundlepunch; 05-28-2009, 10:01 PM.Leave a comment:
-
OK here are the pics of what it is going to be like. Everything is tacked and assembled. I cycled it to the bumps and like a 12" droop and no problems (other than the driveshaft at like a 12" droop) but I am going to run a center limiting strap.
Here are some pics, Next it will be coming apart for finish welding and paint
Static
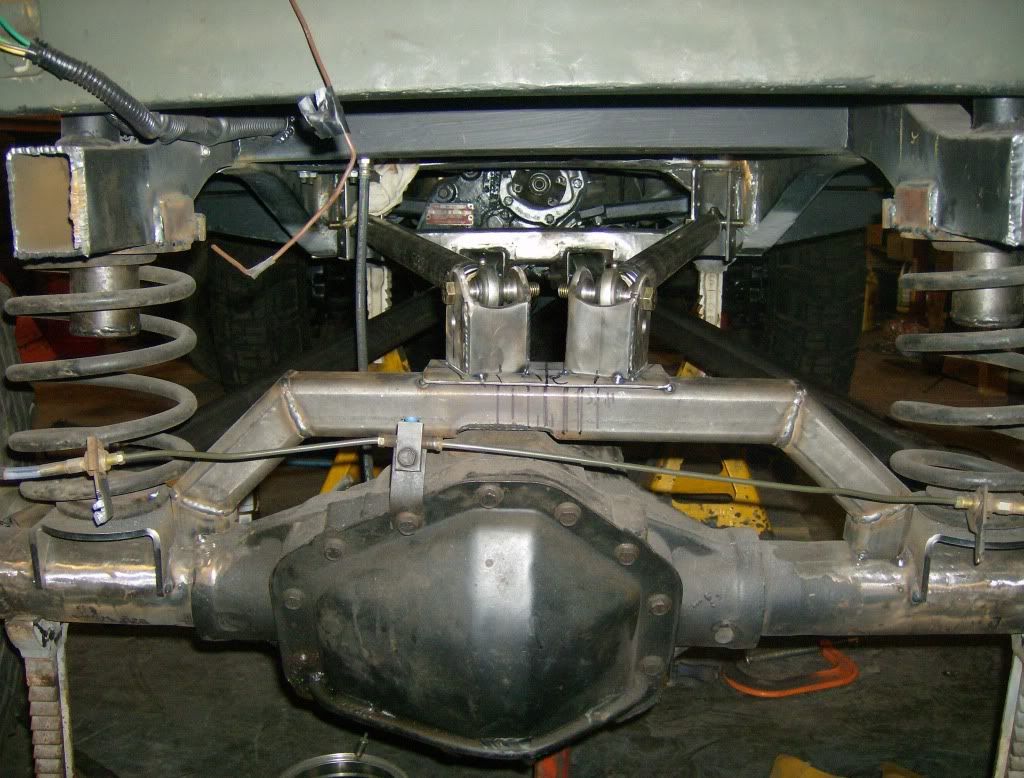


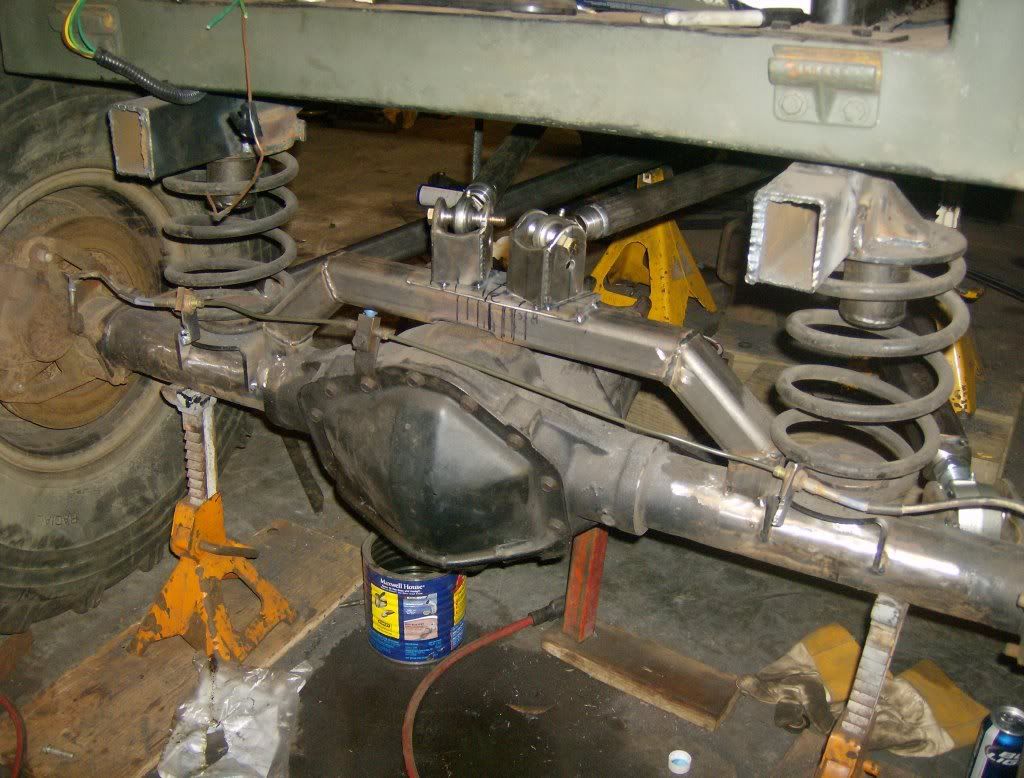
Droop

Bump


Flex

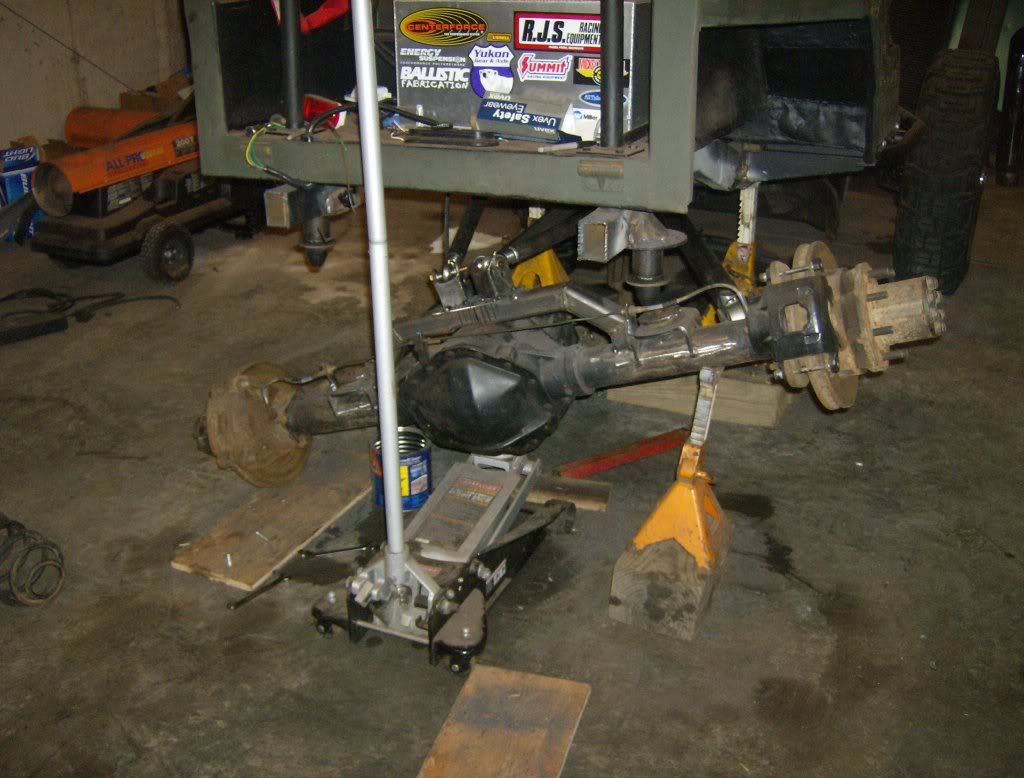

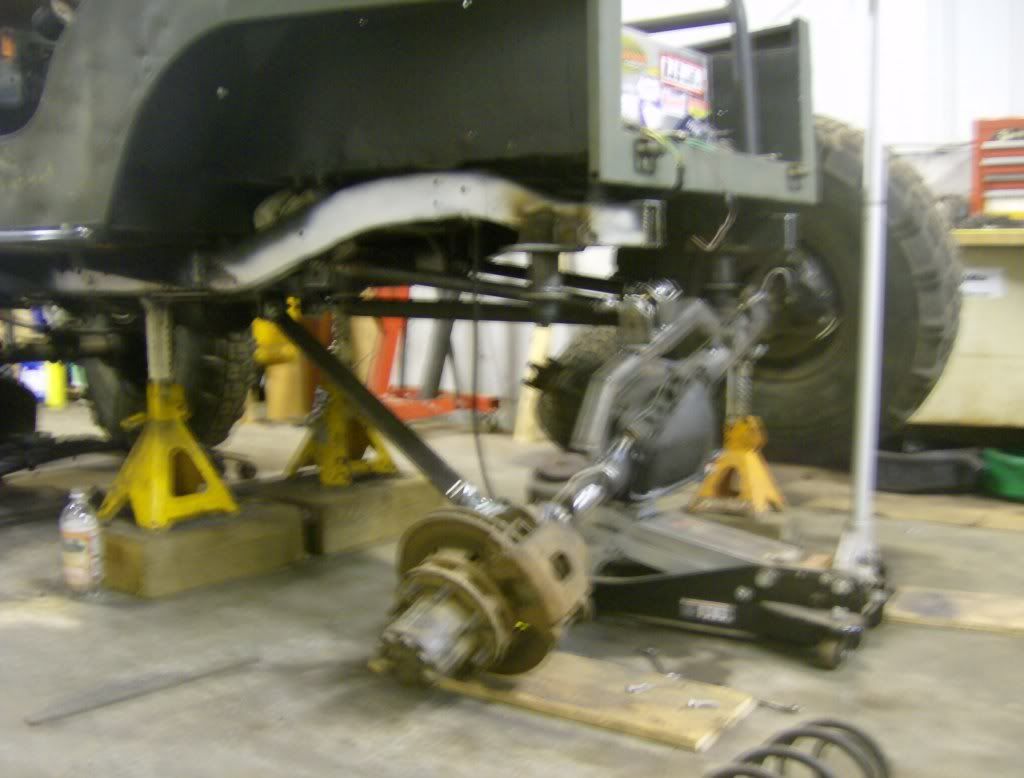
one hub is in the floor, the other is 28" off the floor, no binding
I am pretty happy with how it turned out so farLeave a comment:
-
Owen is your shop in that group of storage buildings of Rt 68 near United Concrete or something?Leave a comment:
-
I really am hoping to make it to at least one RC Rocks with it as well as the Rock Course at Vermonster 4x4 Comp. However, I am a little tight on time and money so I don't really know what will happen this year.Originally posted by Keelyle View Post
So right now everything is tacked in, upper and lower arms cut and tacked and installed and it looks sick. I am about to go to my shop to take some picsLeave a comment:
-
Wow Owen you do alot of amazing work.
Are you going to run this in any competitions like RCrocks or anything like that? It would be a waste not to but it would also be amazing to see this as an SIS/HMC rep in a competition next to sam.Leave a comment:
-
Damn thing is coming out beast keep it up....you have a ruff estimate of when it will be done
Leave a comment:
-
more from today
Upper links frame mount
I wanted to integrate the mounts into the stock crossmember
Start. Notch it out

Weld in at 20 degrees to horizontal centerline, vertically plumb

Rear view

Next I have to finish tacking on the Upper link axle mounts and build the links. I am going to try to get Jamming on this to bring it to RC in JulyLeave a comment:
-
I have been working a lot, but I got some time in down at the shop in the past couple of days to try to get this suspension done
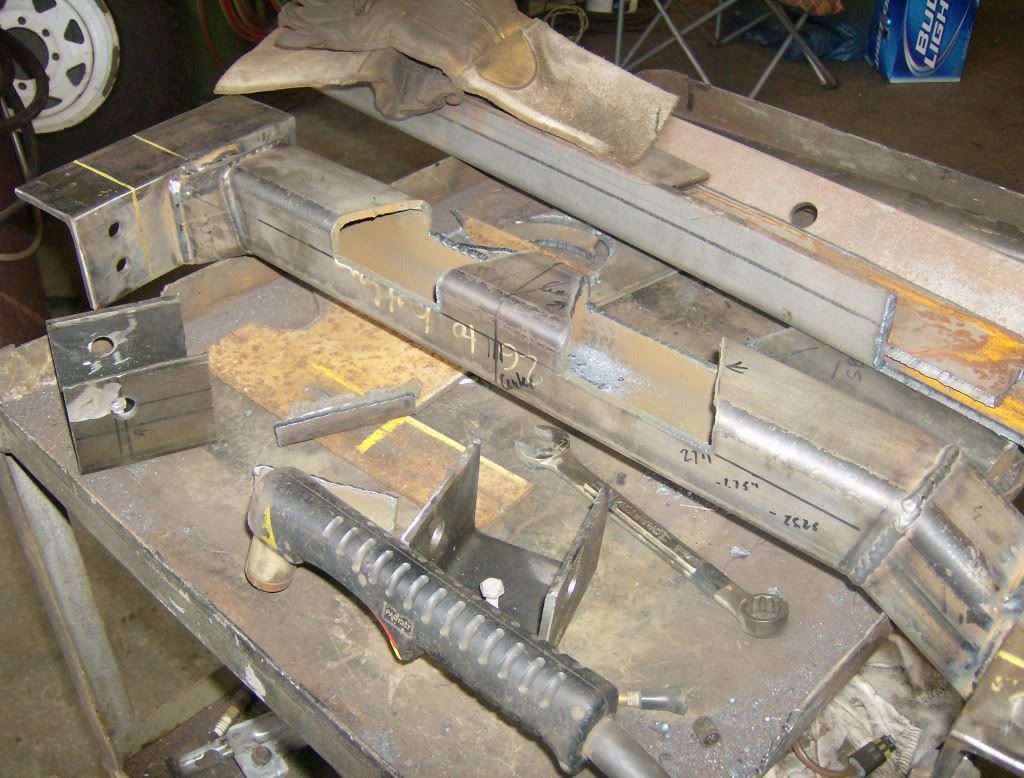
Crossmember.
It bolts behind the transfer case. I didn't want to weld it in, in case I want to take the transfer case out. It is made from 2.5" square tube, 3/16" thick. I made a crossmember so I could triangulate the lowers for a better roll axis angle

The 2.625 ballistic Joints fit nicely in this 3in square tube, 3/16" wall, so I decided to use it for the brackets on the crossmember

frame mounts

To get the OC locations right I drilled some 1/4 holes at the centers, then the brackets could be rotated to the correct angle, while maintaining the correct center

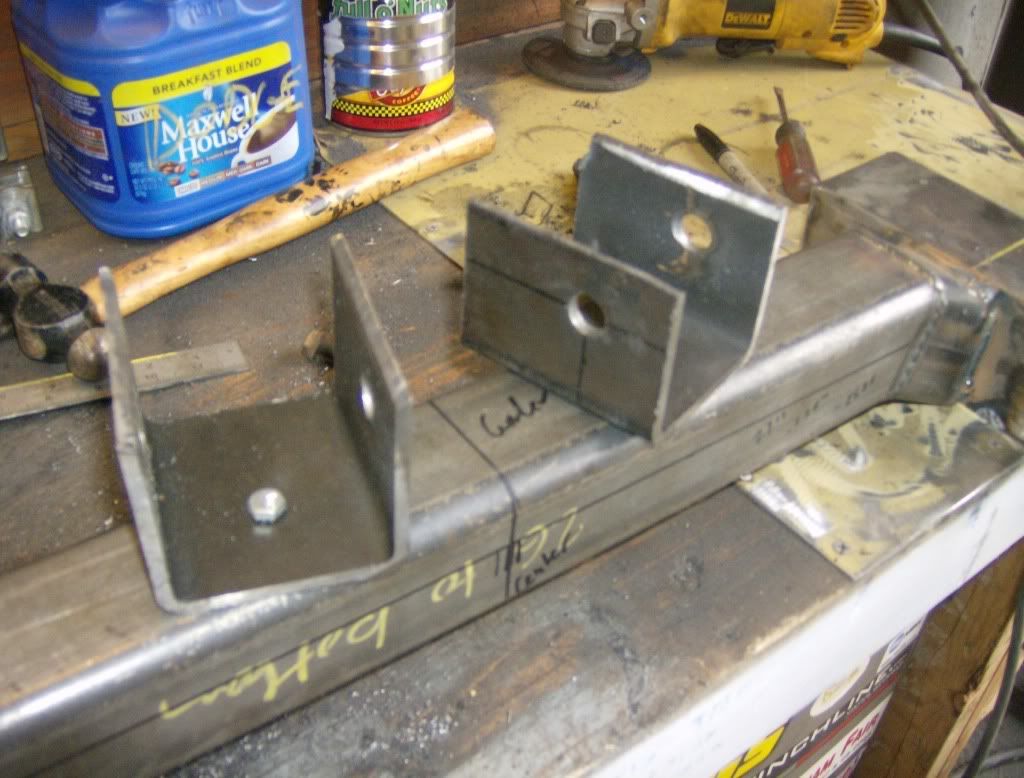
I recessed the brackets in an inch for better strength and clearance.
Lower arms to axle.
I wanted something simple and strong. Start with 1/4" steel, I whipped these up
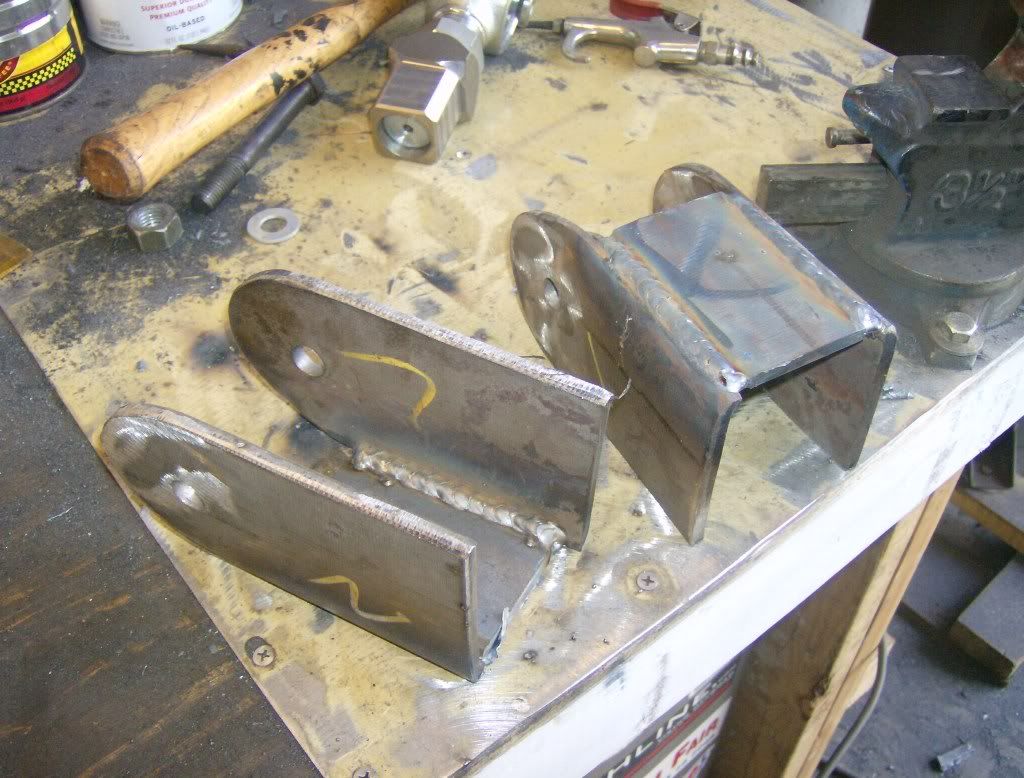
Angle cut
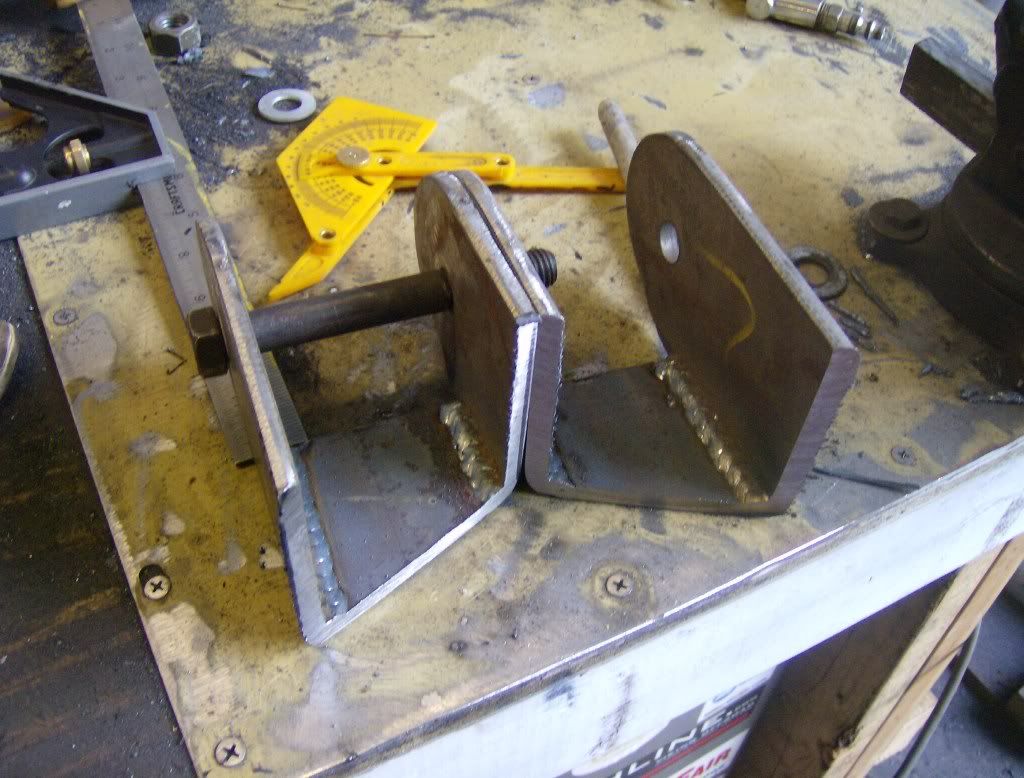
Notch, using some 3.5" OD shit pipe for a template
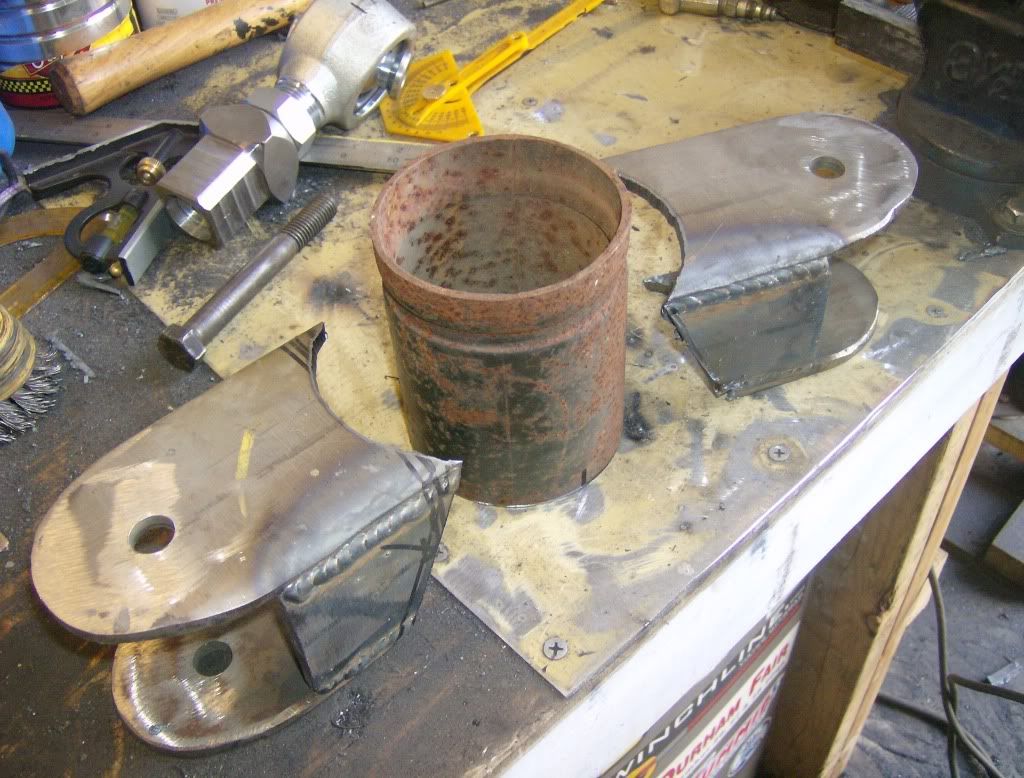
tacked
Upper arms to frame
I wanted to be able to adjust the height to dial in the squat
here is the start... more to come

Leave a comment:
-
i gotta come check this thing out some time.... i lovee the work you put in this... everytime i see this thread i wana jump outside into my garage and do shit
Leave a comment:
-
Most people like pictures more than words, here is a pictoral update.
When I started working with the 4 link calculator, I needed to make some decisions about how and where to mount the links at the frame. Your roll axis angle is a big part of how the jeep handles from rear steer. (Any 4 link will have some rear steer unless the links are infinately long or the suspension doesn't move)
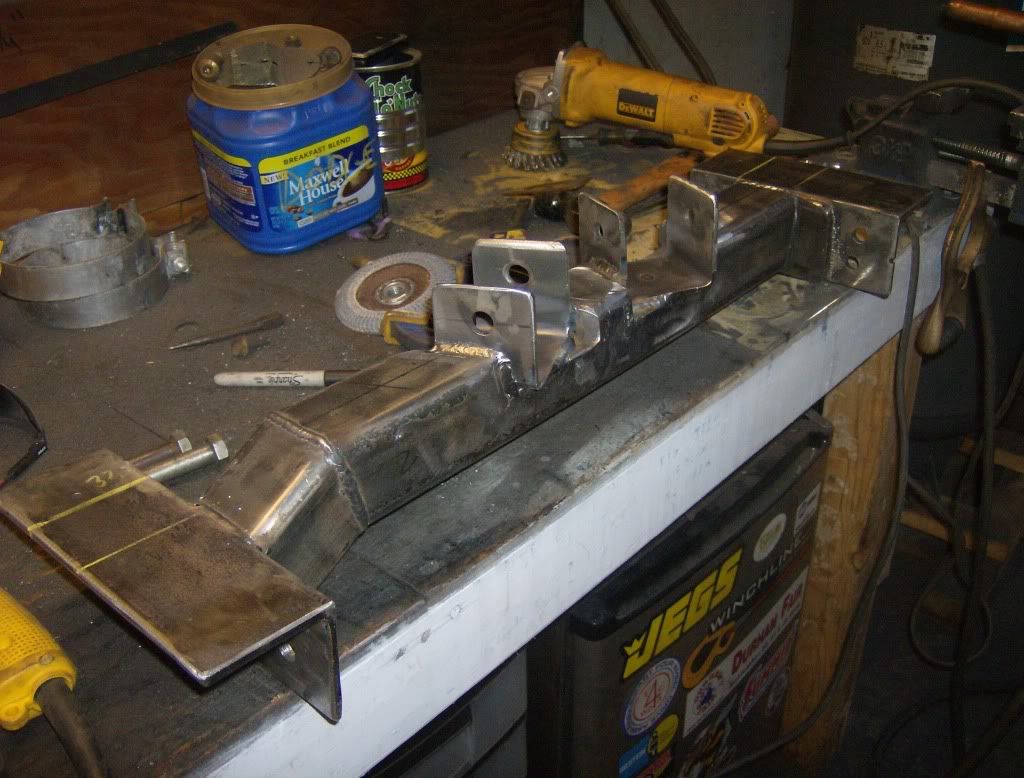
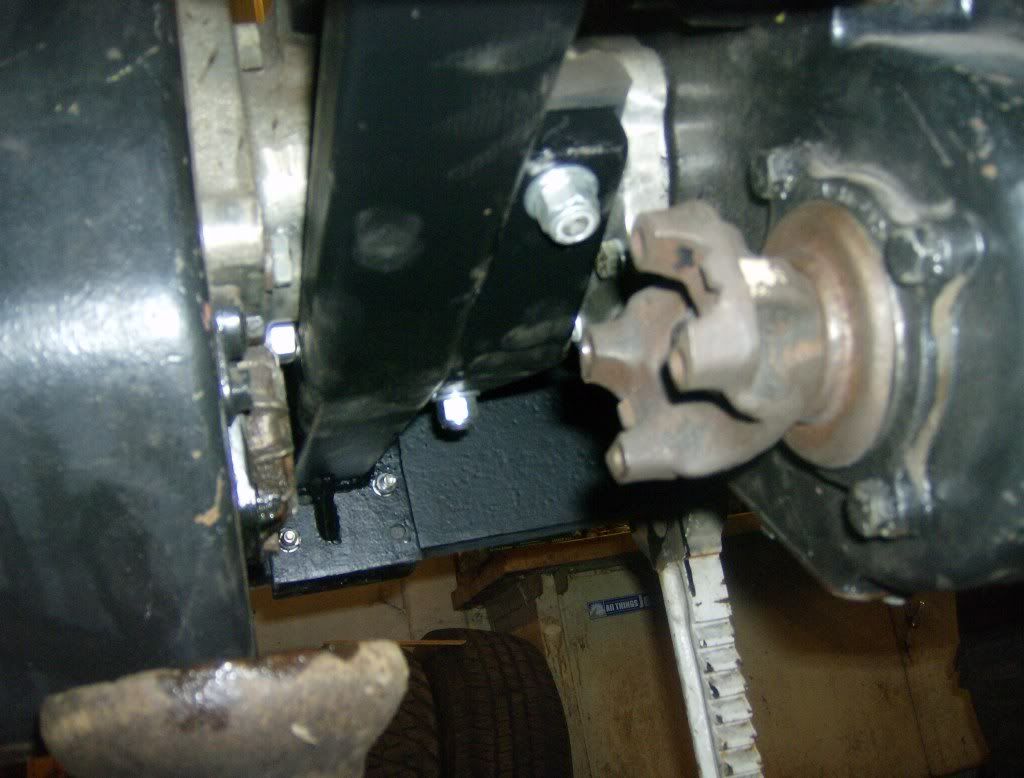
I decided since I gained another 5 inches of wheelbase and 5+" of driveline, I would raise the driveline up a little, so I built a new transmission mount crossmember. It is mounted rigidly to the frame, with a rubber bushing between the crossmember and drivetrain
Start
Remove old.

What I am working with.
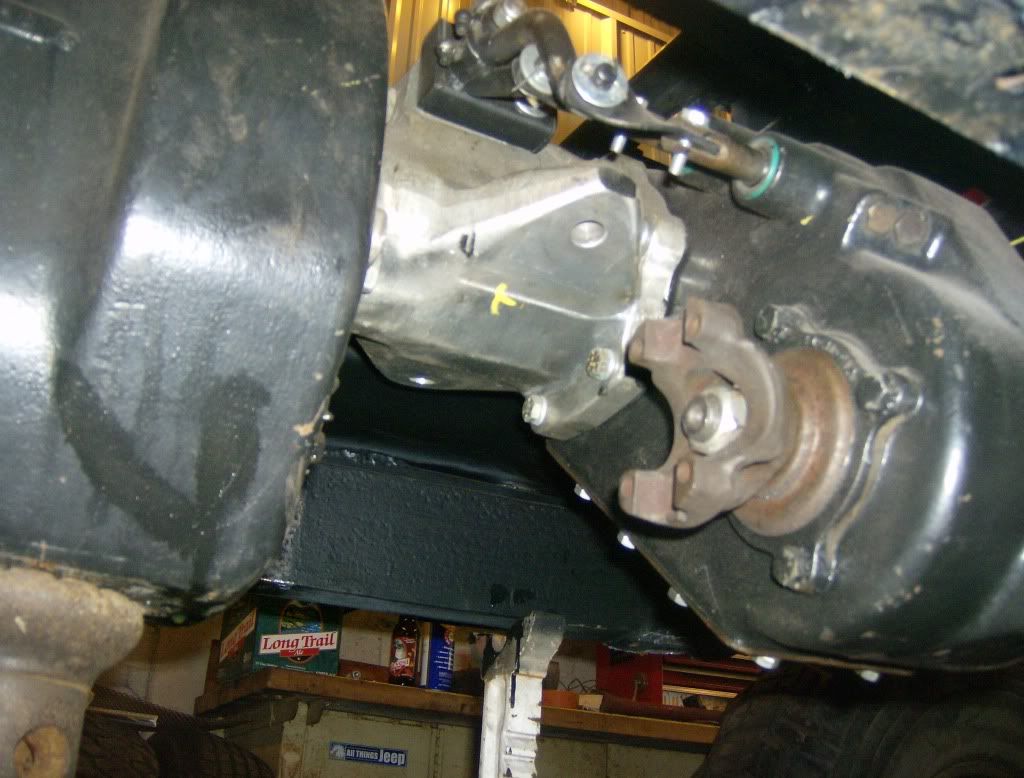
The new one is square tube, I didn't think I would be able to come up with another one made from bent DOM working under the jeep.
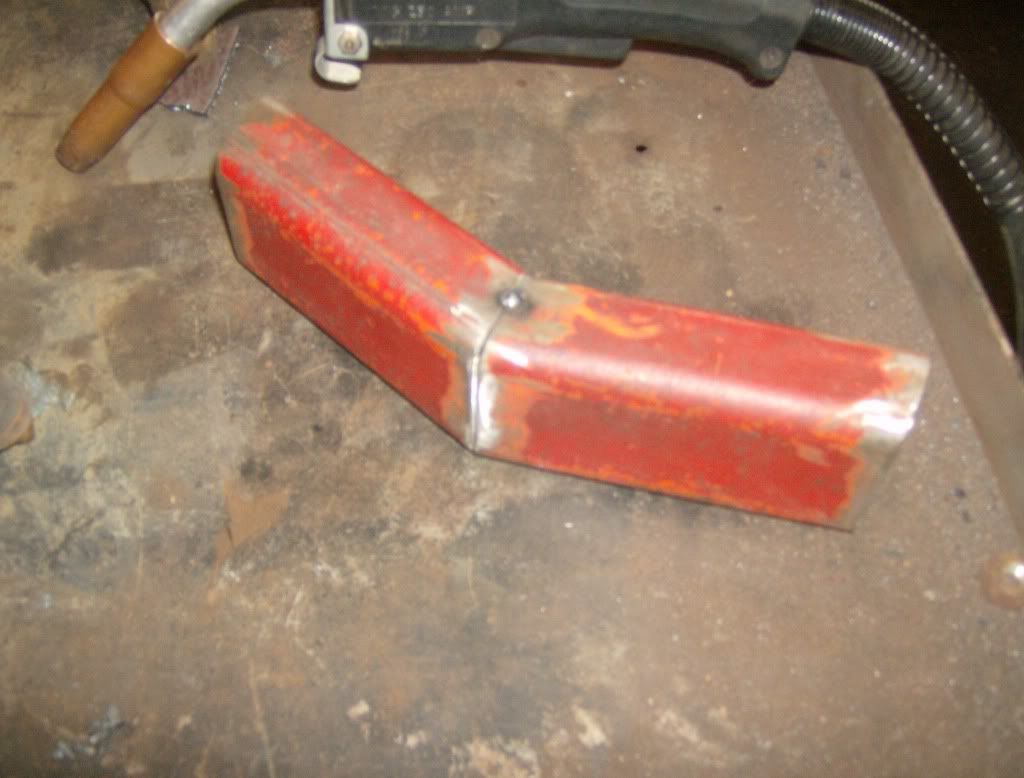


Painted and installed. I test fit a driveshaft and it clears fine, even though it doesnt look like it in the picture
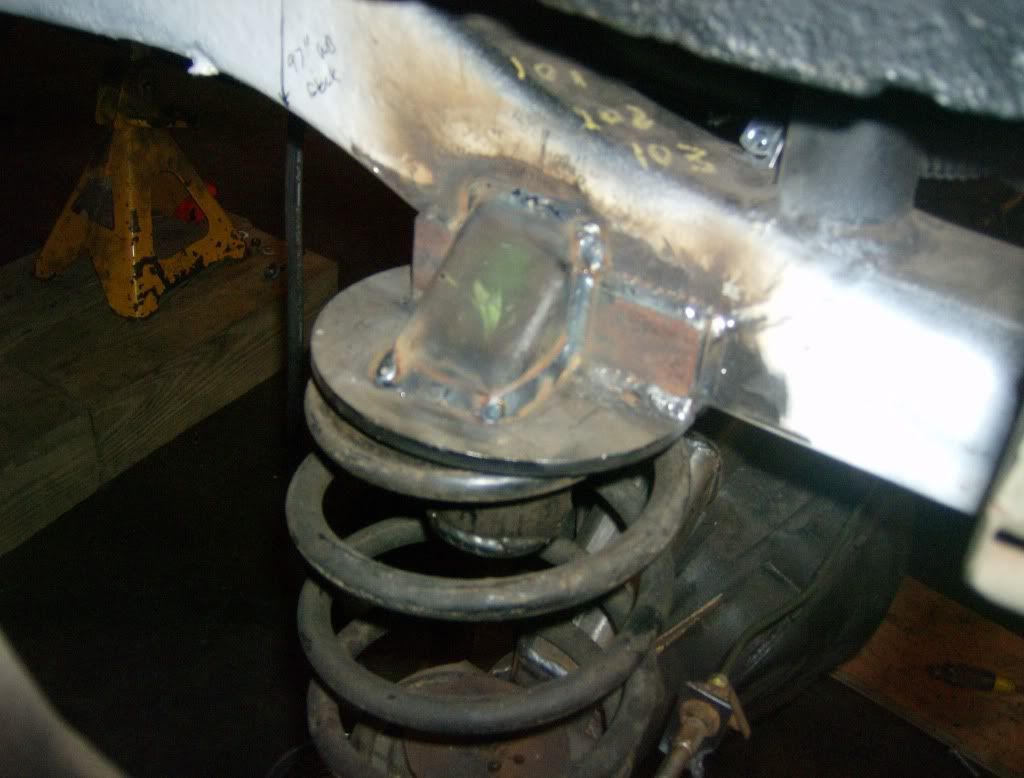
Gussetting on the spring perches, not my best work
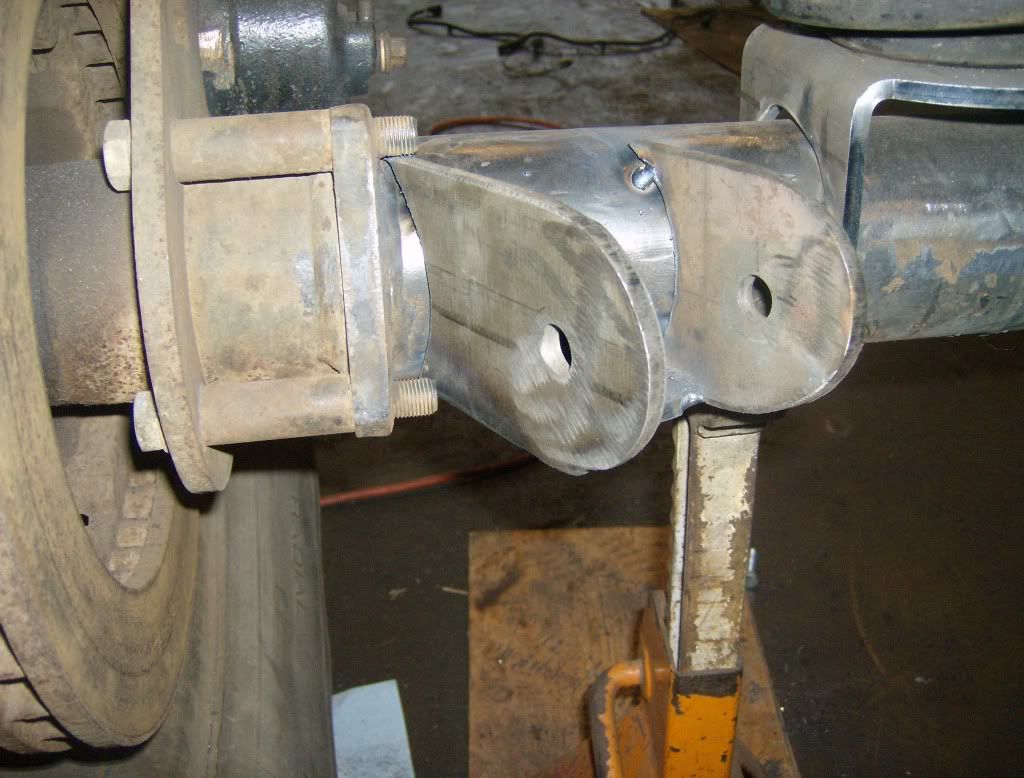
Upper link axle brackets
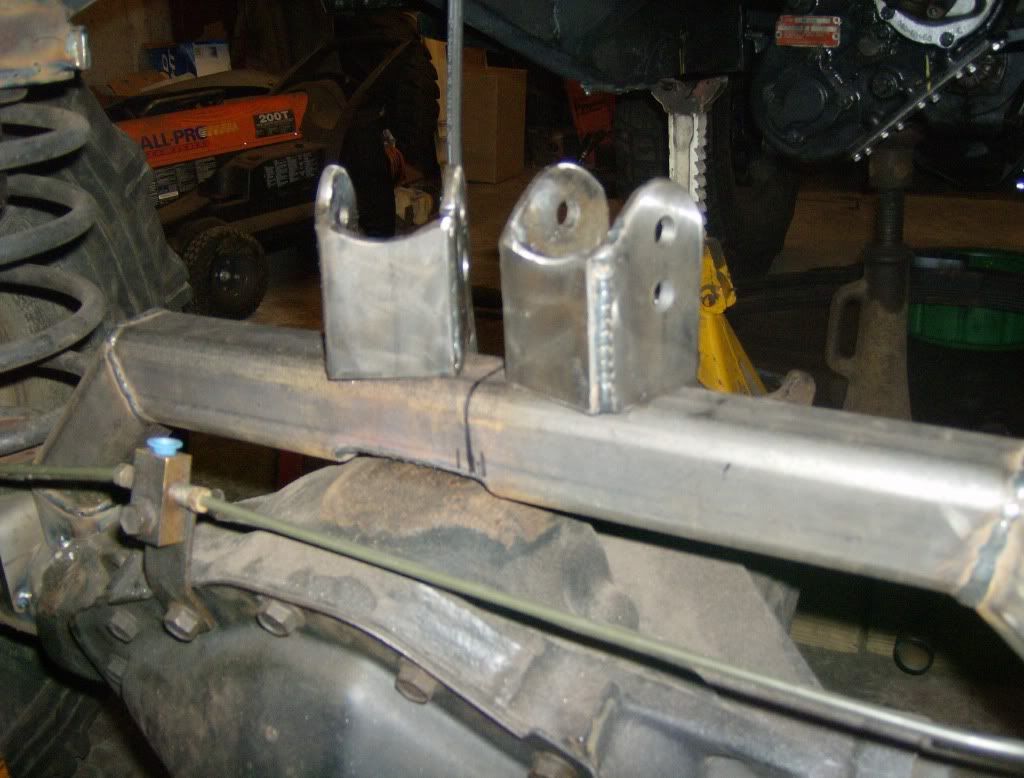
Now I am working on my Lower link frame mounting crossmember and bracketsLeave a comment:

Leave a comment: