-
purchased some hiline poison spyder front fenders w/ matching rear flares and my new longer tom woods DS as well -
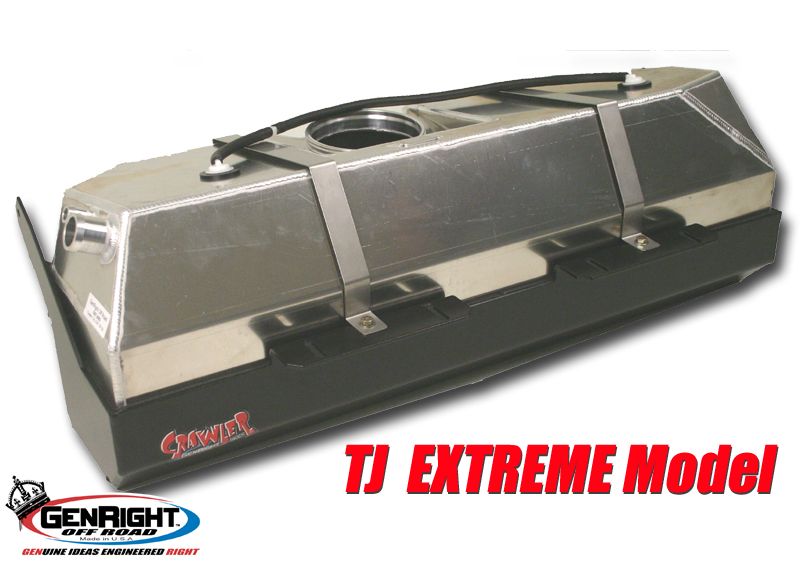
Genright EXT tank install Part 2 of 2
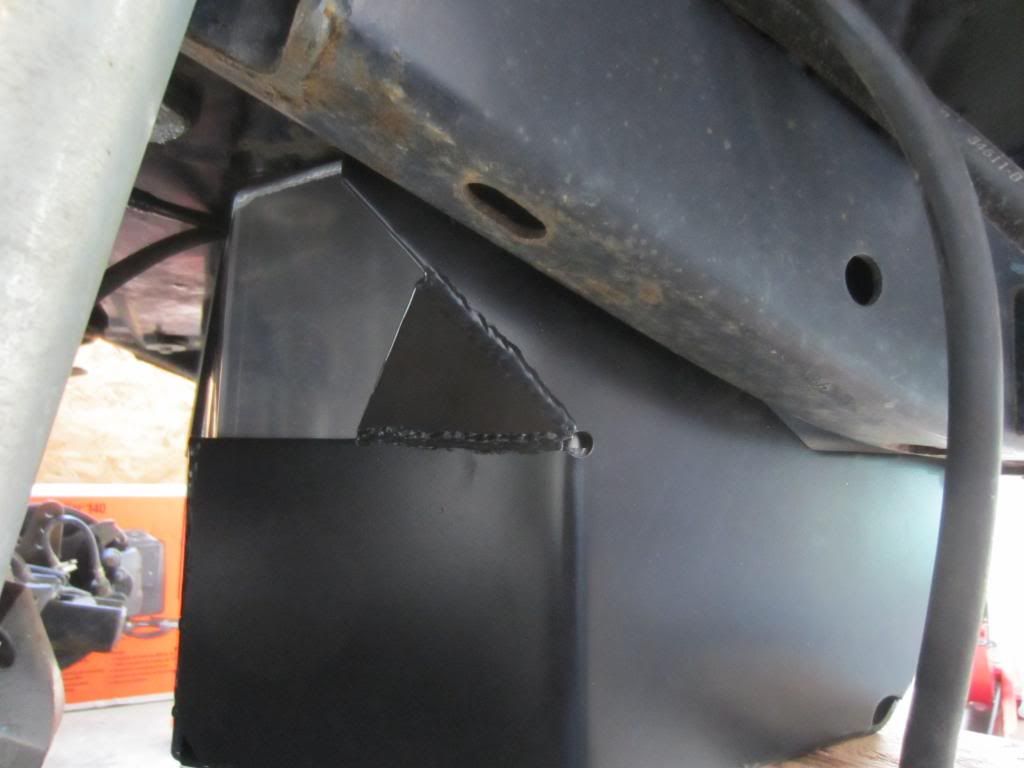
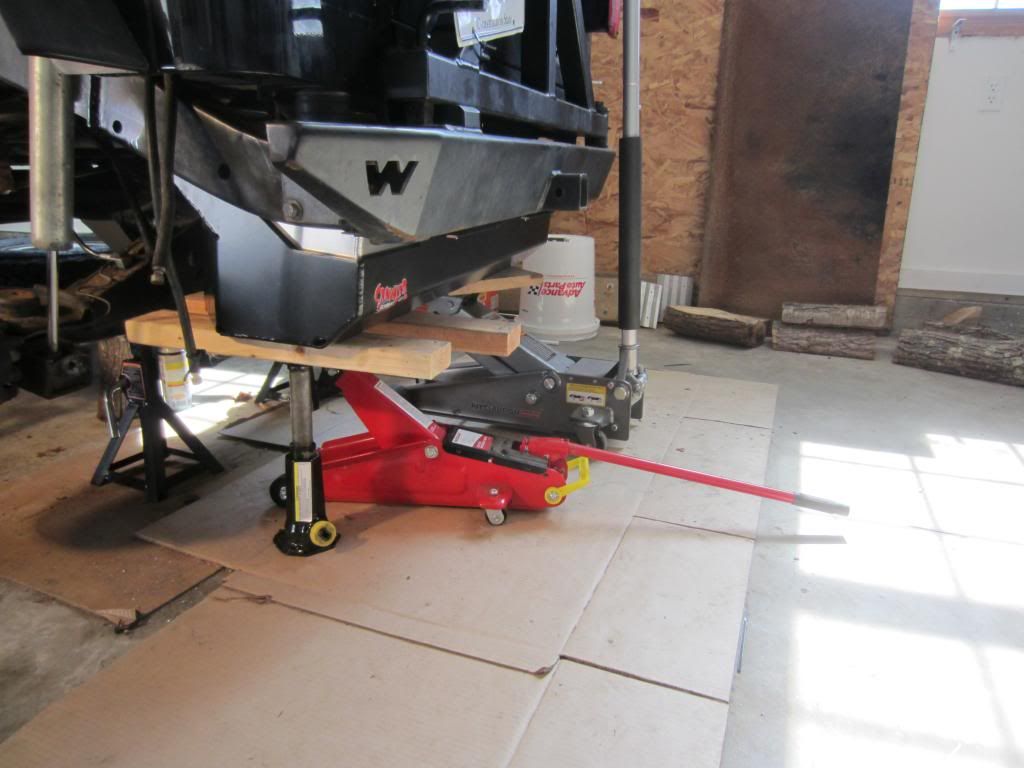
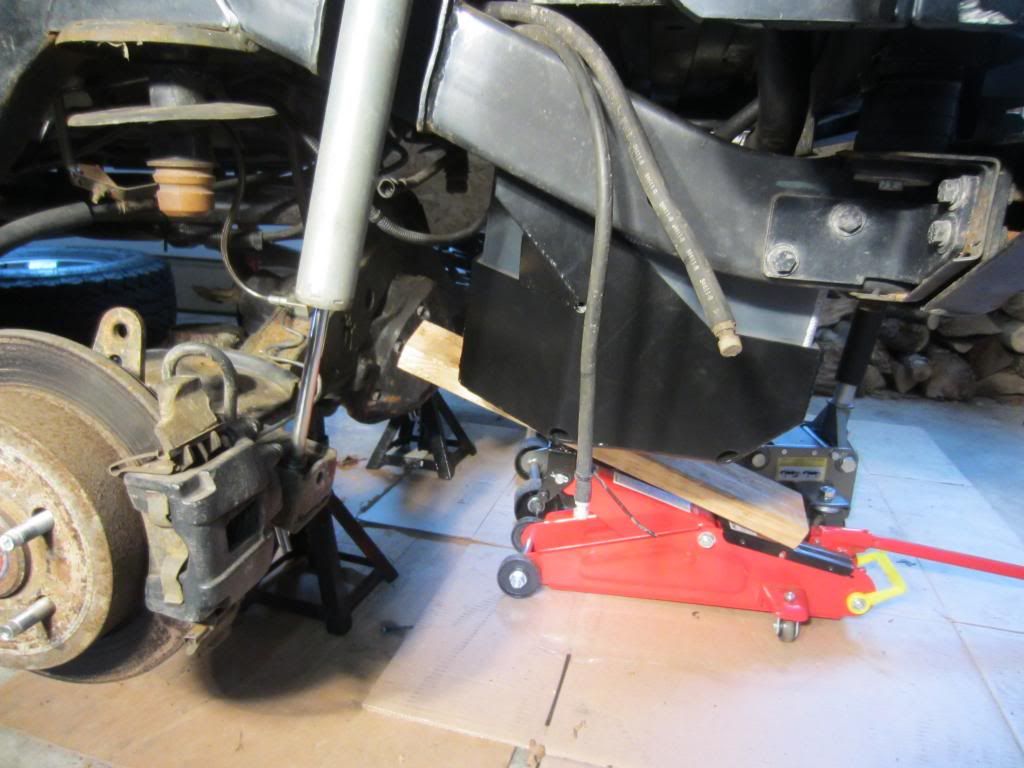
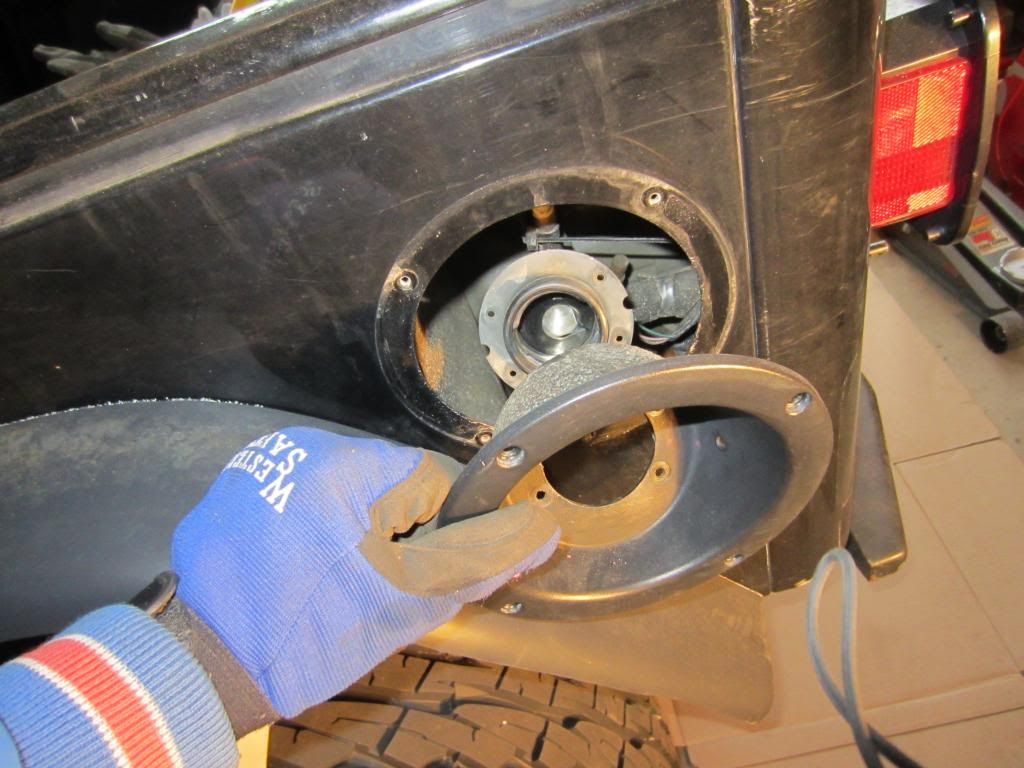
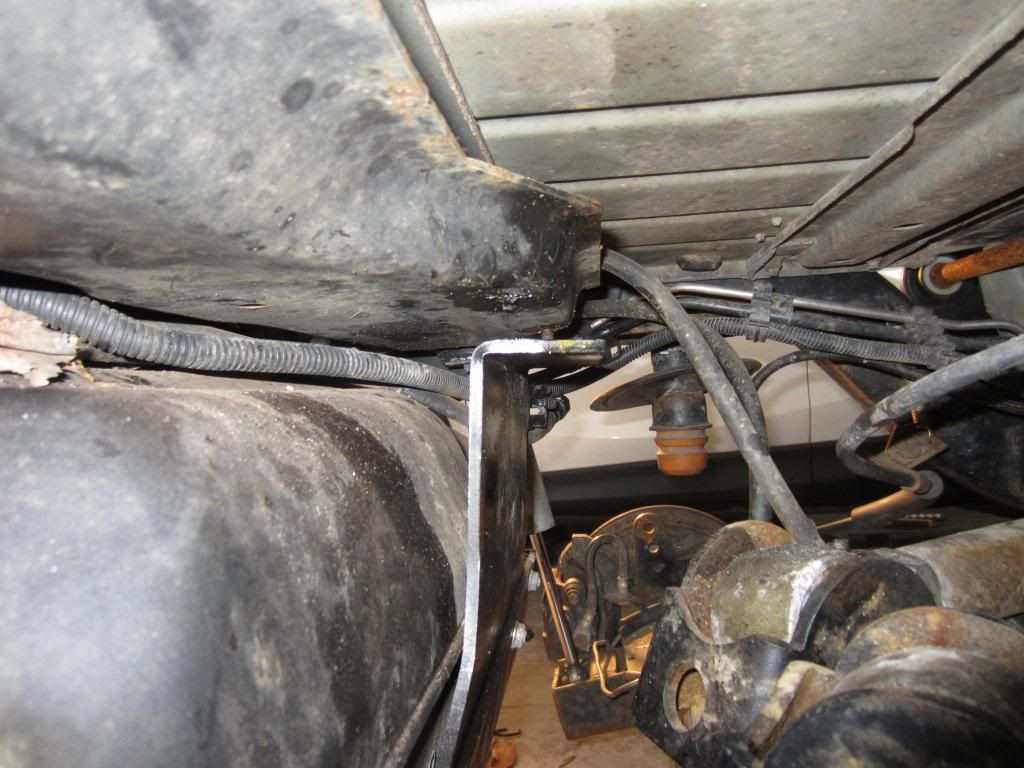
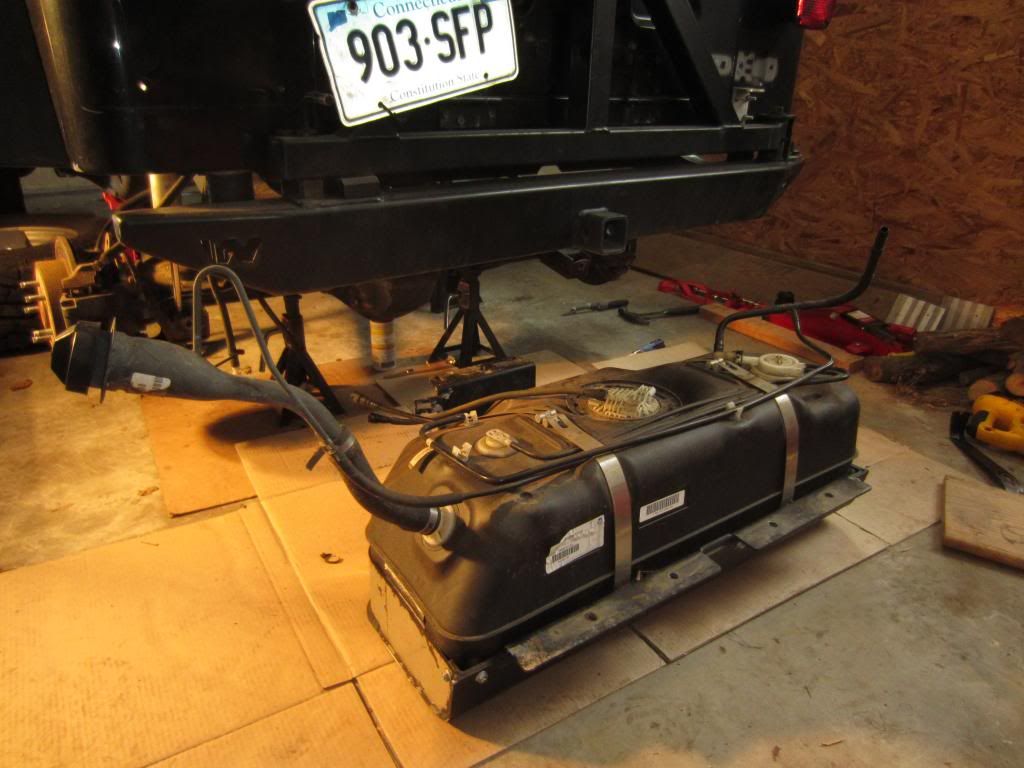
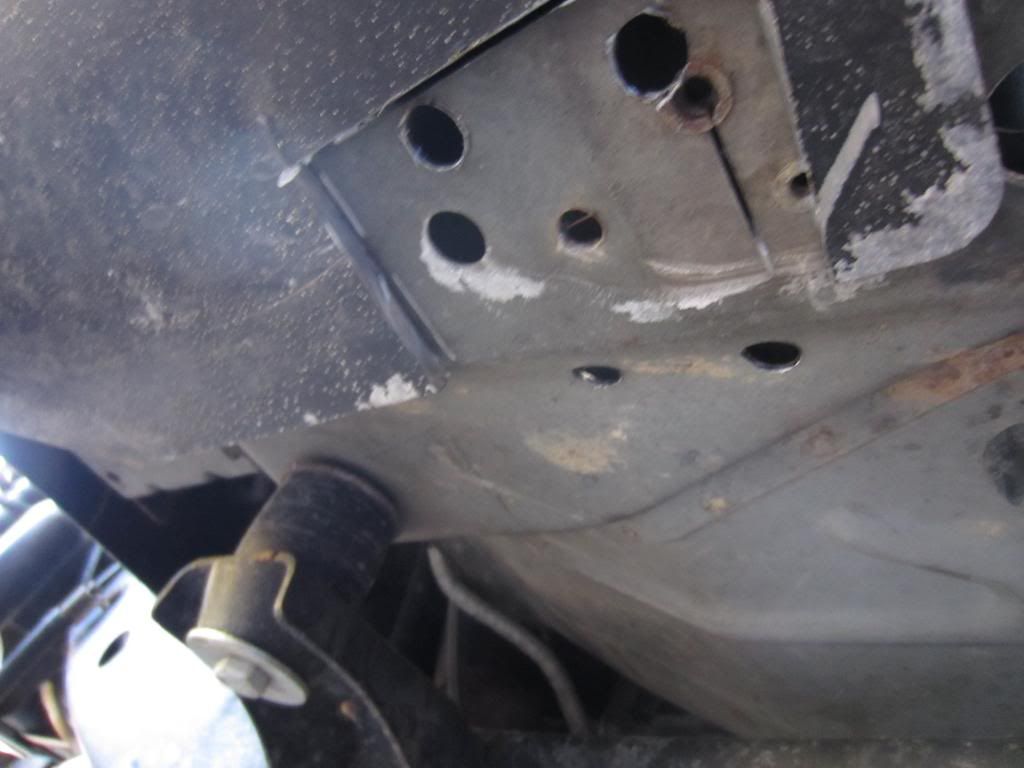
Once you jack the tank up secure in the rear 4 bolts
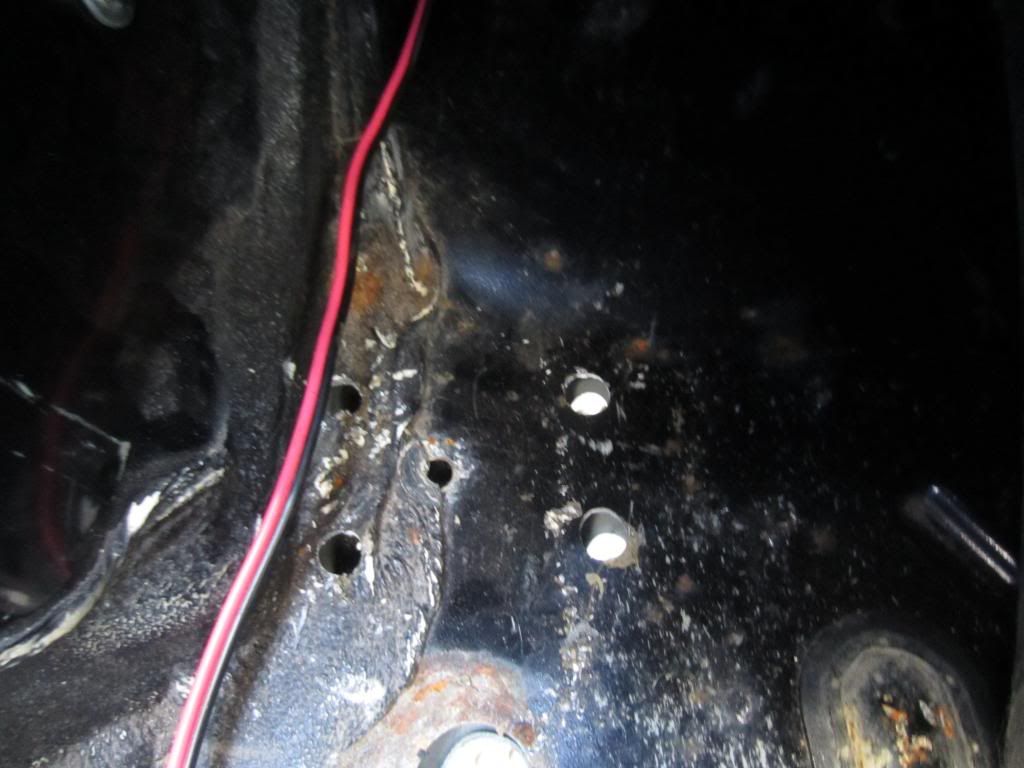
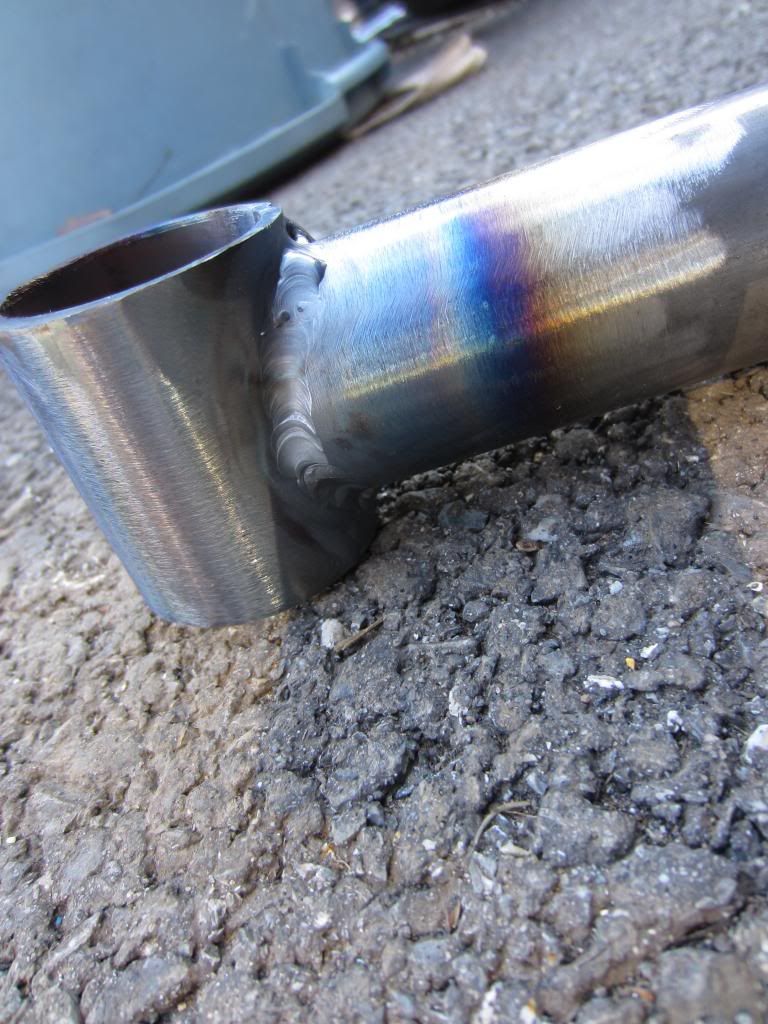
Be careful not to pinch any lines while jacking the tank up. Once in place the skid has 2 ears on the sides that you have to mark a spot on the frame with a marker. Drop the tank again and drill this spot out on the frame all the way through.
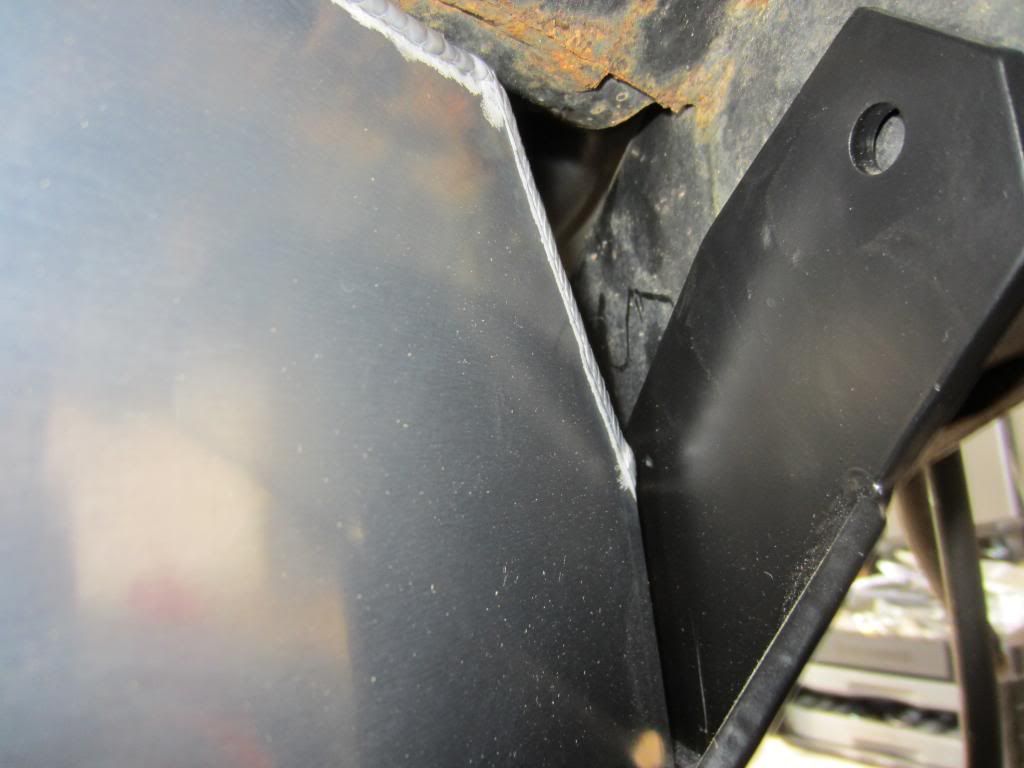
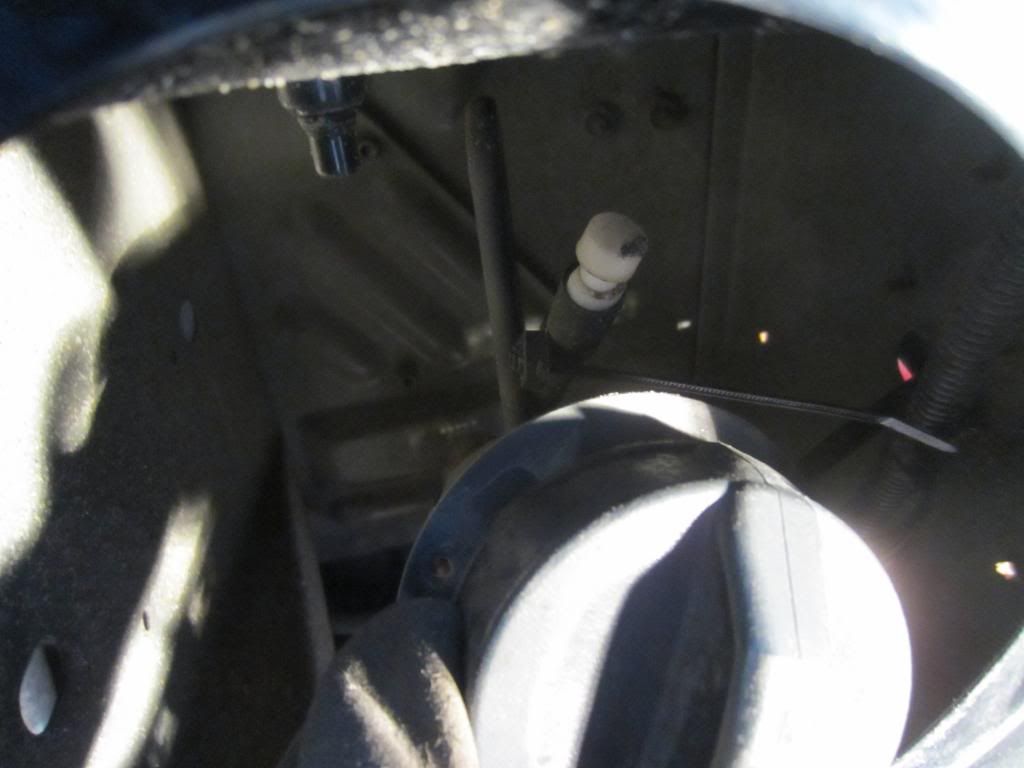
inside view
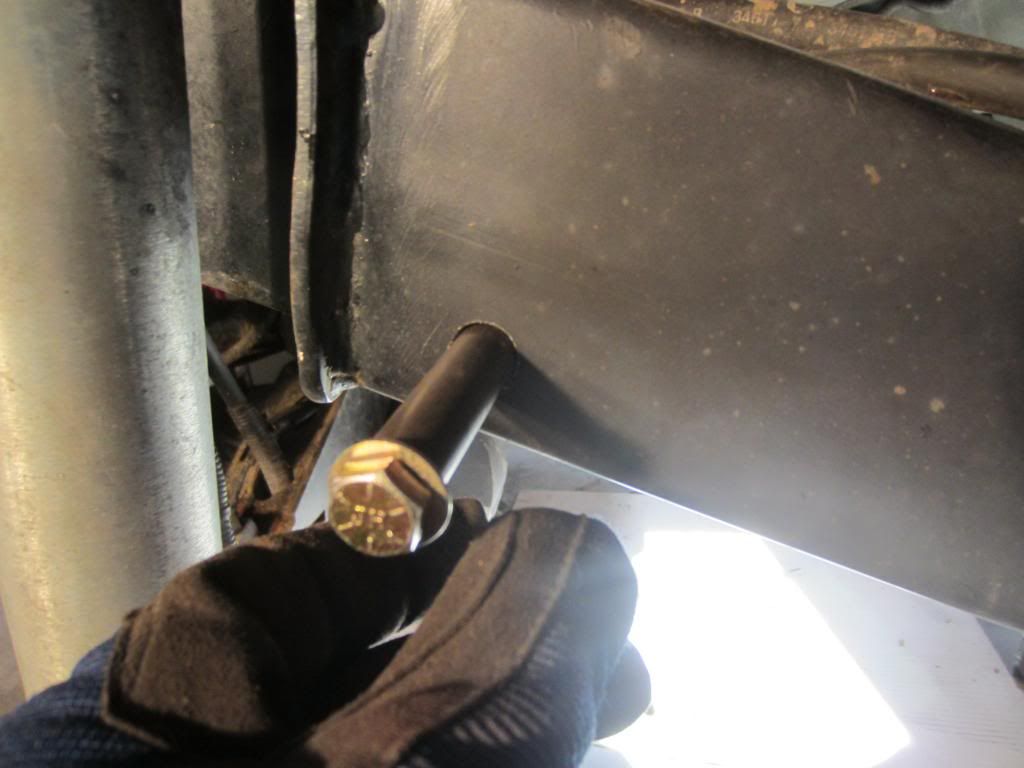
Instructions say to drill a 3/8 hole through the entire frame and then only drill the inner hole to 5/8. The only reason one side has to be drilled larger is to fit the crush sleeve that prevents the frame from well crushing inward while tightening the bolts. I decided there was no reason why I couldn't drill the outside part of the frame to 5/8 since it would be easier then climbing under the jeep and drilling again.
Helpful tips for this step: have good drill bits ( I broke at least 4), have a 5/8 drill bit which I didnt so it took me forever to use a 1/2" bit and make it large enough and start with small pilot holes and slowly increase in size.
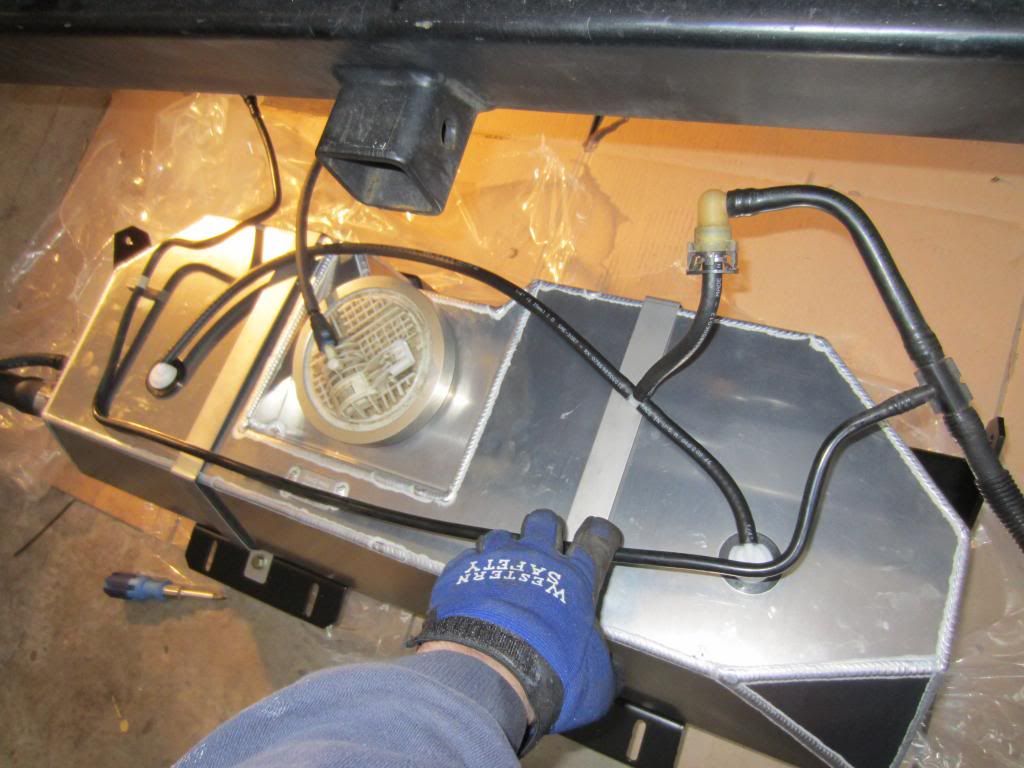
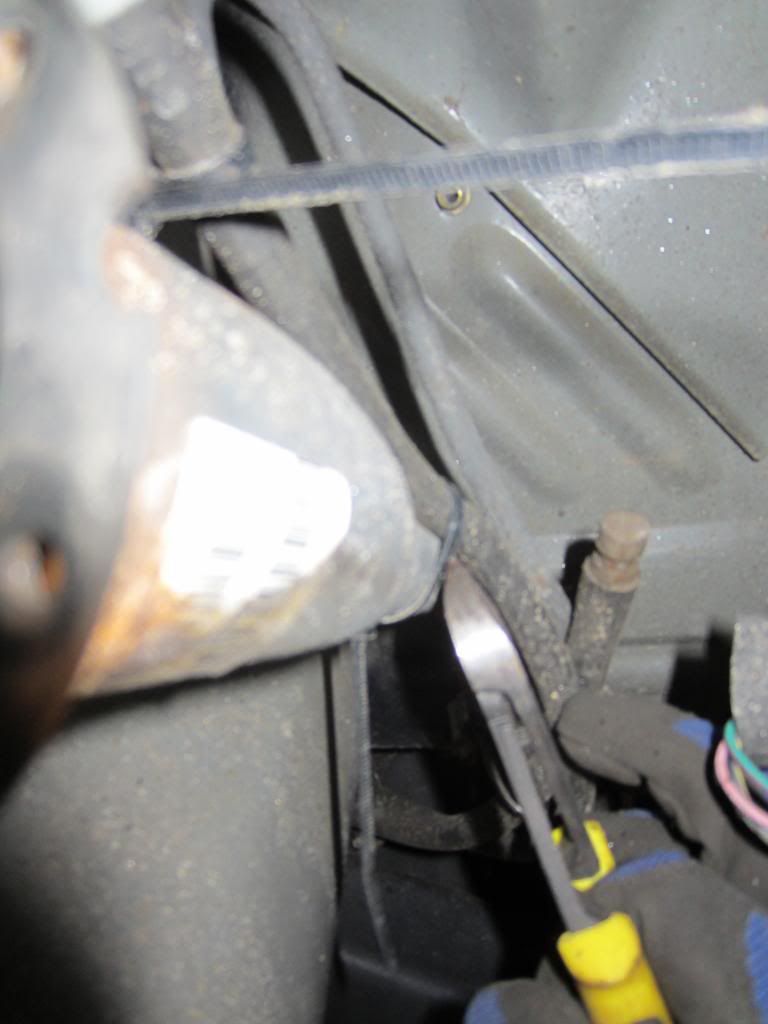
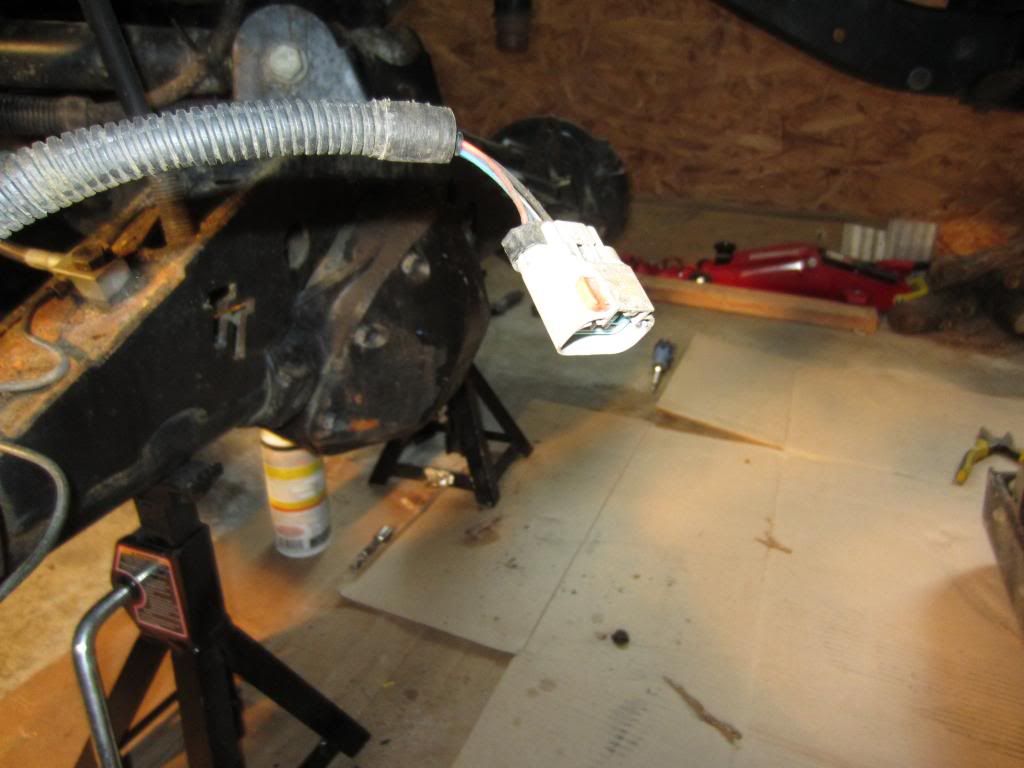
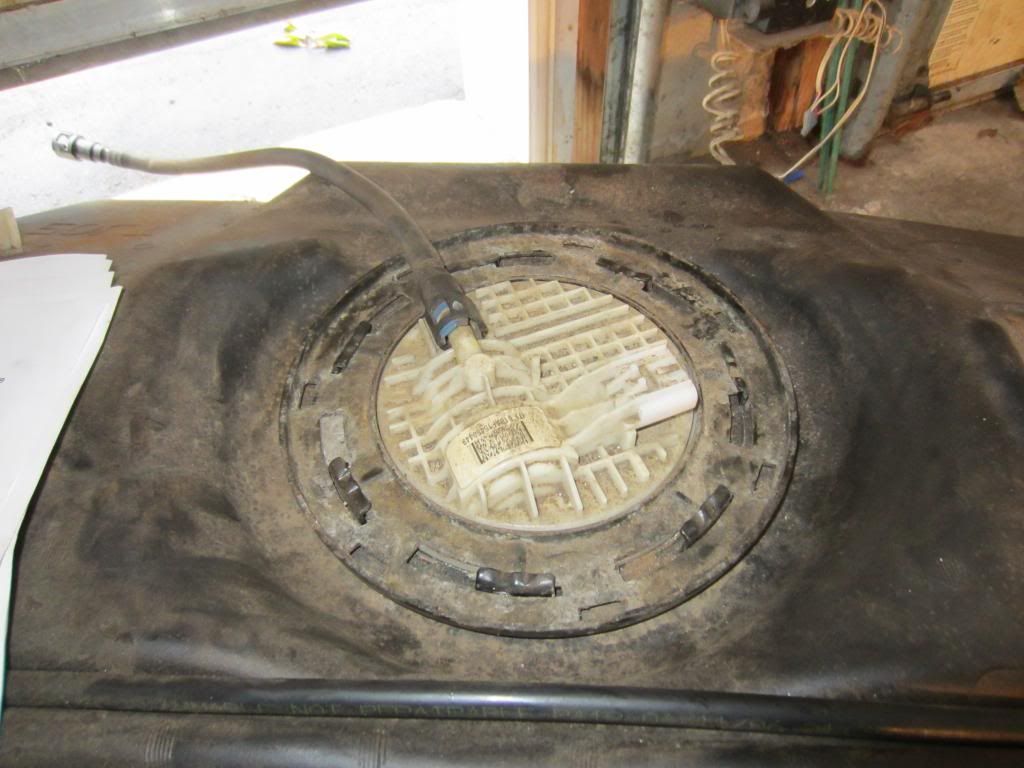
Reconnect fuel and electrical line to fuel pump assembly
Having someone to help avoids this :laugh:
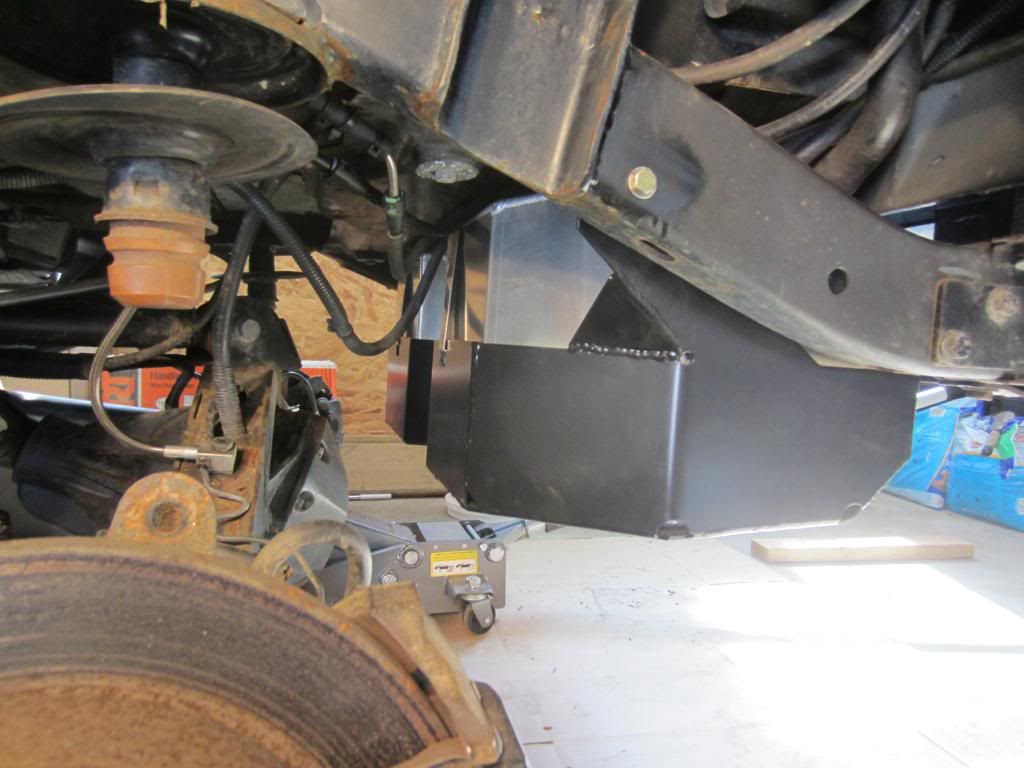
FINISHED
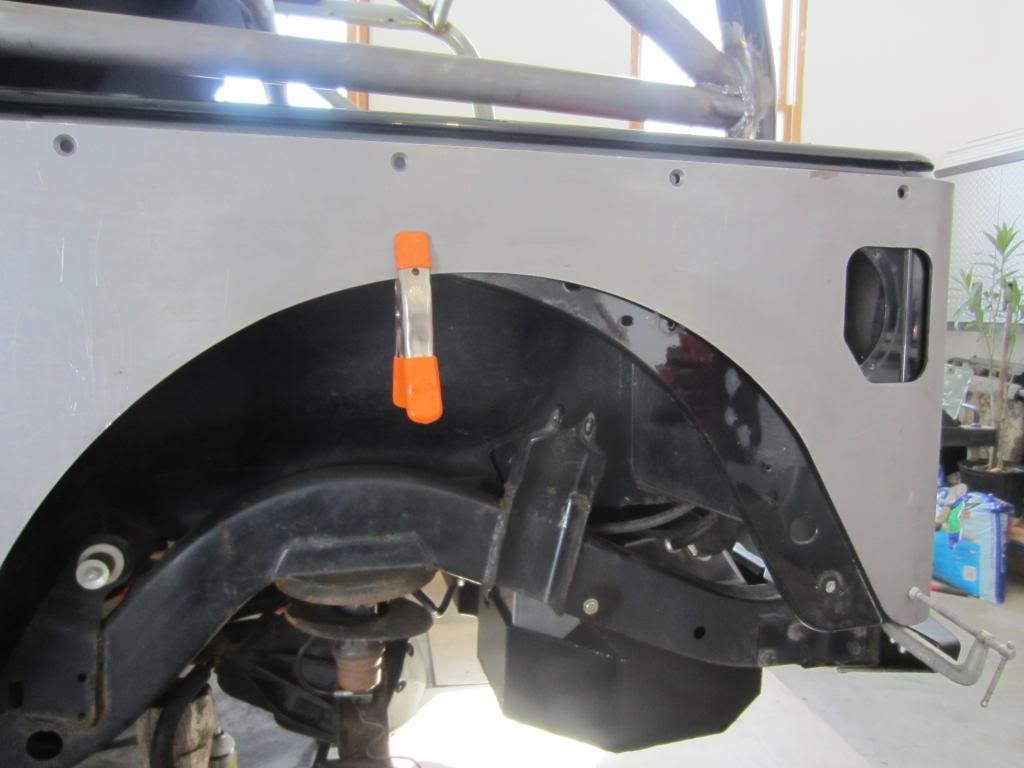
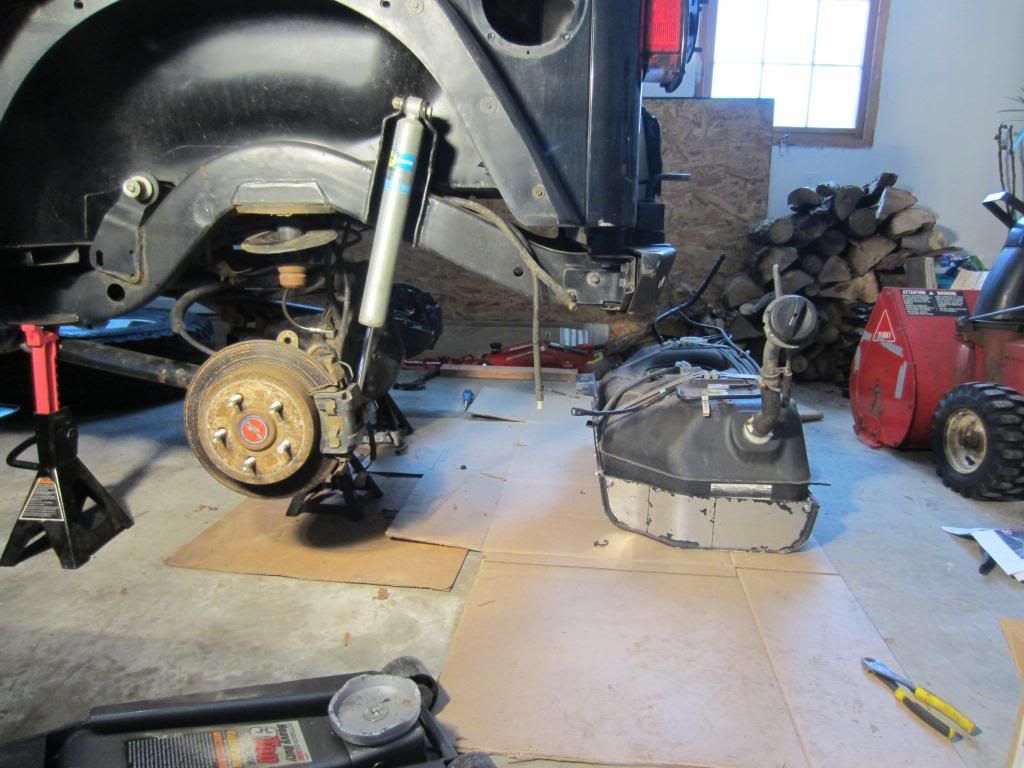
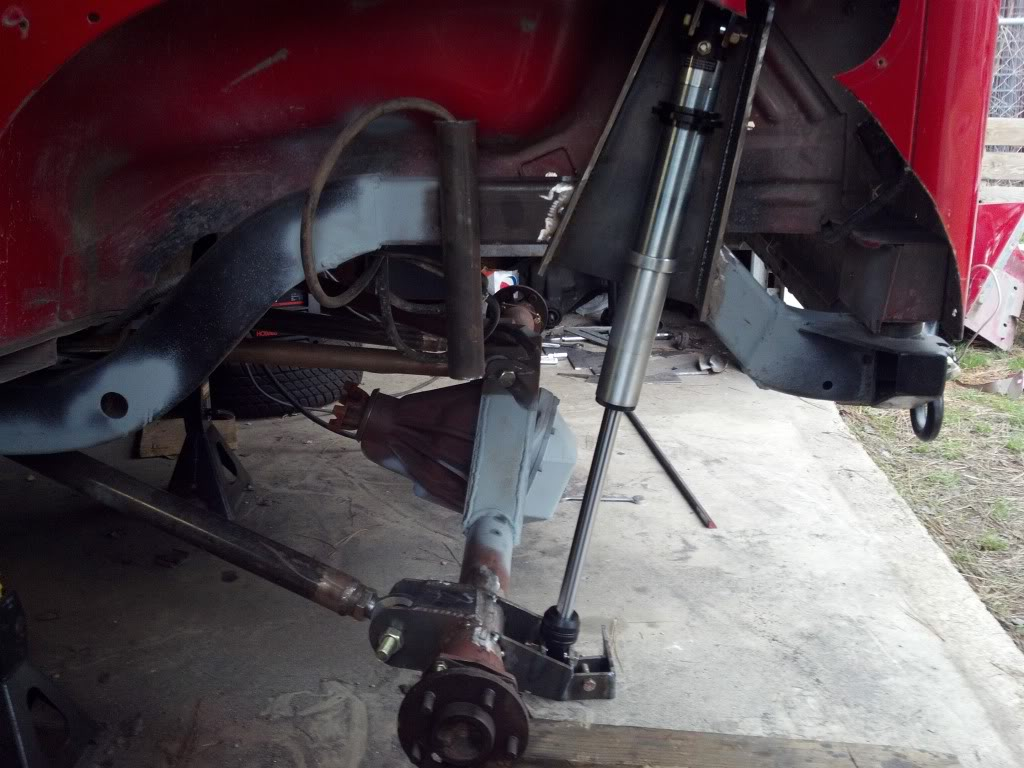
Jacked up the rear axle to see how much room I had and it must be the large Riddler cover but I dont have a full 5 inches to go backward which is a bummer.

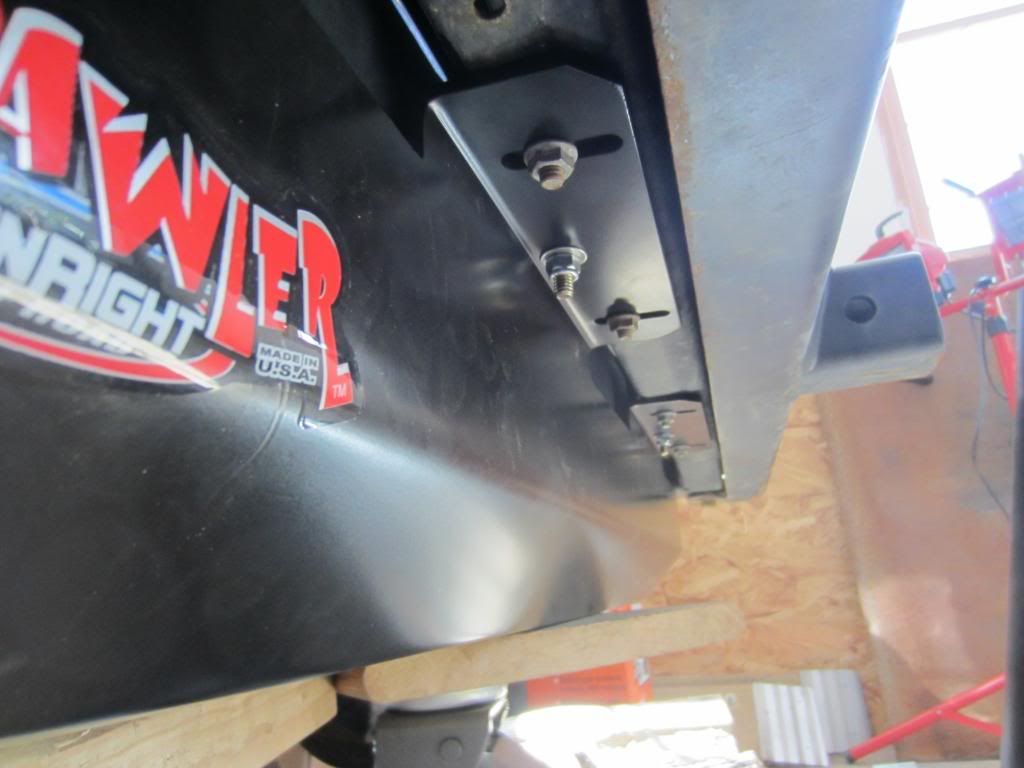
Mounted the driverside stretch corner

Leave a comment:
-
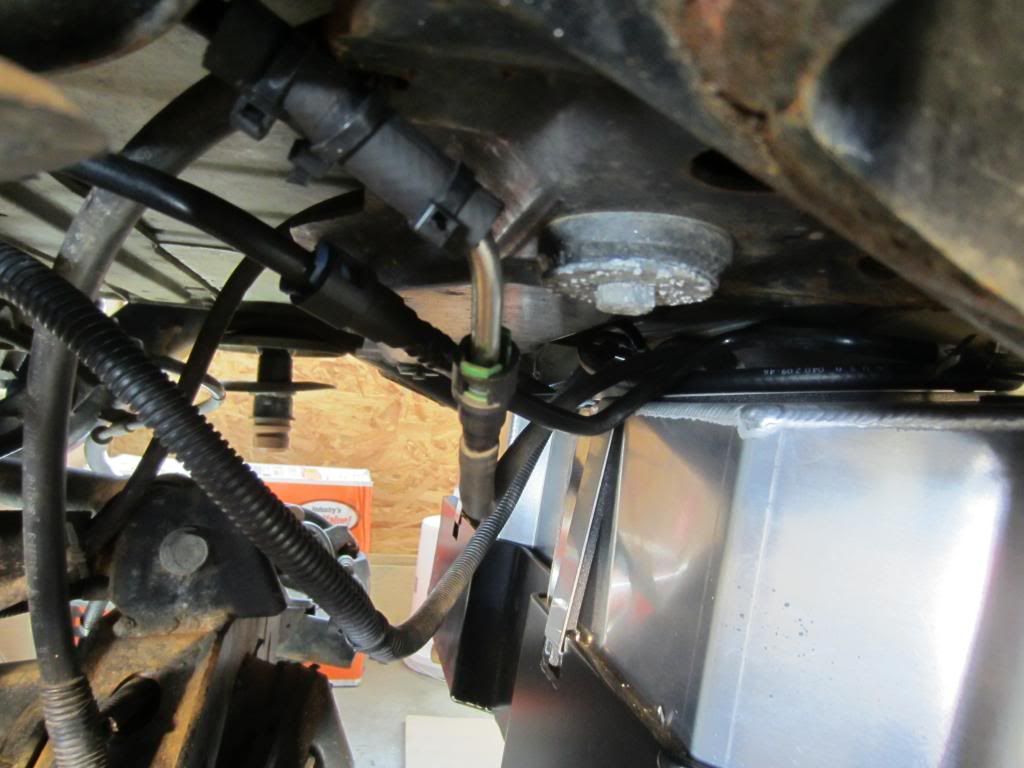
Next take the Evap line off the stock tank and attach to the new. I used some zip ties to attach it to the new tanks hoses on top to keep it in place. Dont pinch the line making them too tight though.
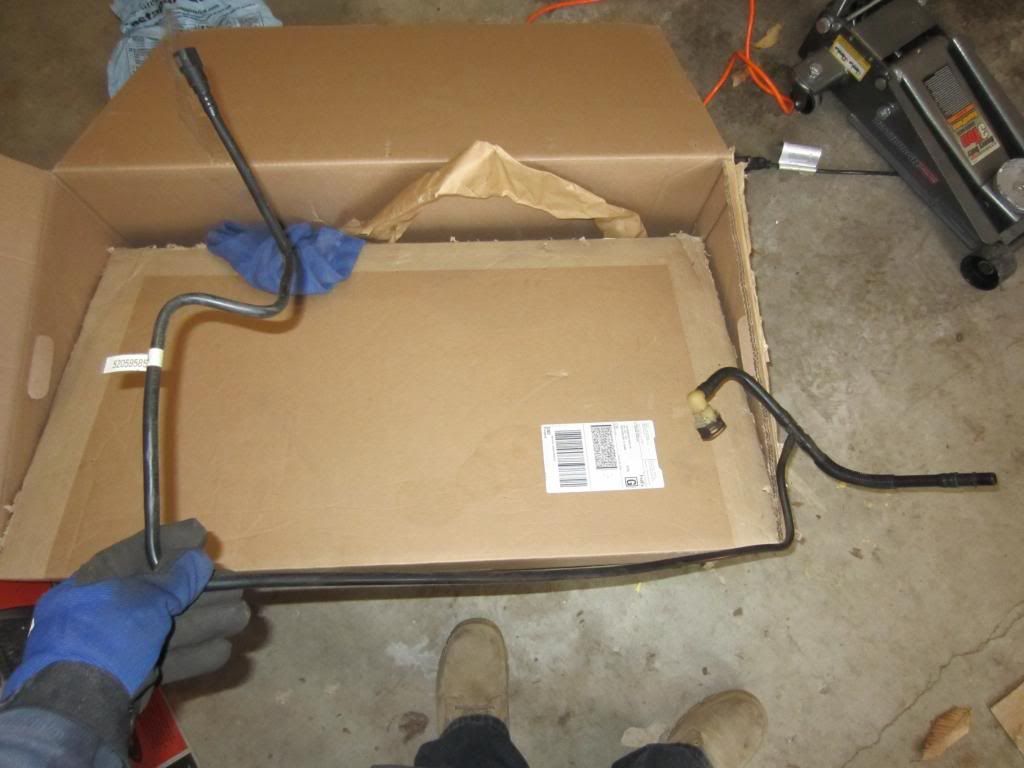
Next start to jack up the tank into position making sure to be careful with the filler hose.
Thats as far as I got today and Ill finish up next weekend.
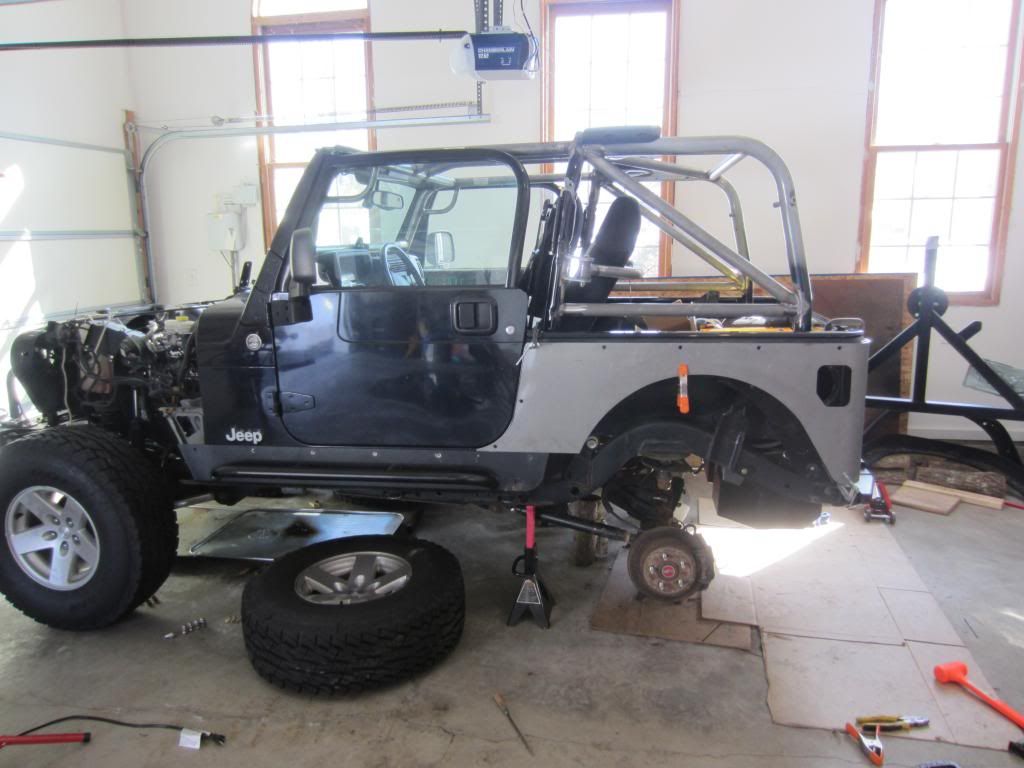
Making progress even though it may not look like it
Leave a comment:
-
Genright EXT tank install Part 1
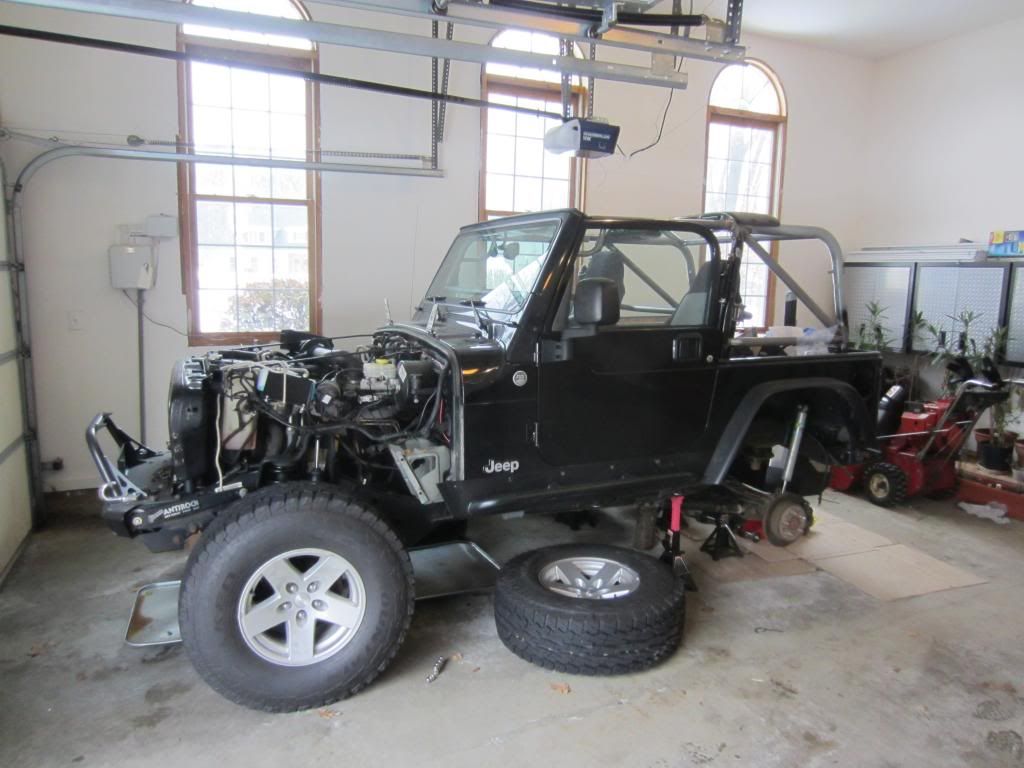
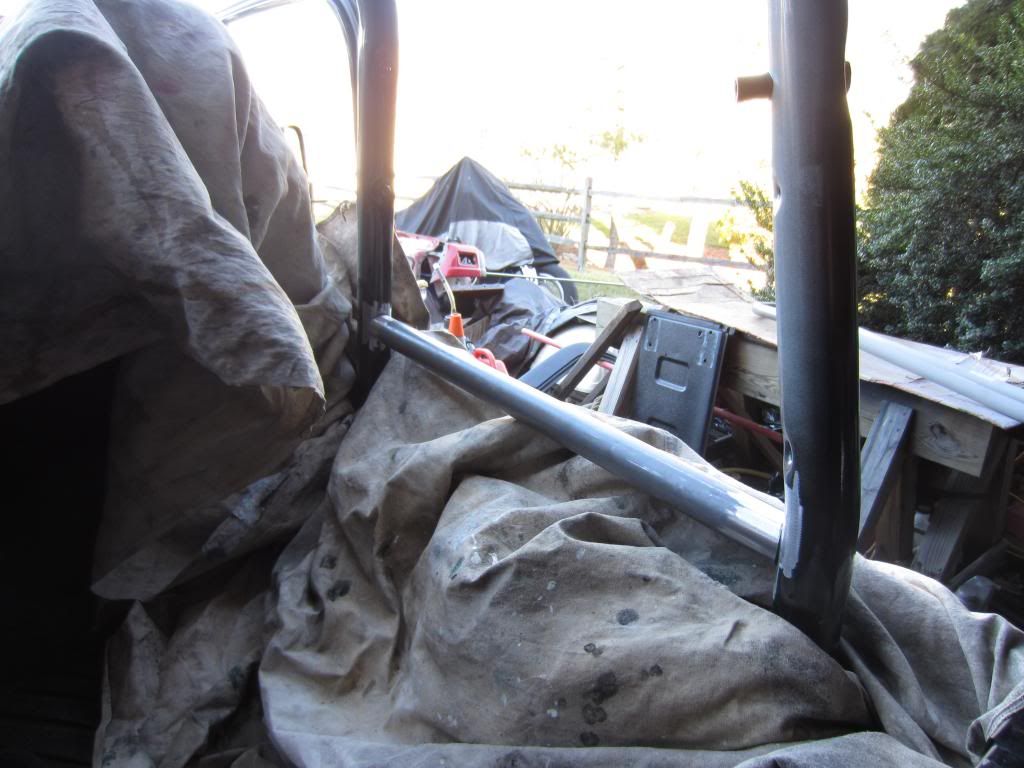
Well I finally got around to installing my genright tank to allow for a 5 in rear stretch. I was able to handle everything on my own and made it 80% of the way through before having to call it a day.
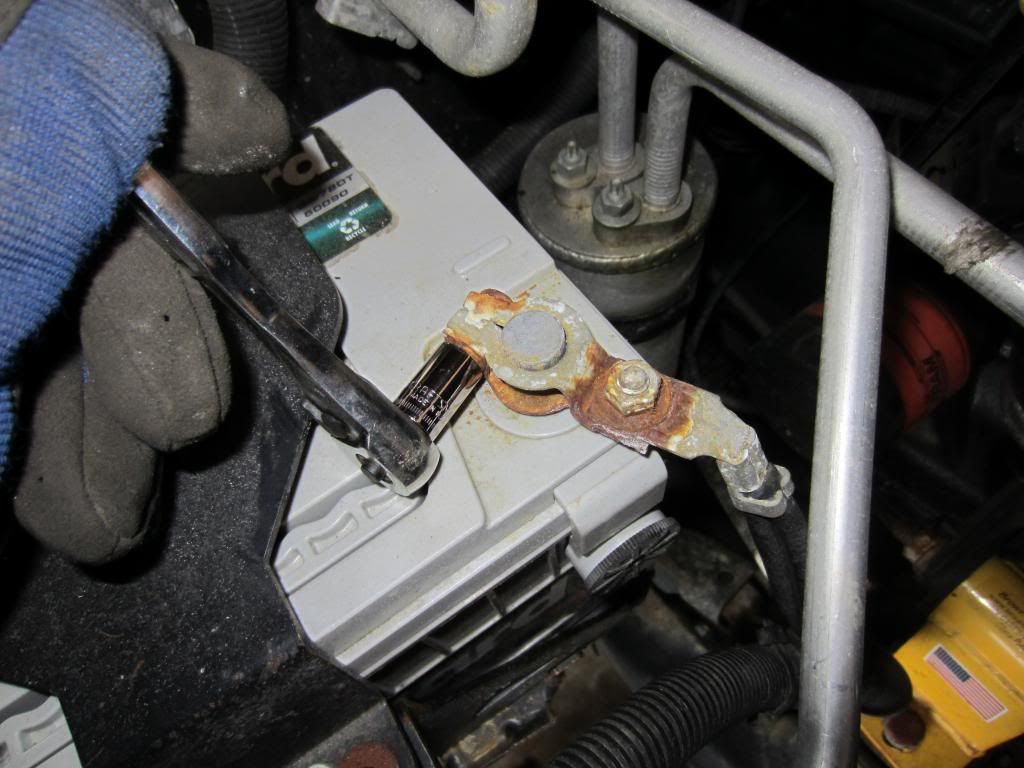
First things first remove the negative battery terminal
next remove the gas cap to relieve pressure in the lines
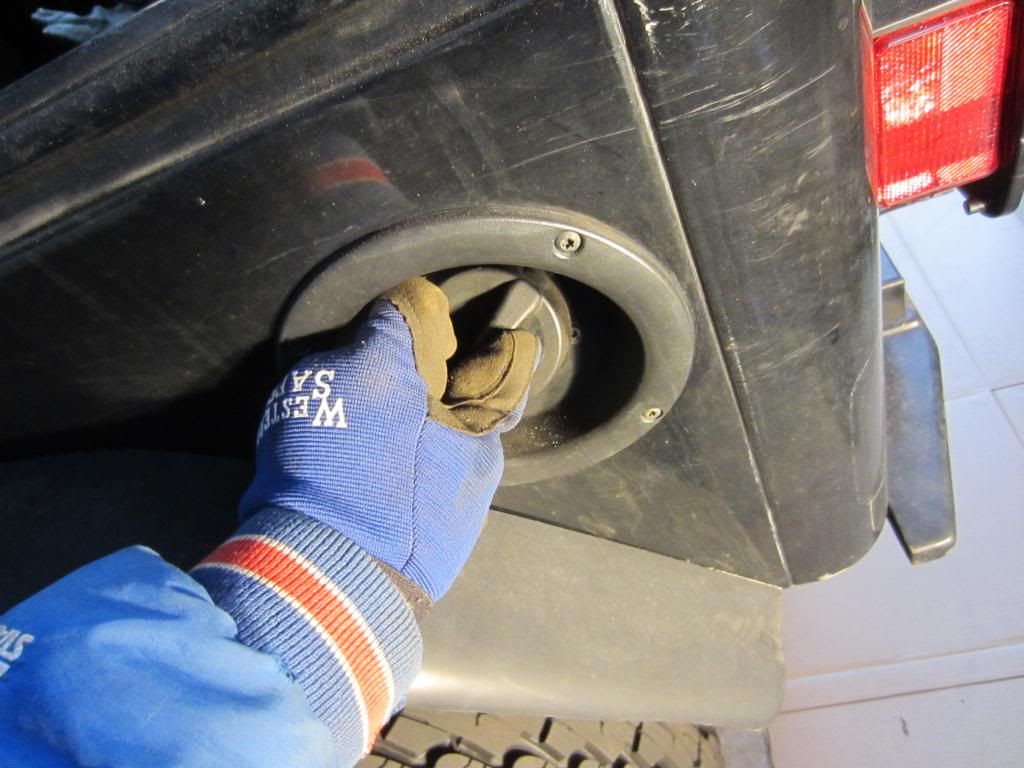
unscrew the bolts and remove the gas bezel
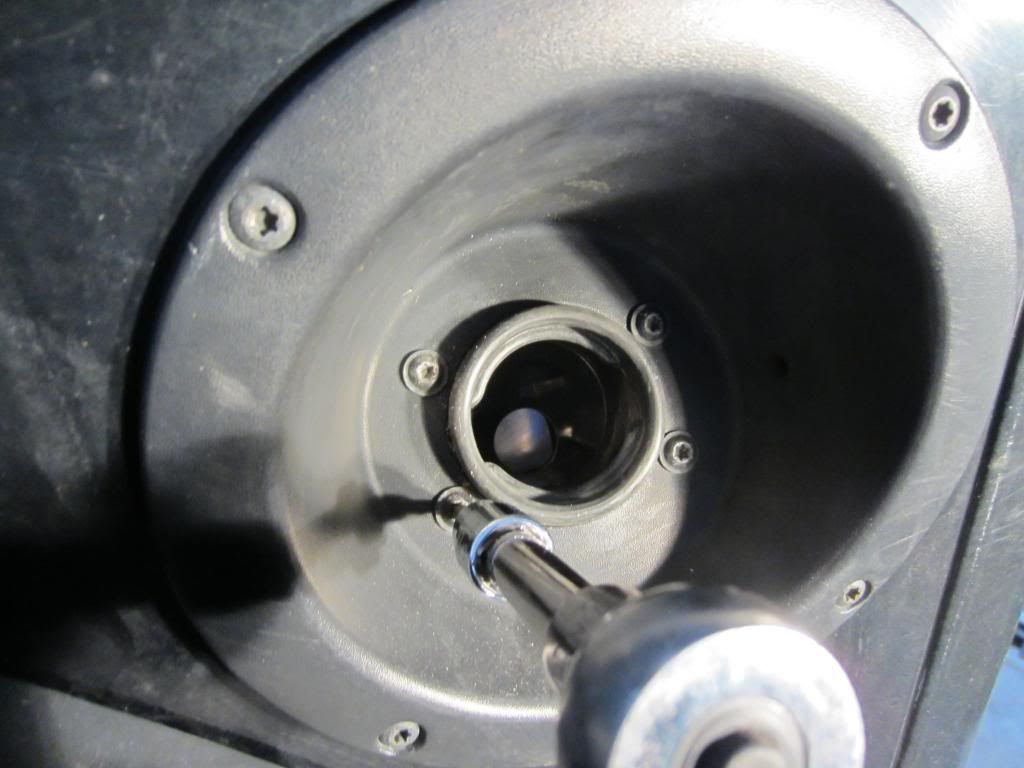
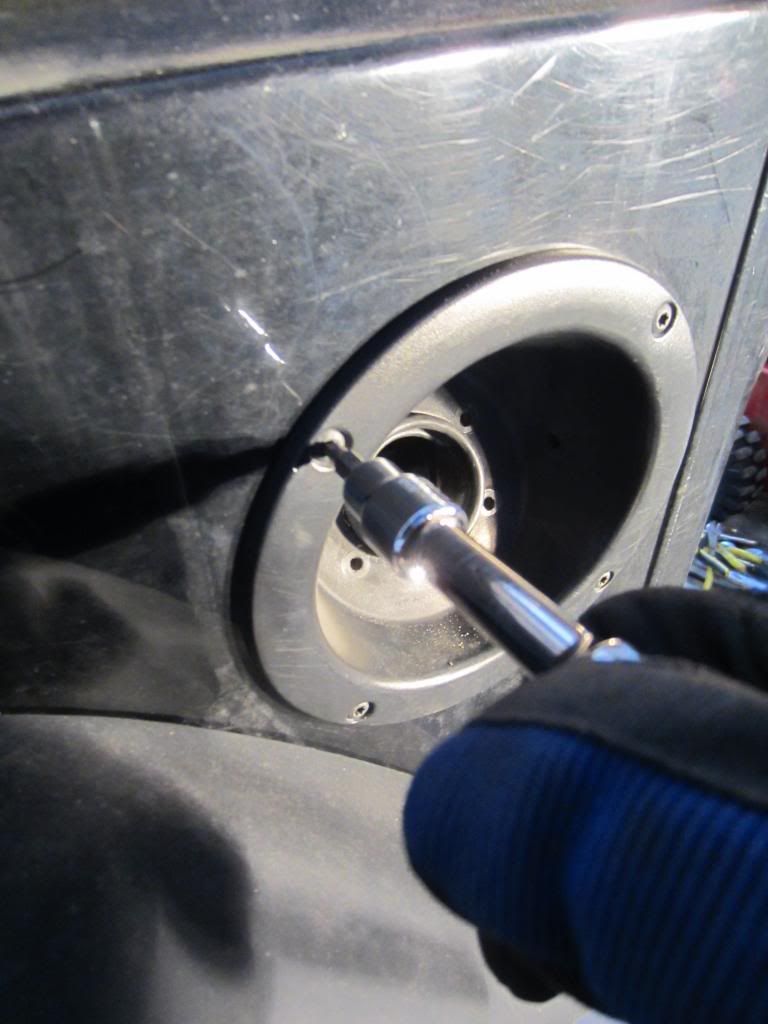
then locate the axle vent tube zip tied to the filler hose and cut the zip tie
unclip the following 3 hoses. 1 goes to the fuel pump assembly, 1 goes to the hose that wraps around to the evap and the last is an electrical wire then connects to the fuel pump assembly.
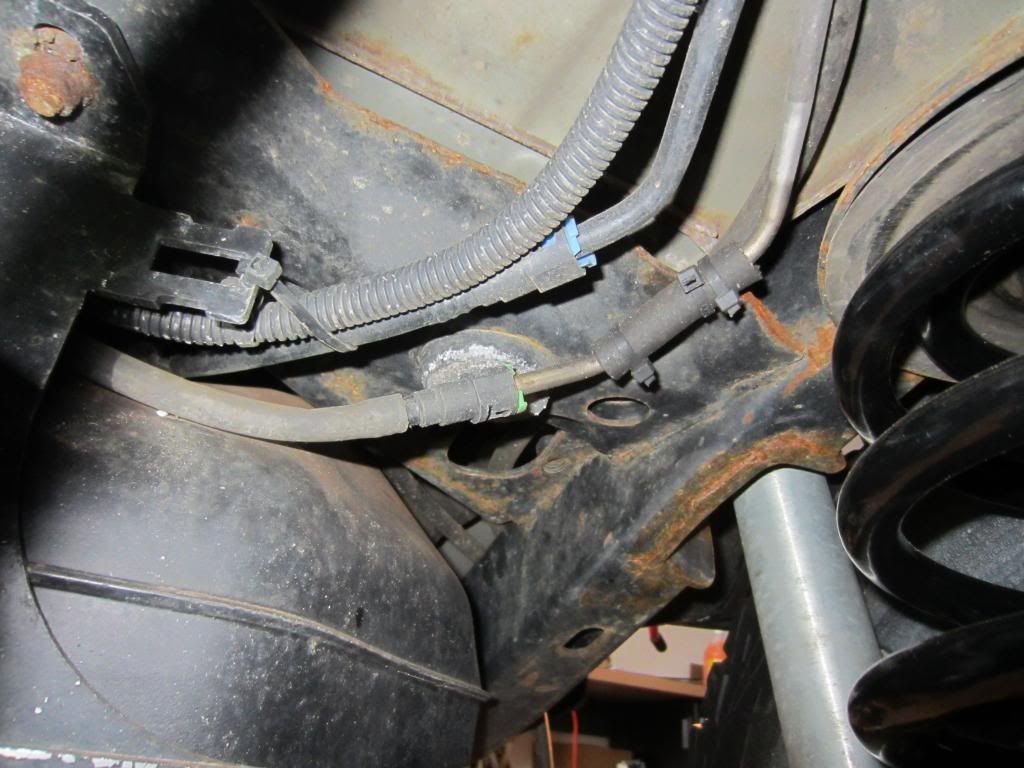
NOTE: for the electrical connector you will likely need to lower the tank some before being able to get your hand in there to unclip it and pull it off.
Before doing so unbolt the front 2 (Savvy GTS) or 3 (stock GTS) bolts.
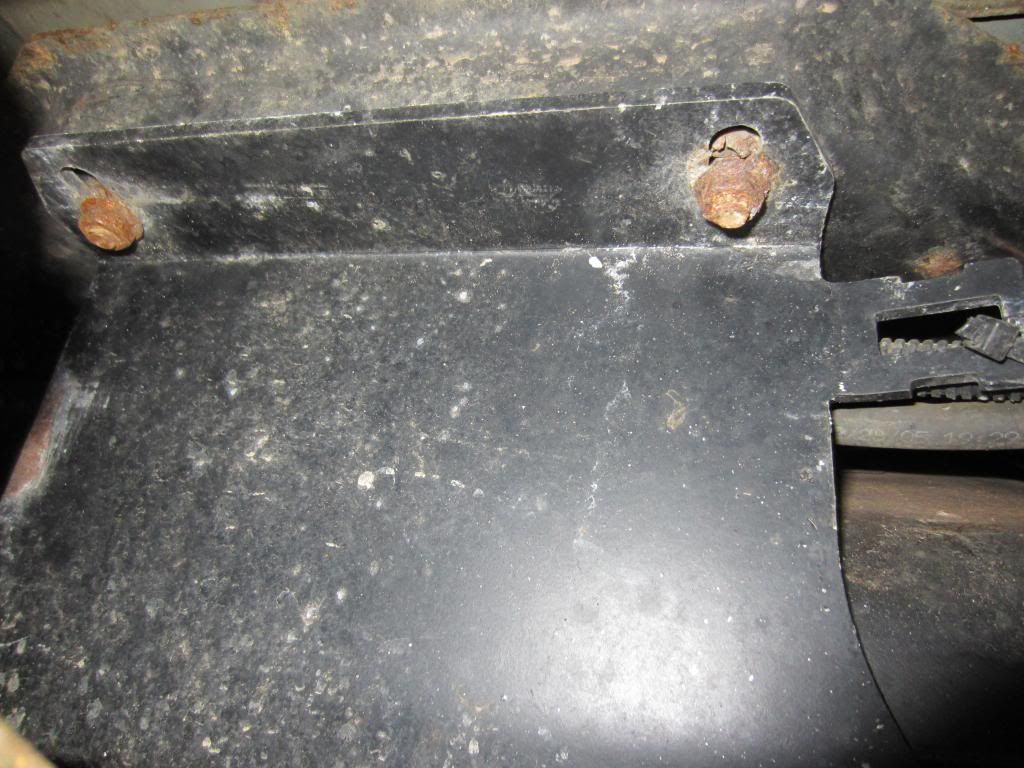
In my case sawzaw them off
This is the electrical connector that has a slide piece at the top before you can push the top of it and pull it off.
Remove the 4 bolts behind the tank near the bumper, disconnect the EVAP line on the rear passenger side and lower the tank slowly. While lowering check to make sure no other hoses are being held up and also make sure to be careful of the filler hose.
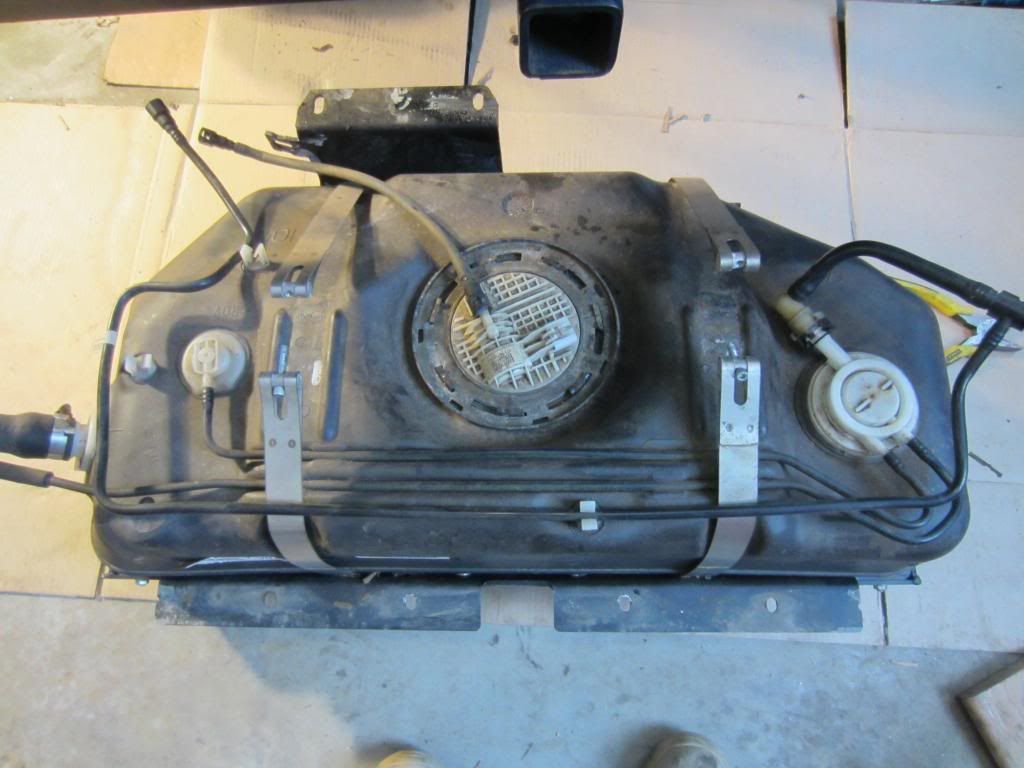
The next pic shows a 2005 gas tank and how all the lines run
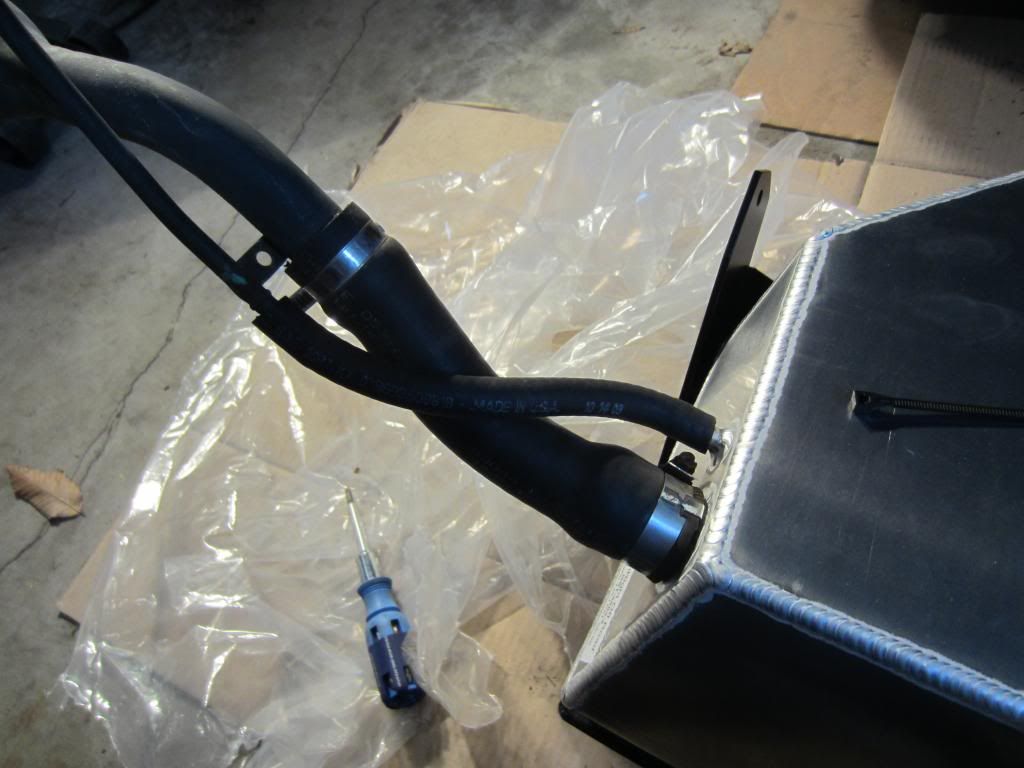
New genright tank with simplified lines

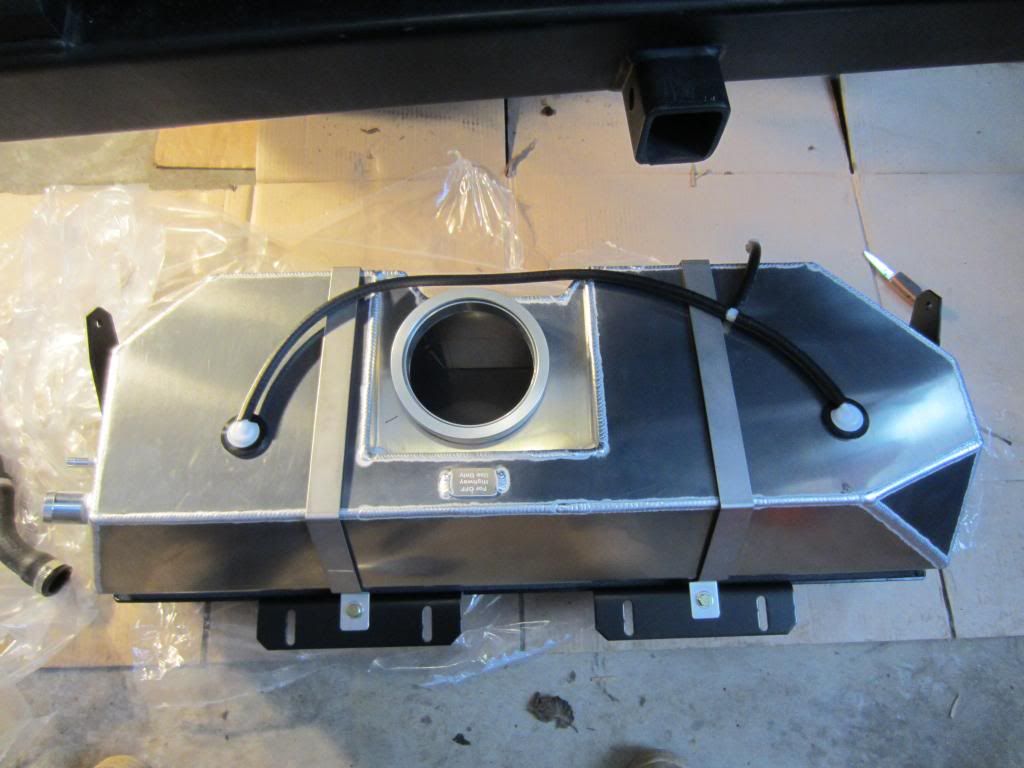
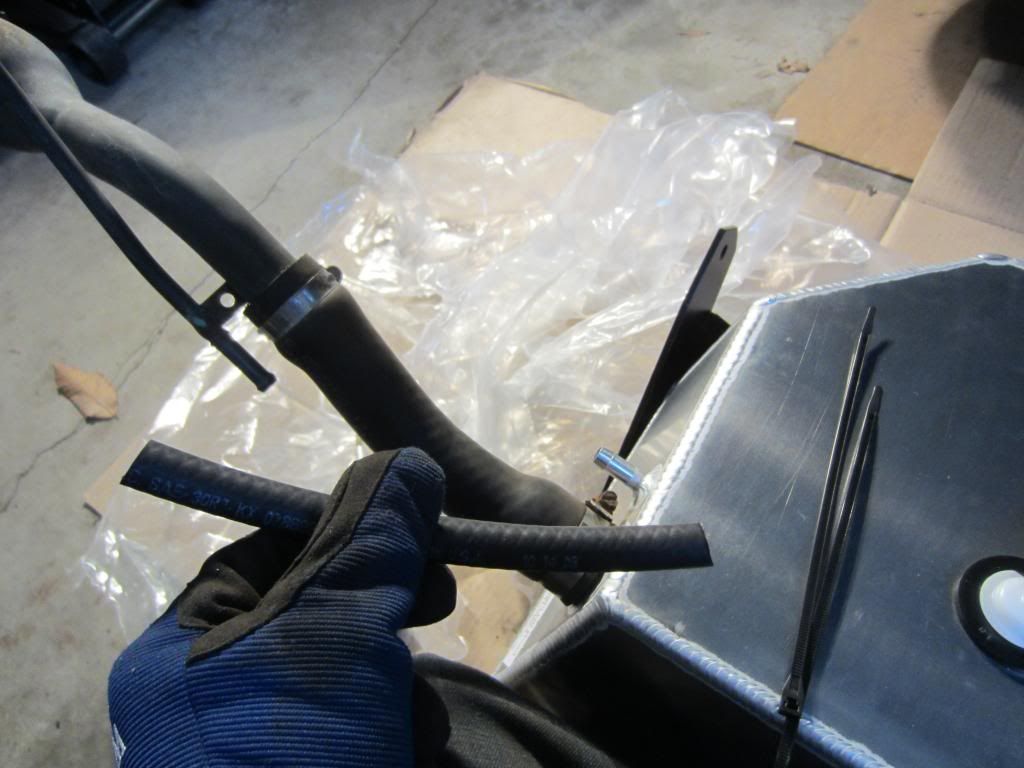
remove filler hose from the stock tank and place on the new tank
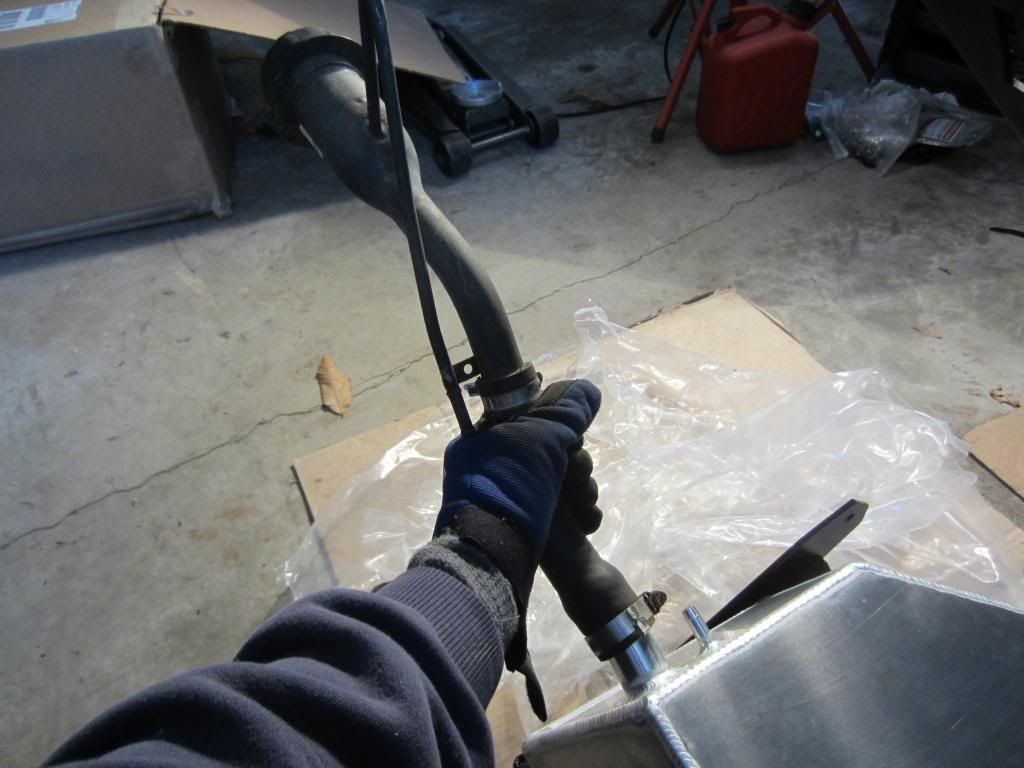
use the supplied line and do the following
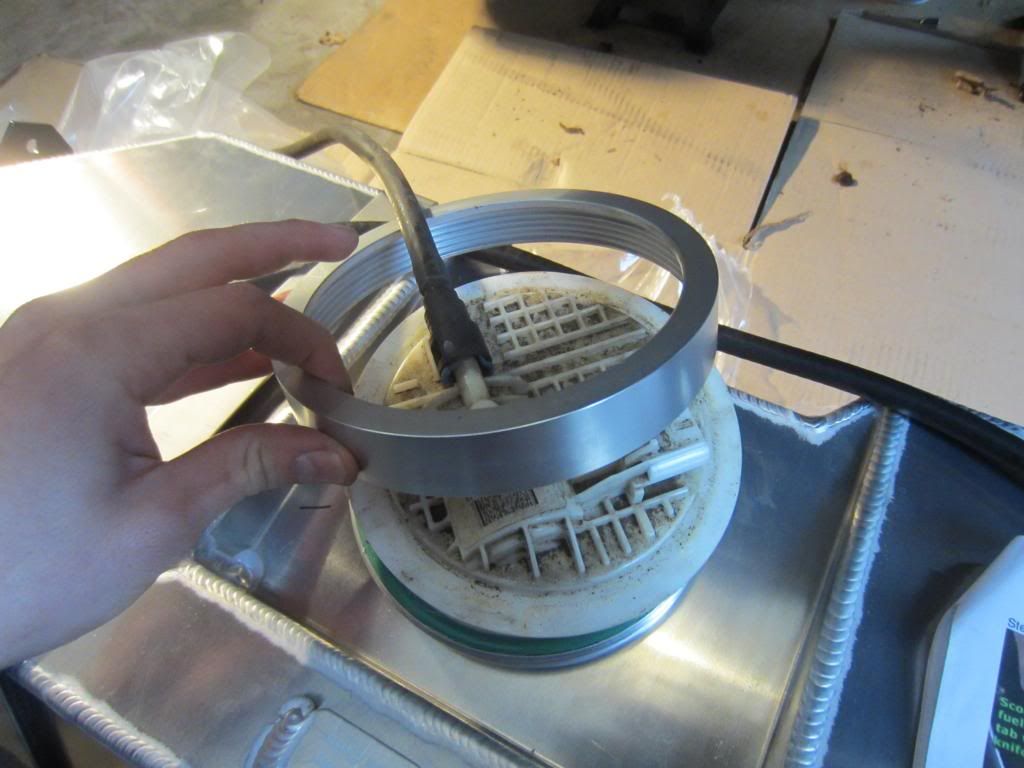
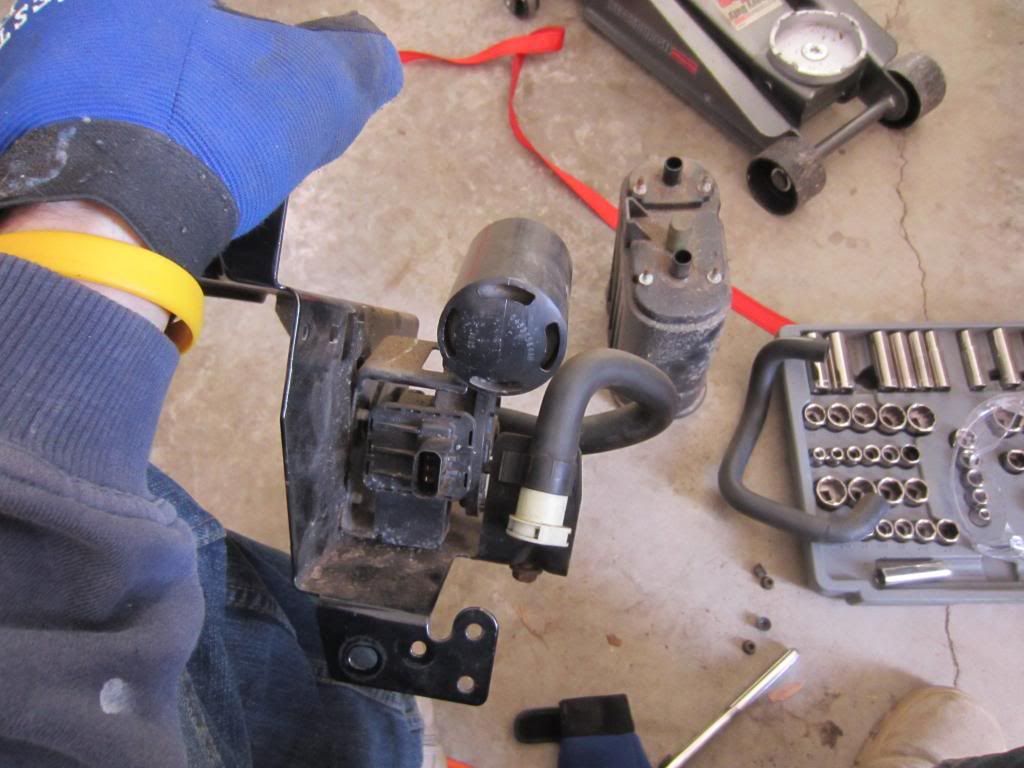
Now its time to take the fuel pump assembly out of the stock tank
Spin the outer metal ring until it comes off and the fuel pump assembly is free (I used a hammer and flathead to get the ring to spin)
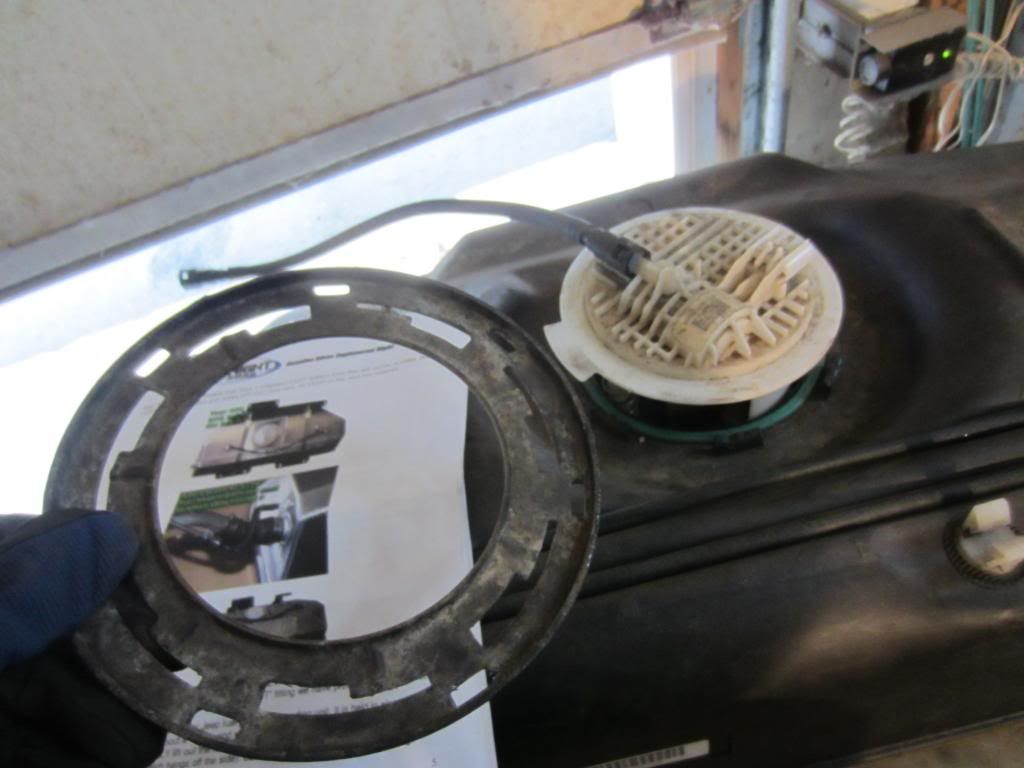
then remove the fuel pump assembly VERY CAREFULLY AND SLOW!! you can see in the next pic there is a wire and float that hangs to the side. Place it aside on a clean rag

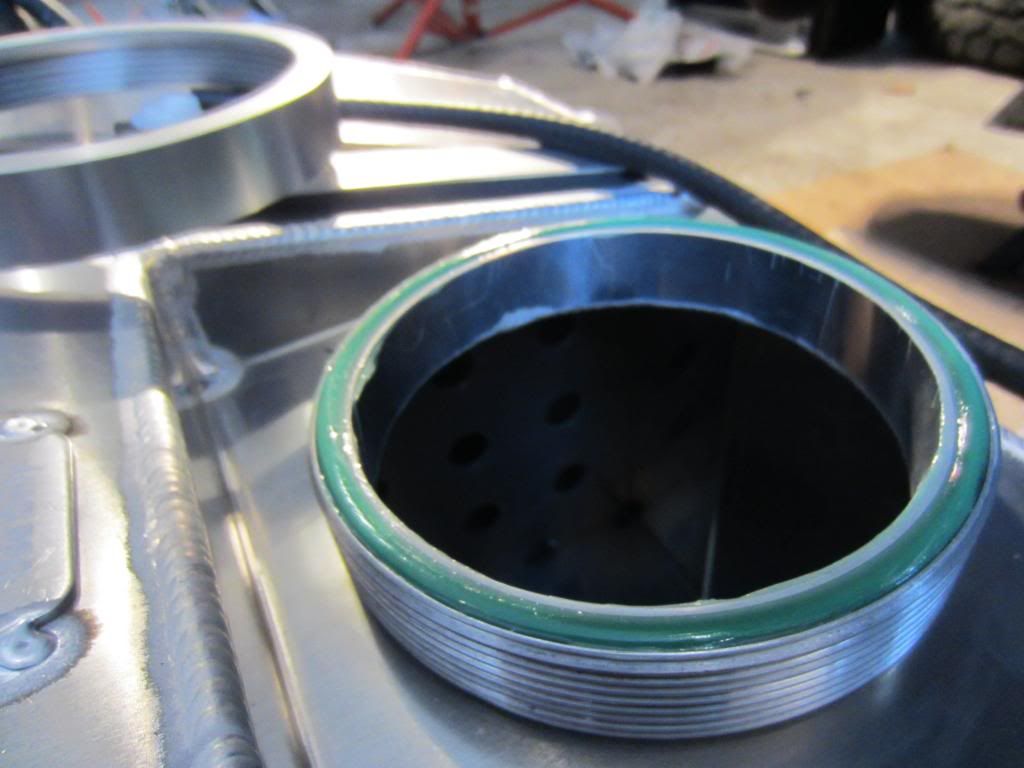
Next take the oring from the stock tank, apply some grease, and put on the new tank opening which is grooved and will fit directly in.
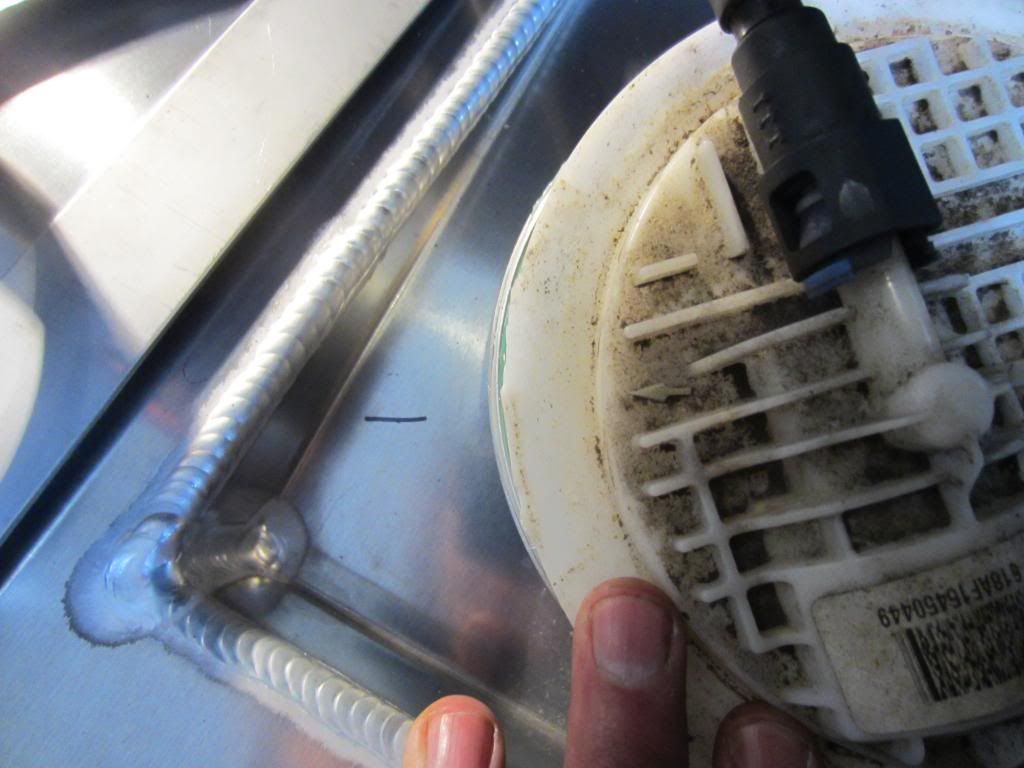
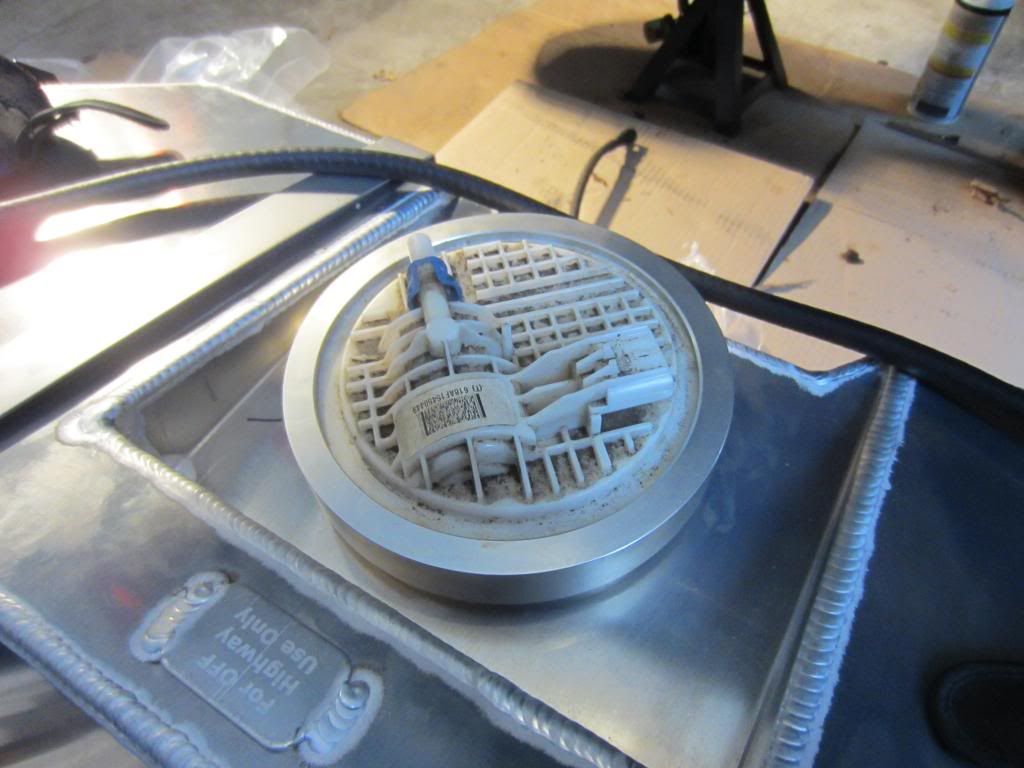
There will be a small tab at the top of the fuel assembly. Carefully cut the tab off so the assembly will sit in the new tank flush. Install the fuel assembly lining up the arrow on the assembly to the line or arrow on the genright tank
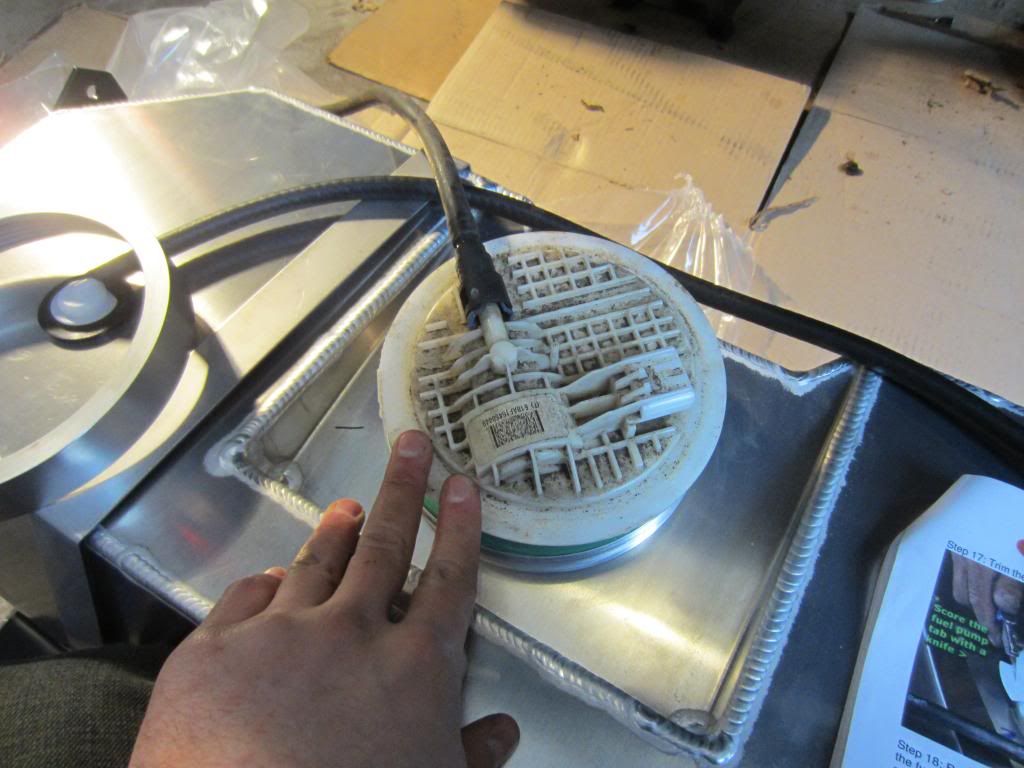
Use the supplied alum ring and and hand tighten making sure the arrow stays in line.
Leave a comment:
-
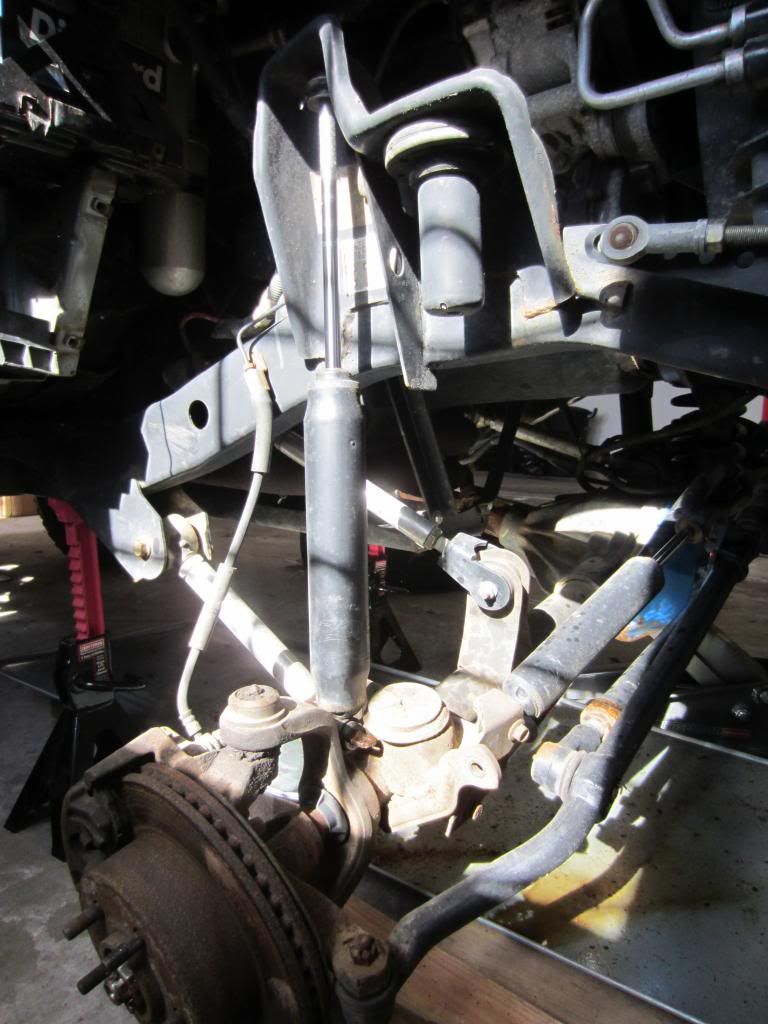
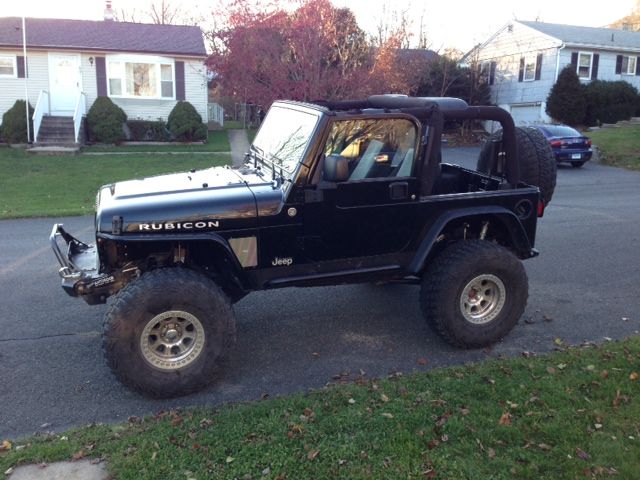
Finally got around to working on the jeep.
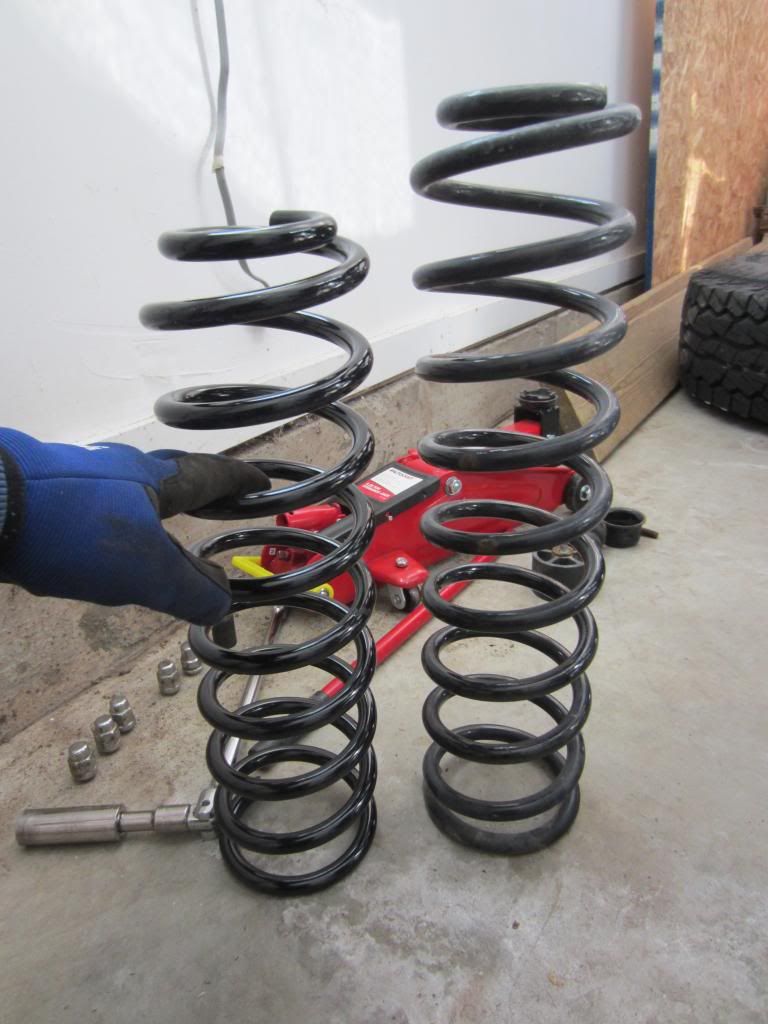
First thing I wanted to do was swap out my 4" Zone springs for my new OME springs. The main thing I wanted see is if there was going to be any rake I would need to address by frenching the rear upper mount more into the frame lowering the a$$ end instead of using spacers in the front.
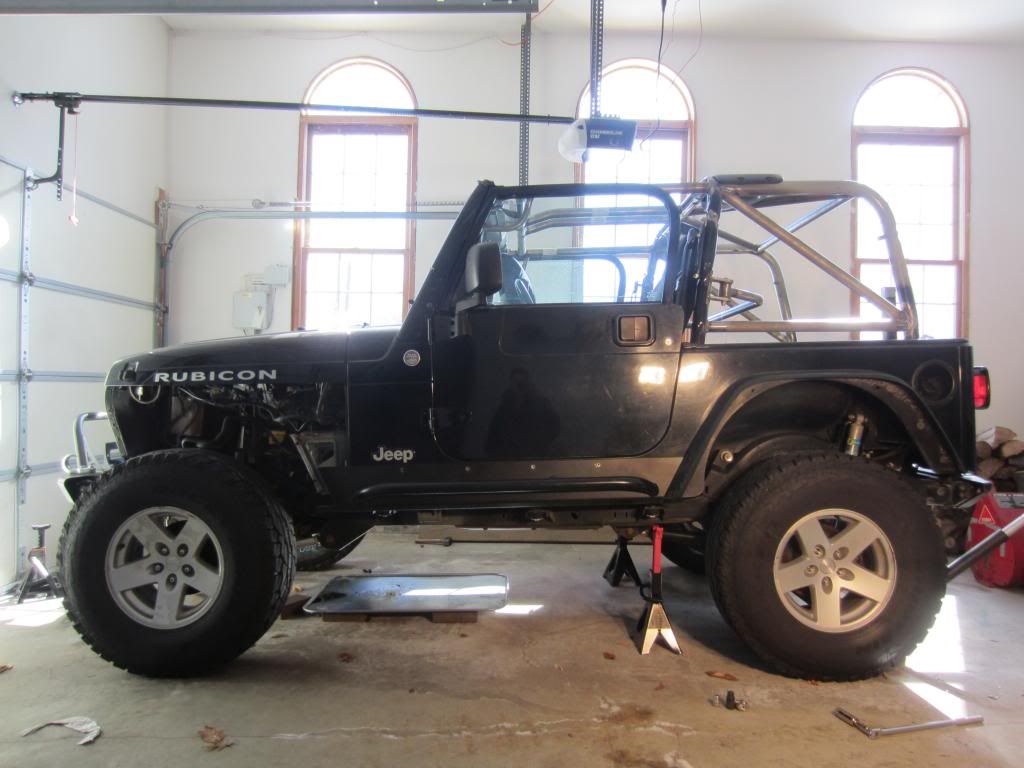
Before:
Took a few pre-swap measurements:
From the ground to the rear of the frame 22 1/8"
ground to middle frame in front of rear tire 19 1/2"
ground to middle frame behind front tire 19 1/2"
Ground to steering box skid 20 3/8"
Overall the Jeep stands pretty level
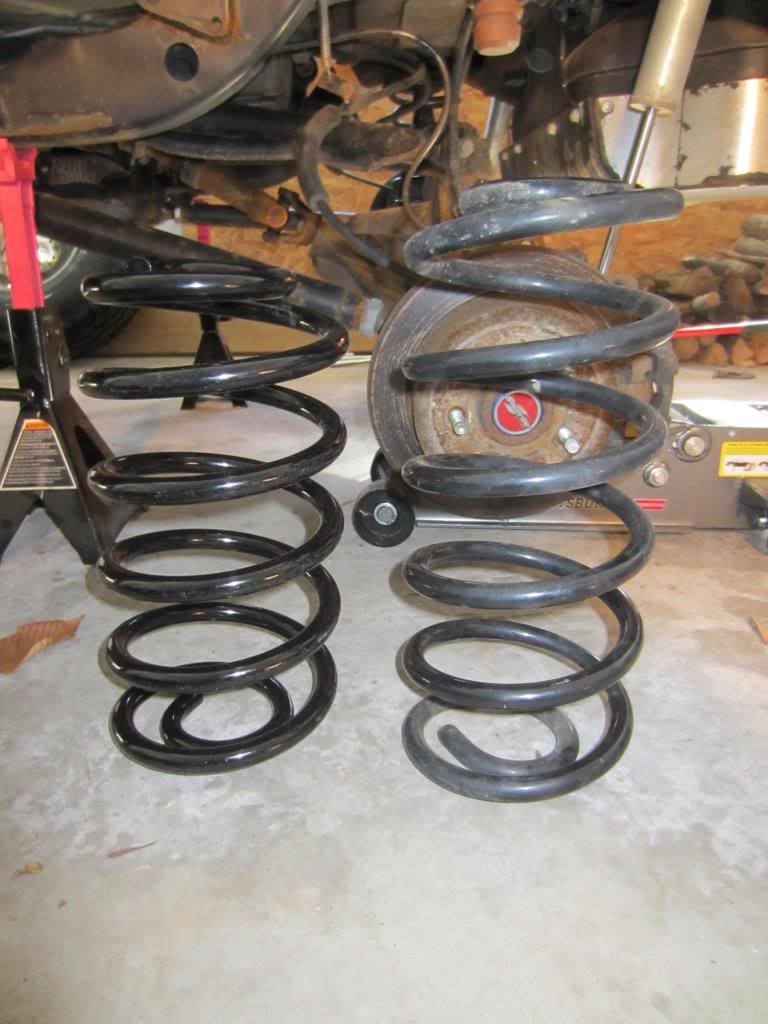
New front spring on the left (went with the OME 930s):
Front done progress shot
Rear springs (Went with OME 949 for the rear)

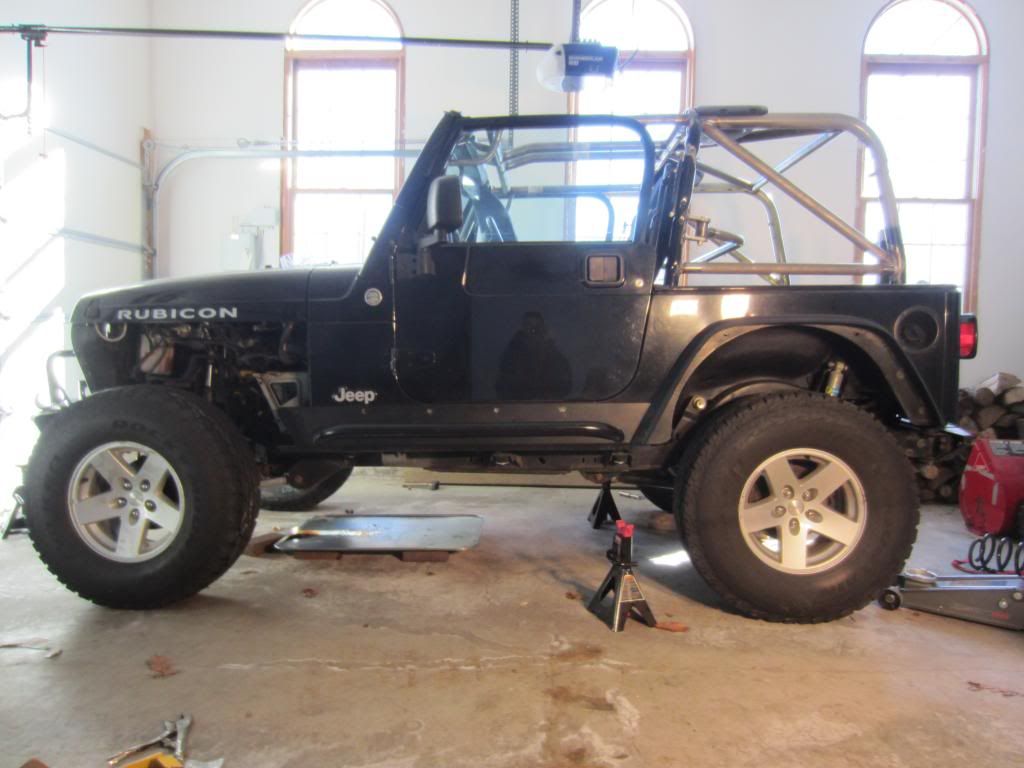
Finished product:
New measurements post-swap:
From the ground to the rear of the frame was 22 1/8" now 21 1/2"
ground to middle frame in front of rear tire was 19 1/2" now 18 5/8"
ground to middle frame behind front tire was 19 1/2" now 18 3/8"
Ground to steering box skid was 20 3/8" now 18 3/8"
The rear didnt drop much being as though the 949s are a stiff spring but Im sure it will settle in just a bit more. Front dropped 2" and now there is a little of a forward rake so Ill make sure to raise the rear upper mount just a bit when I stretch.
After the springs I decided to tackle the evap
Before:
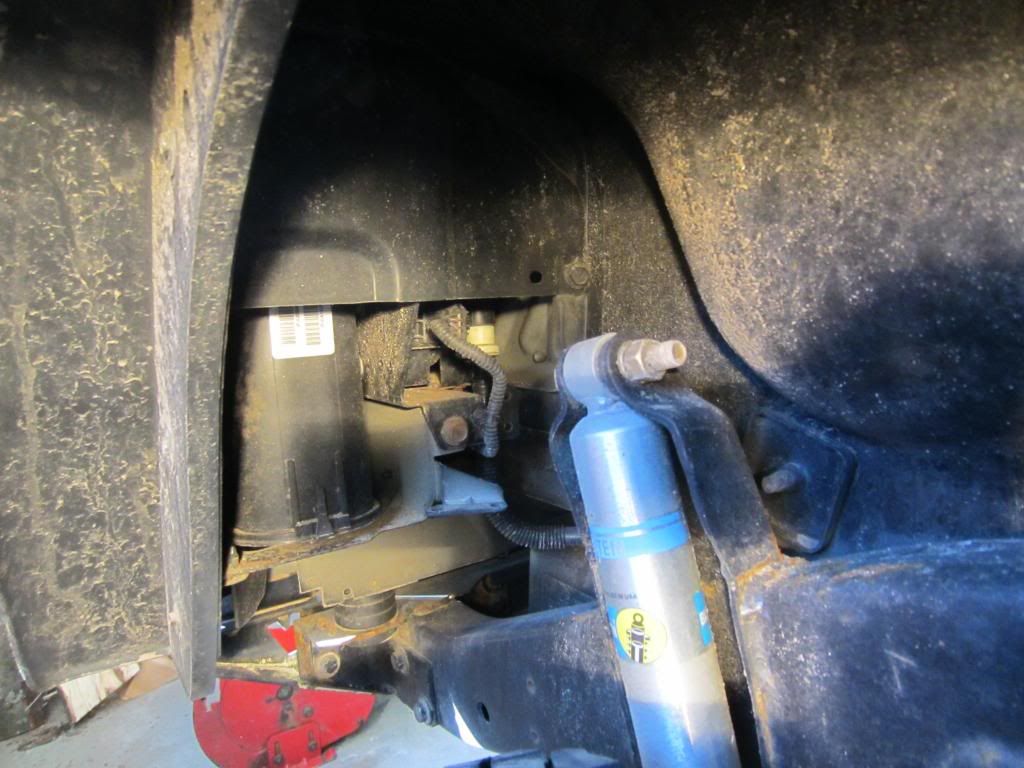
The hose with the white connector at the end is where it plugs into the hose coming from the gas tank. First thing I did was detach both hoses at the top of the next pic and removed the large charcoal canister completely. Then removed the hose on the upper left that came from the canister back into the evap completely and took the upper right hose end and moved it to the evap so it bypasses it completely.
Hard to describe but easy to figure out.
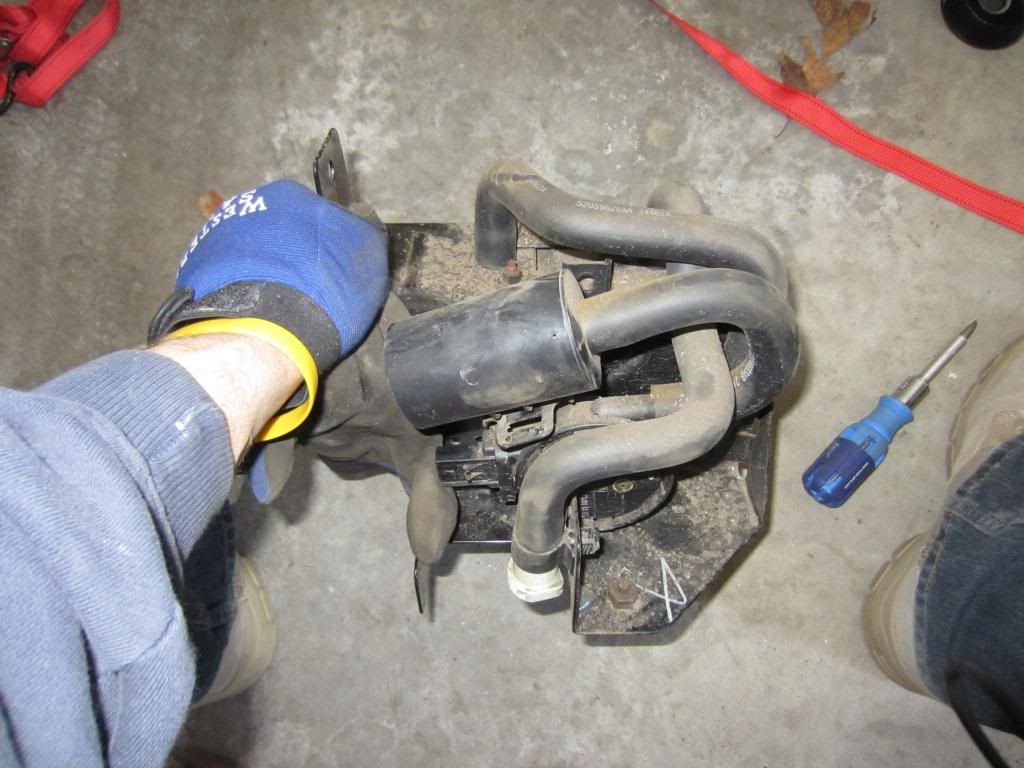
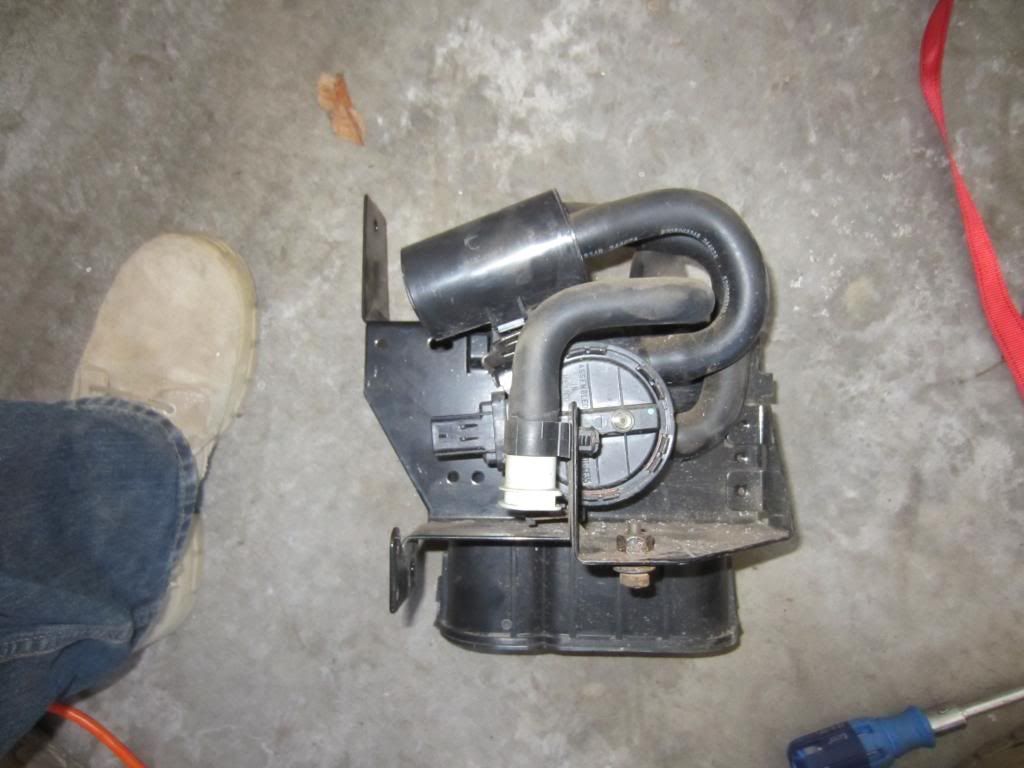
Canister detached
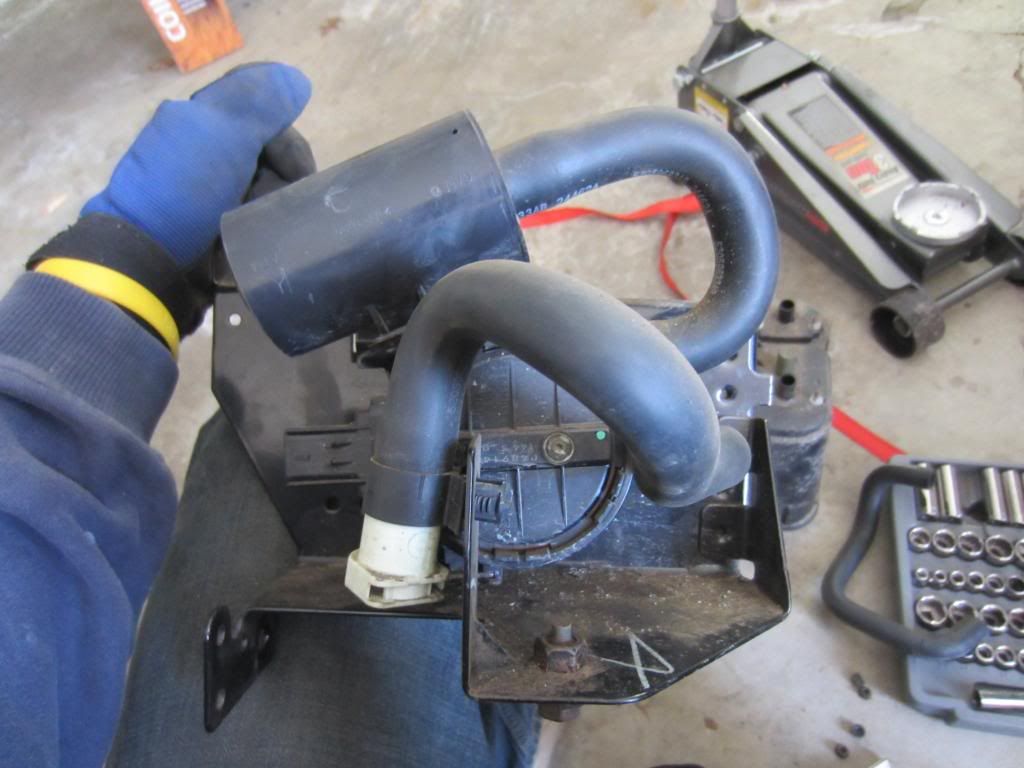
Then I removed it from the mounting bracket completely to figure out how I wanted to mount it.
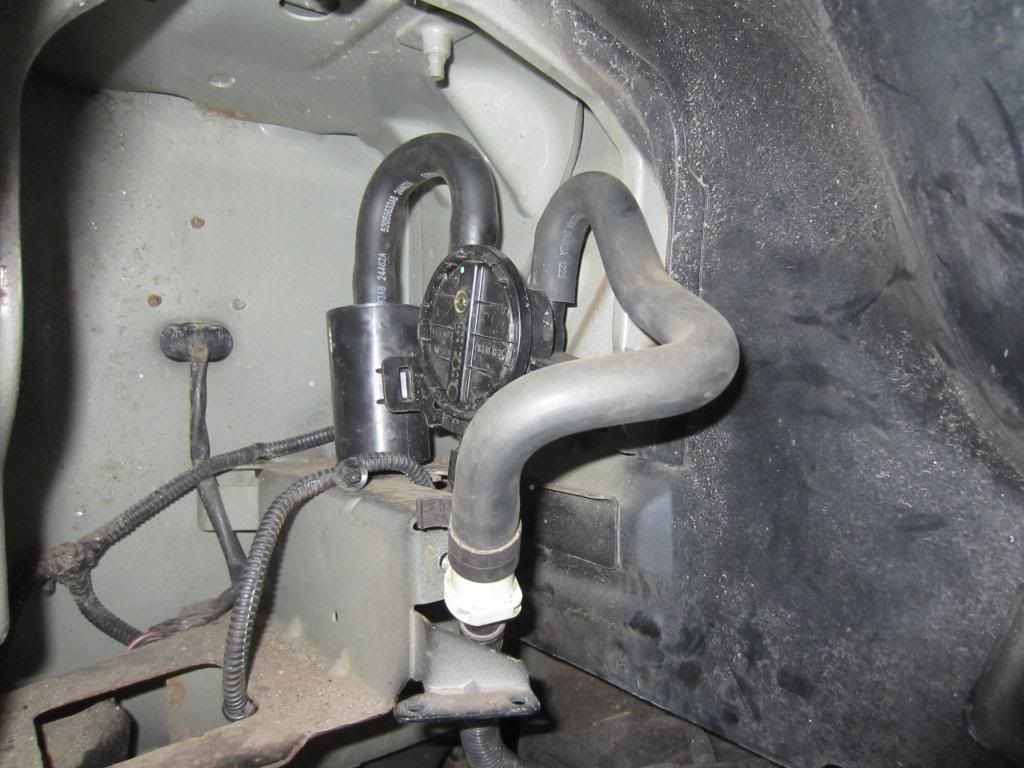
Ill make a bracket to mount like so and remove the shelf that held the canister. Started the jeep up and let it run for 10 minutes and no codes so far.
Next project is the Genright tank installLeave a comment:
-
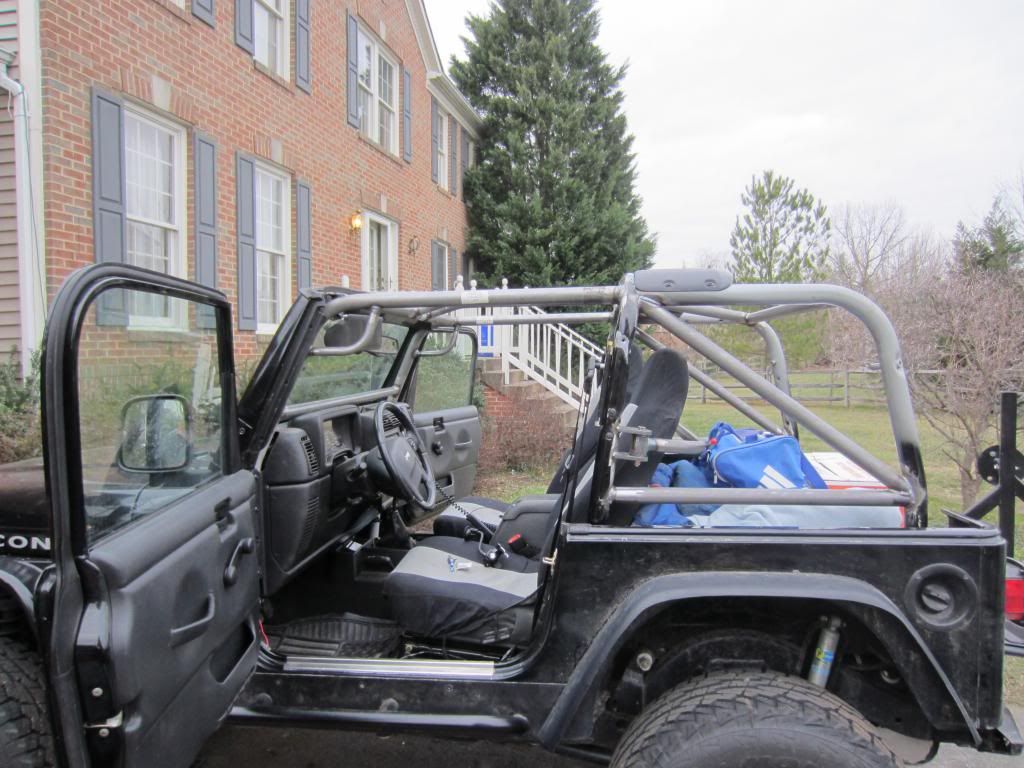
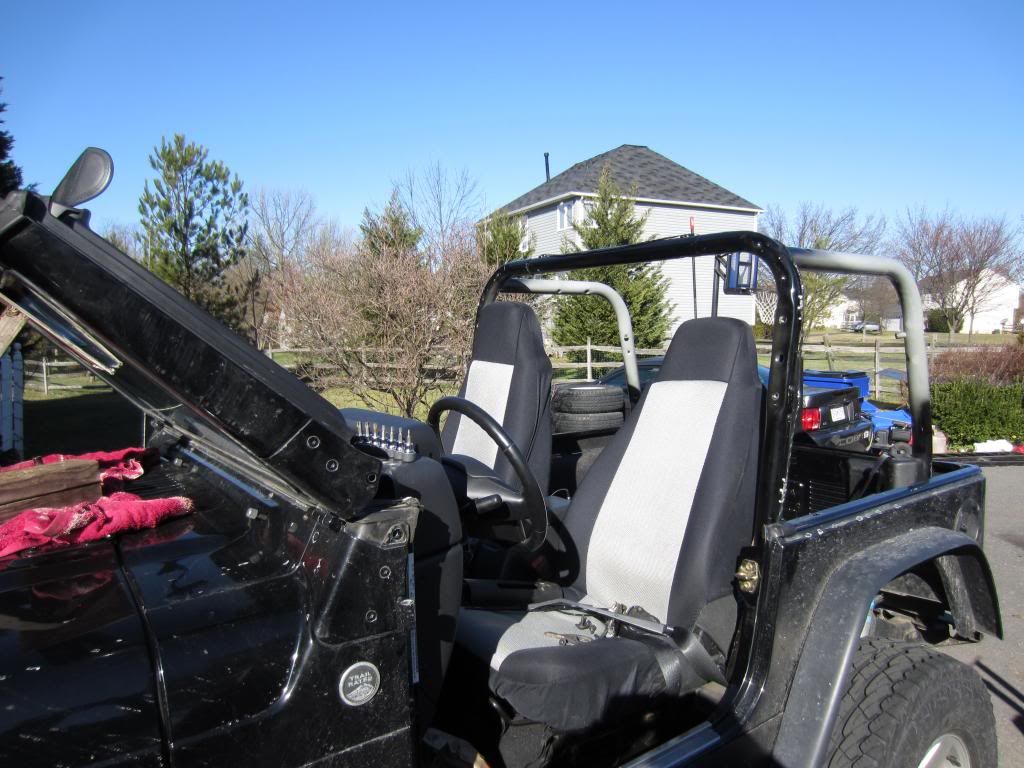
Fits the hardtop and the rampage top no problem
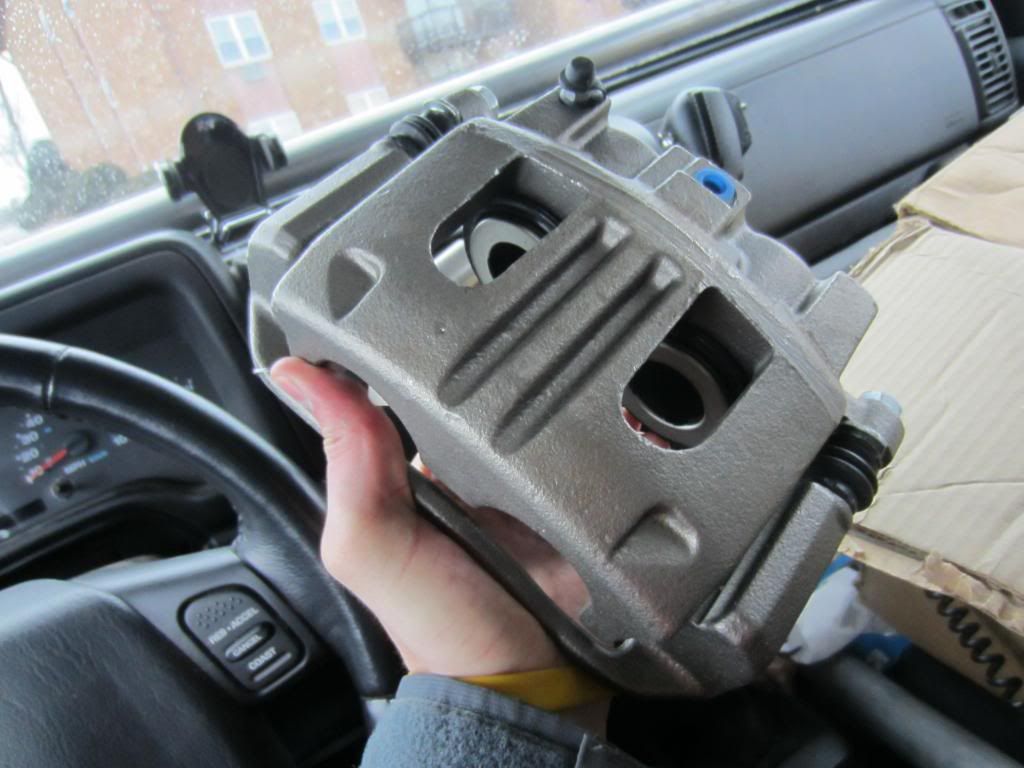
Also picked up a Vanco Big Brake kit on my way home Freakin thing is huuge
Leave a comment:
-
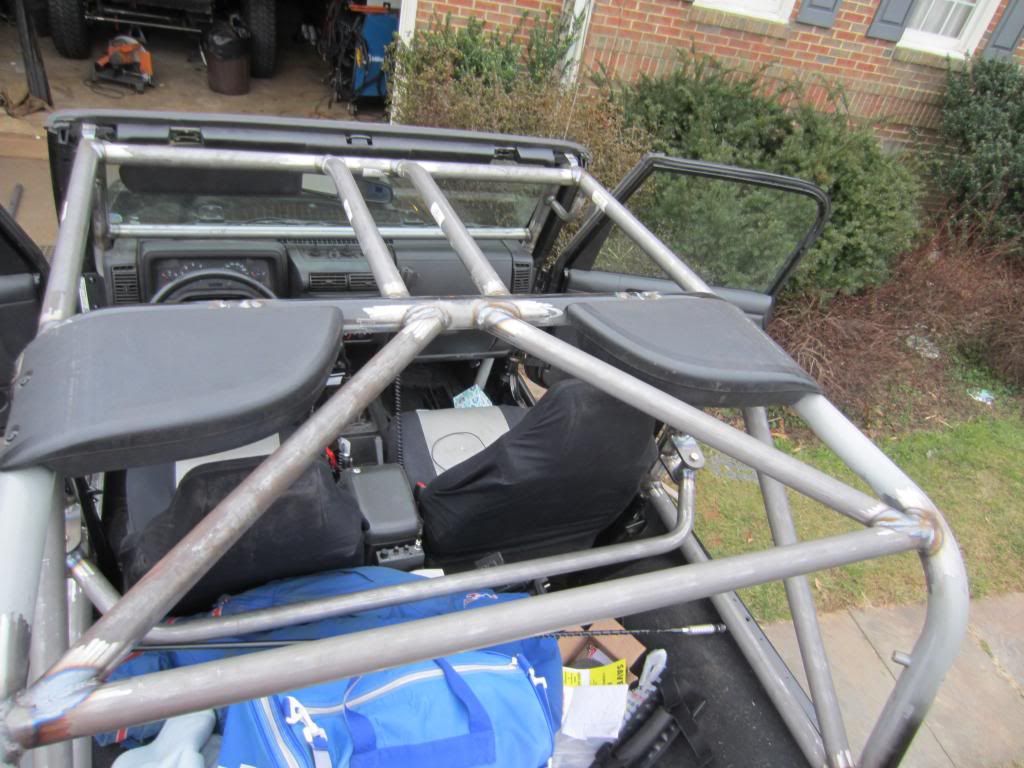
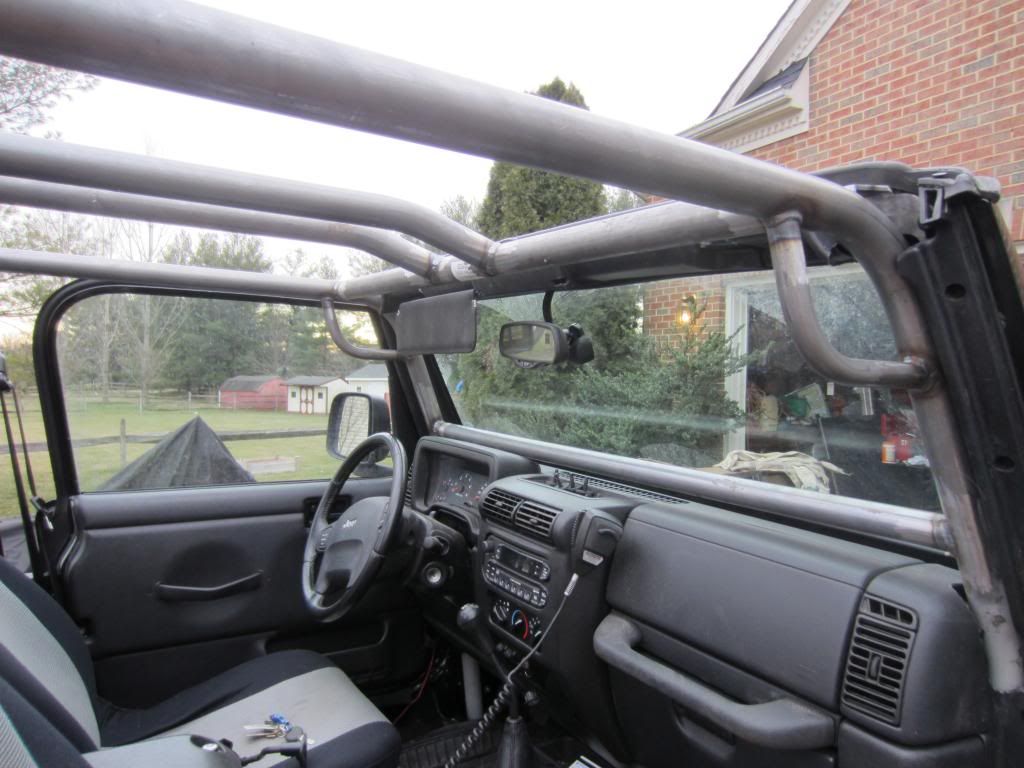
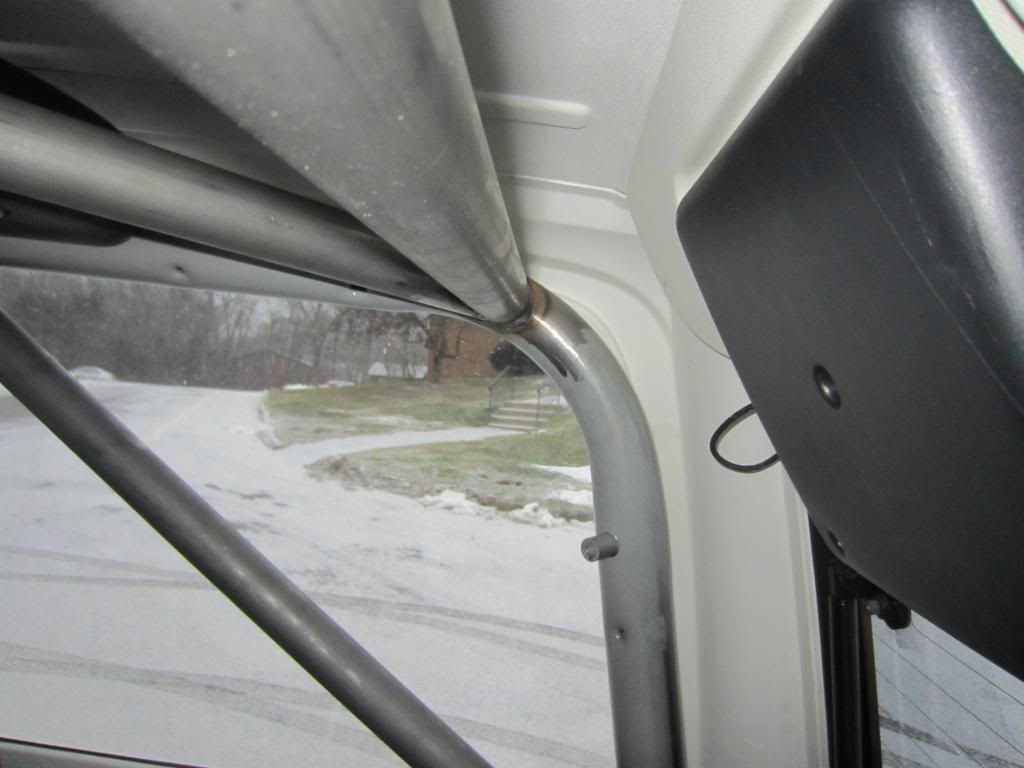
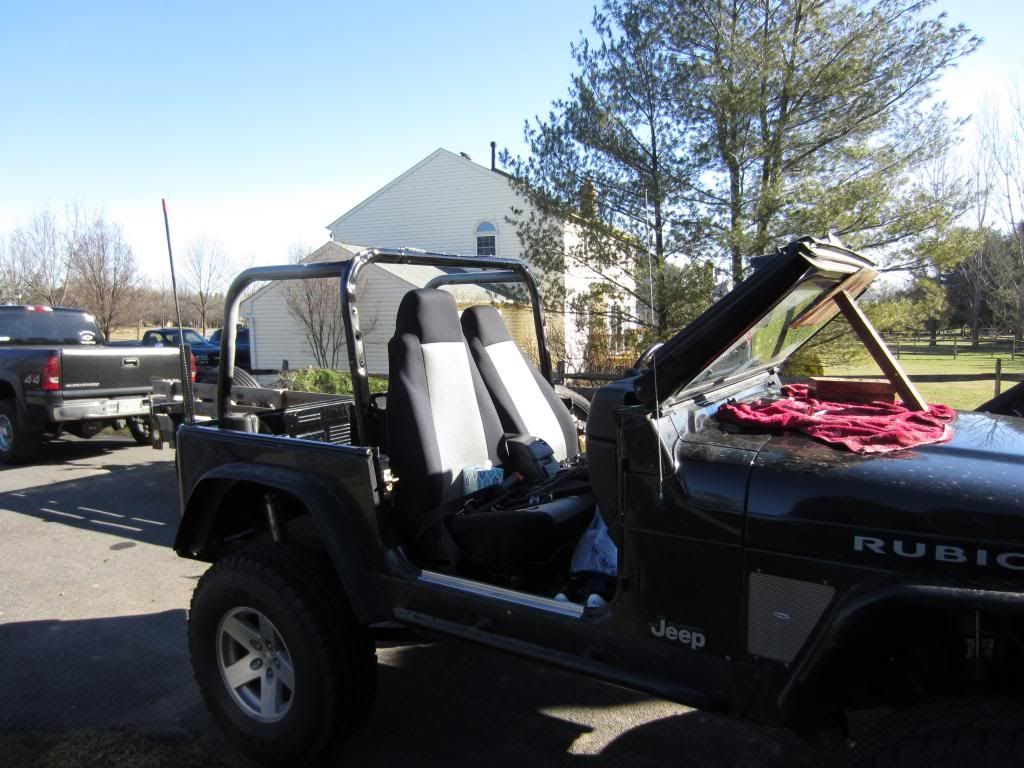
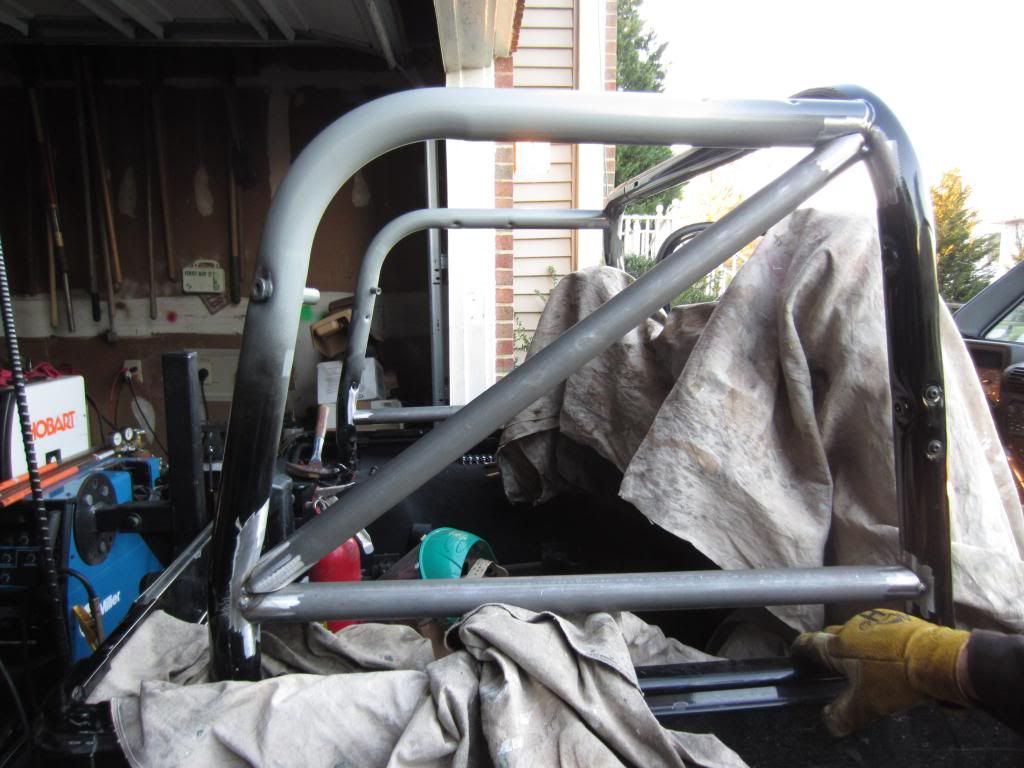
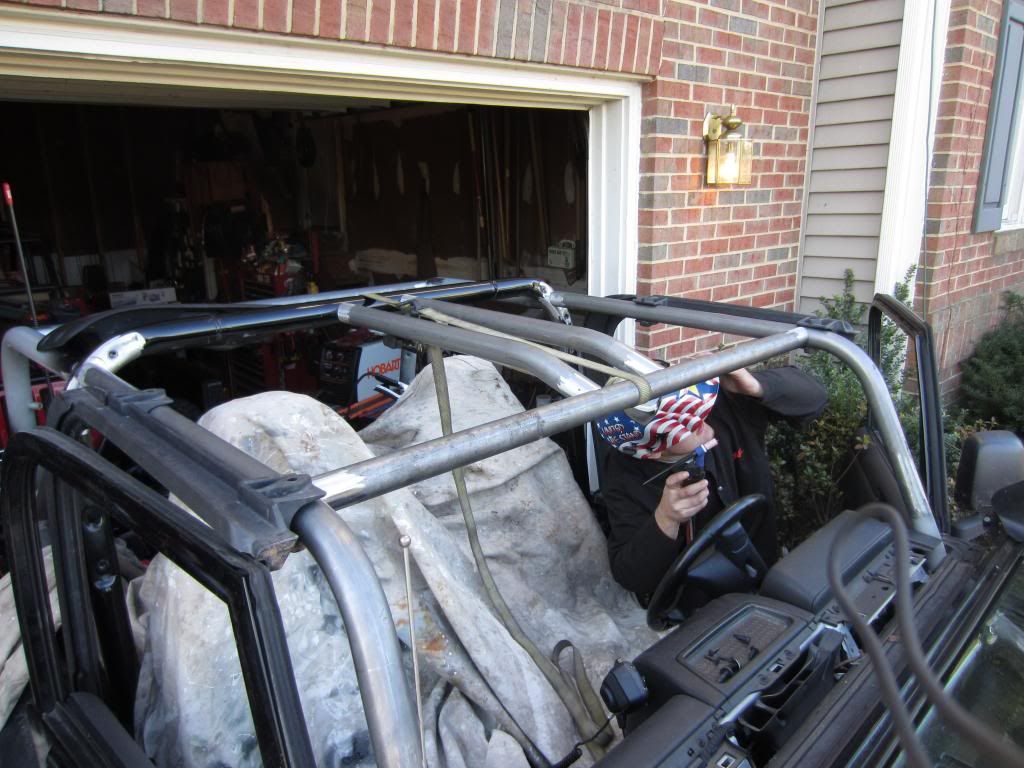
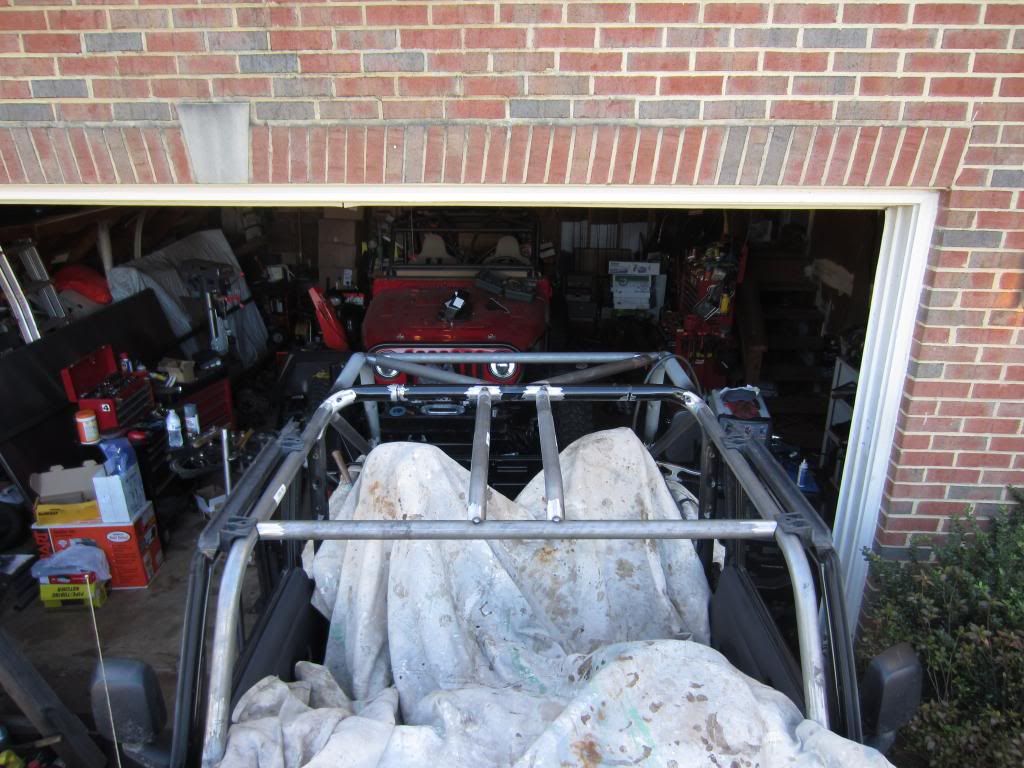
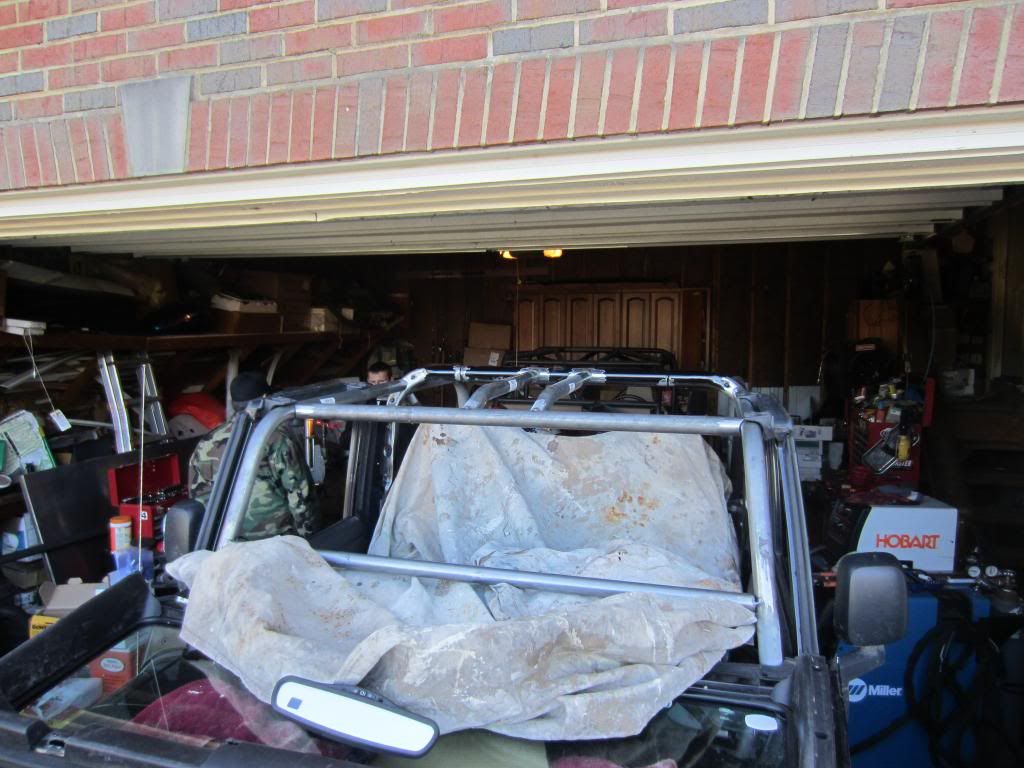
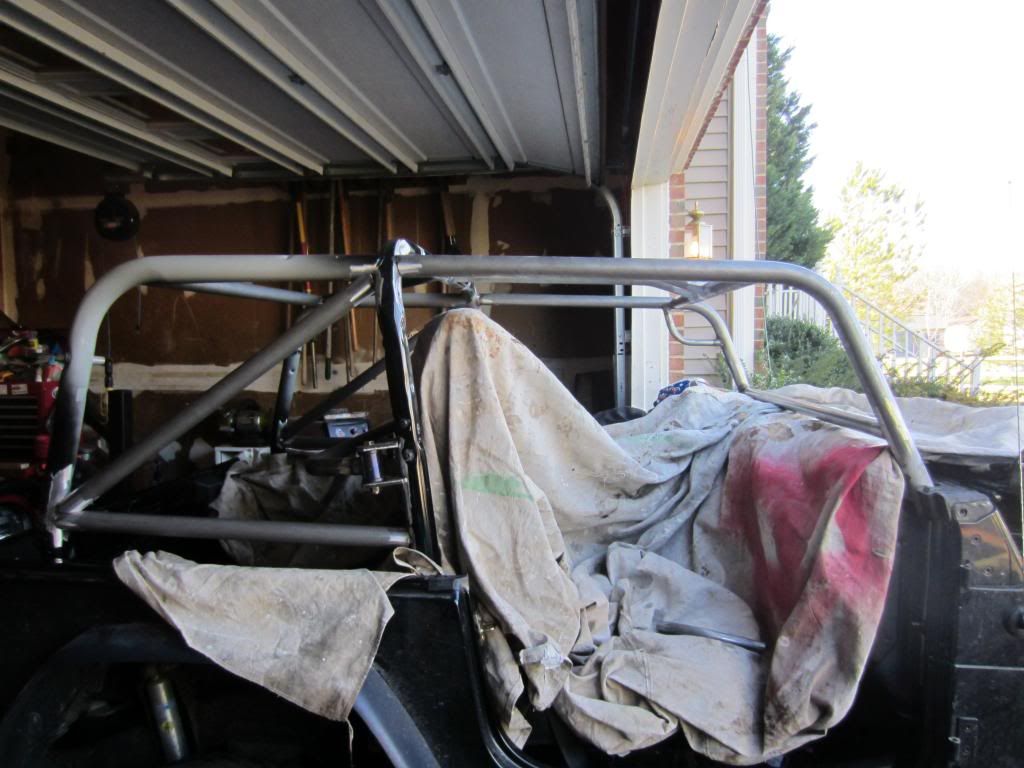
went down to maryland to visit a friend this past weekend and while down there we did my roll cage
Tear down
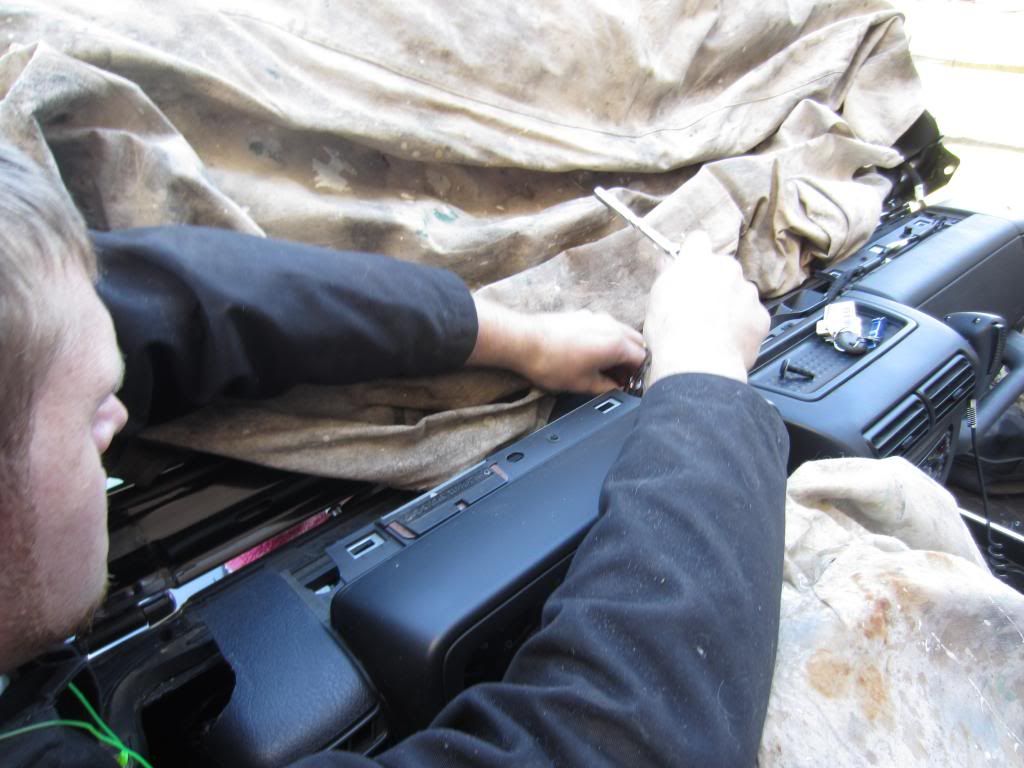
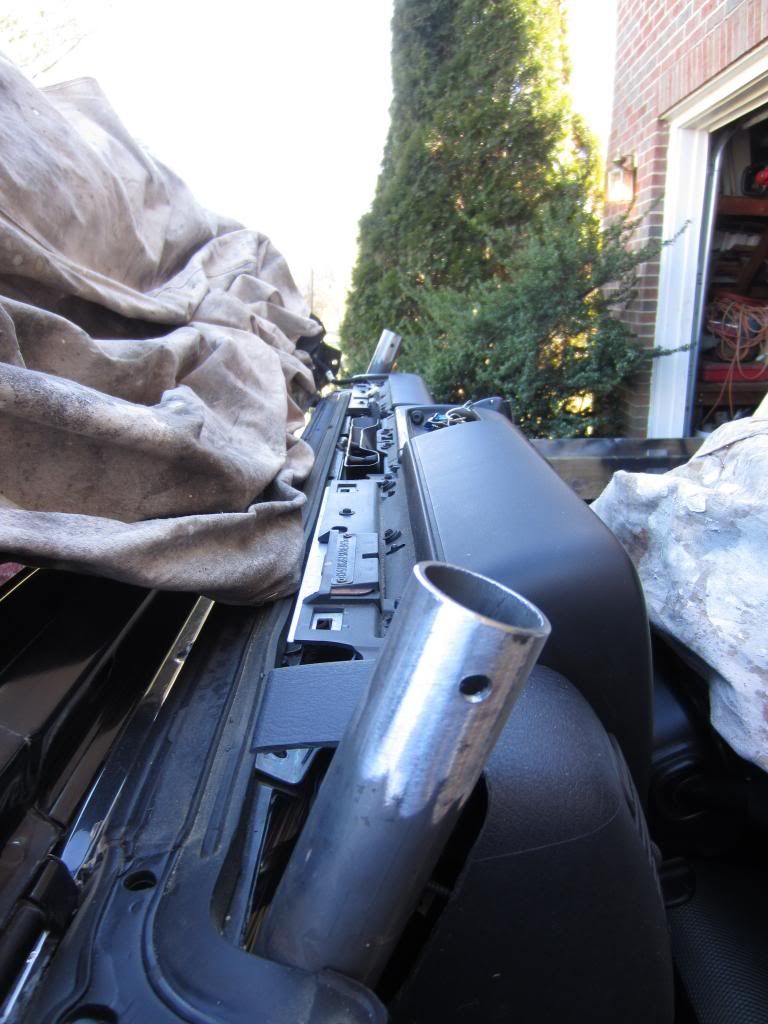
Cutting the notches in the dash. Poly provides a template that provided more then enough room. For those tackling this project in the future start with a smaller notch and work from there.
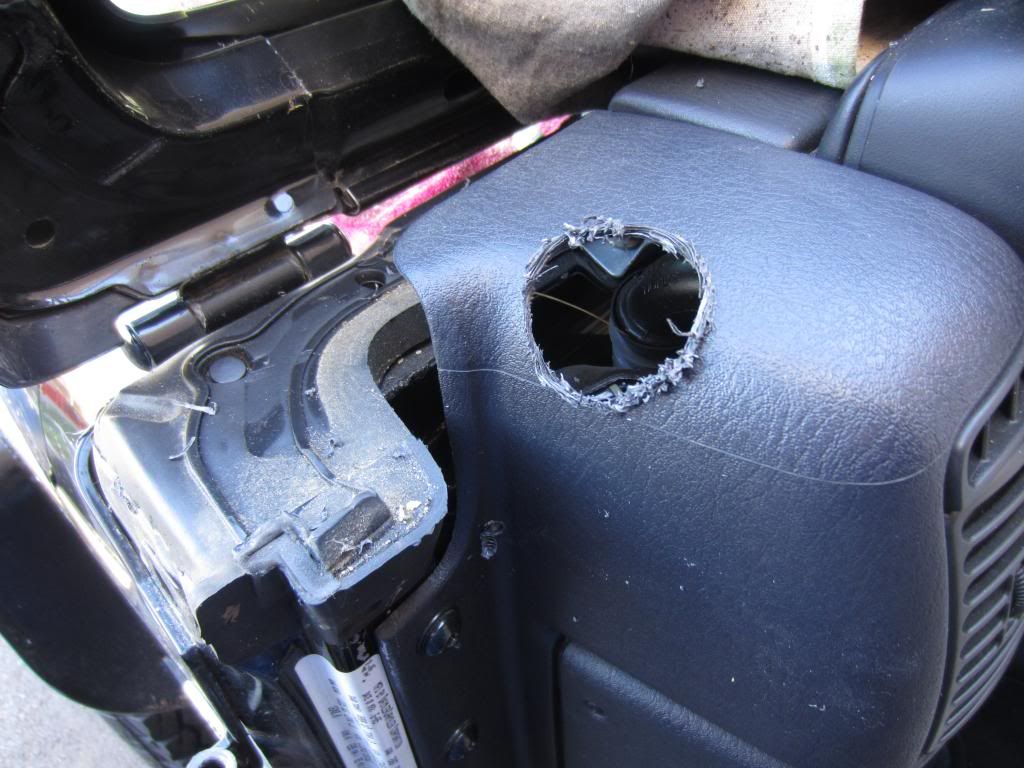
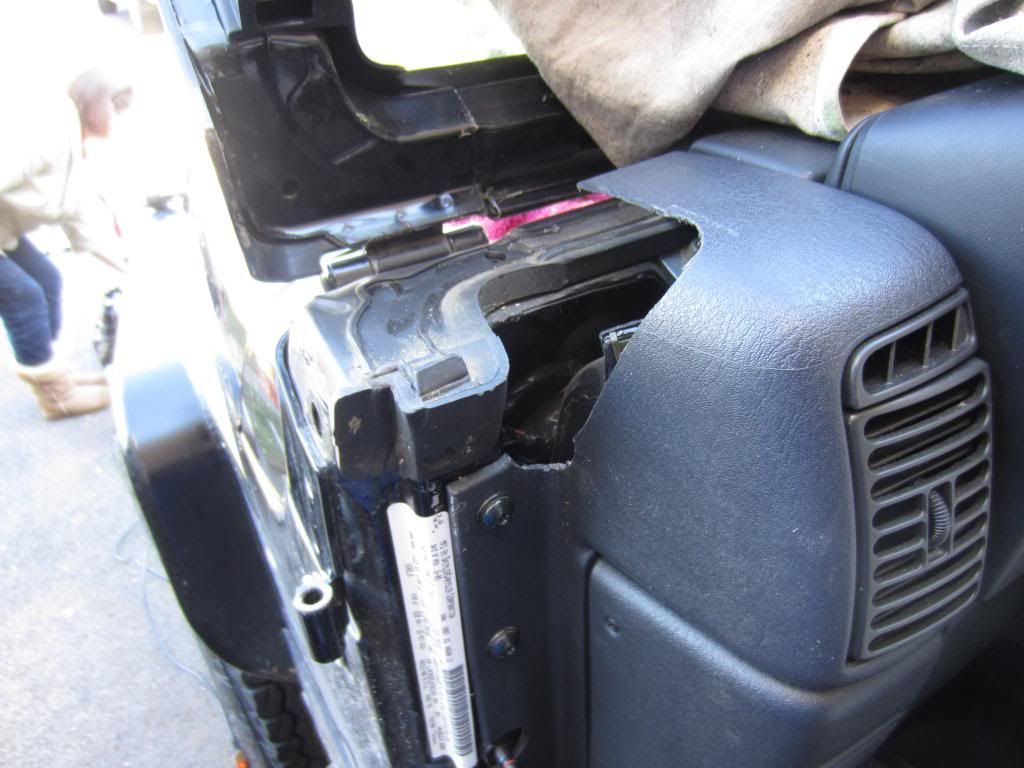
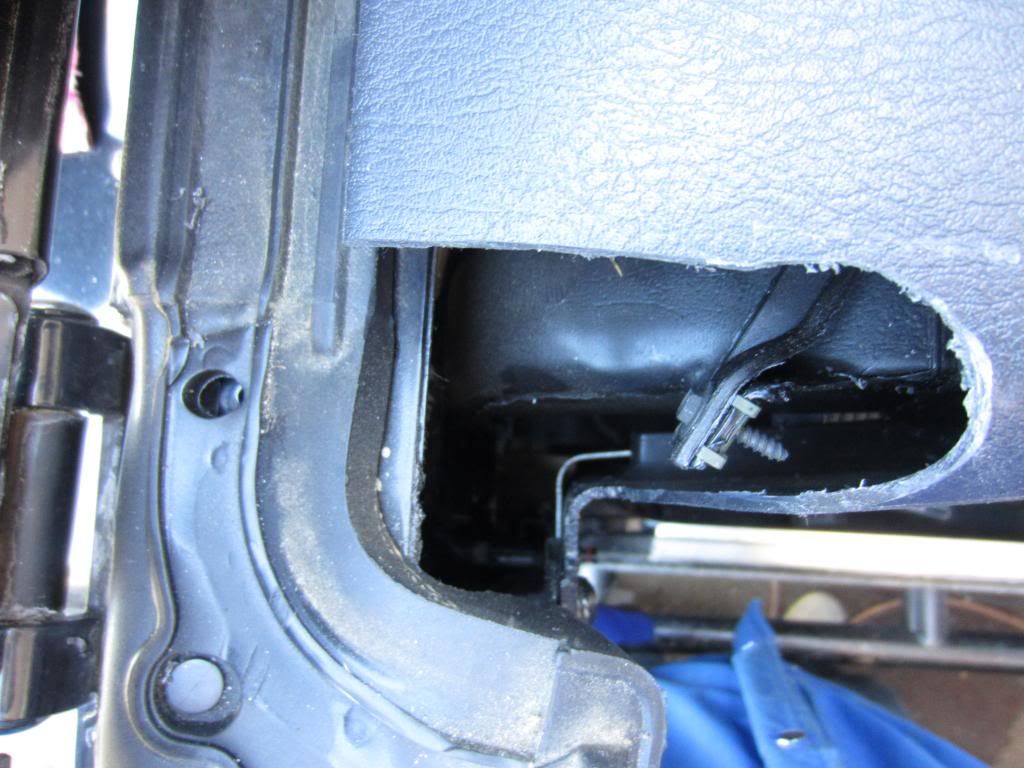
took the top vent cover off (pops right off), unbolted 4 bolts under the dash vent, and the 3 along each side of the dash in the doorway, and loosen 2 behind the glove box so we could lift the dash off slightly to provide a little more room to slide the A pillar in. Then put the dash right back in place.
Test fitting with the door surrounds to get a good seal with the door.
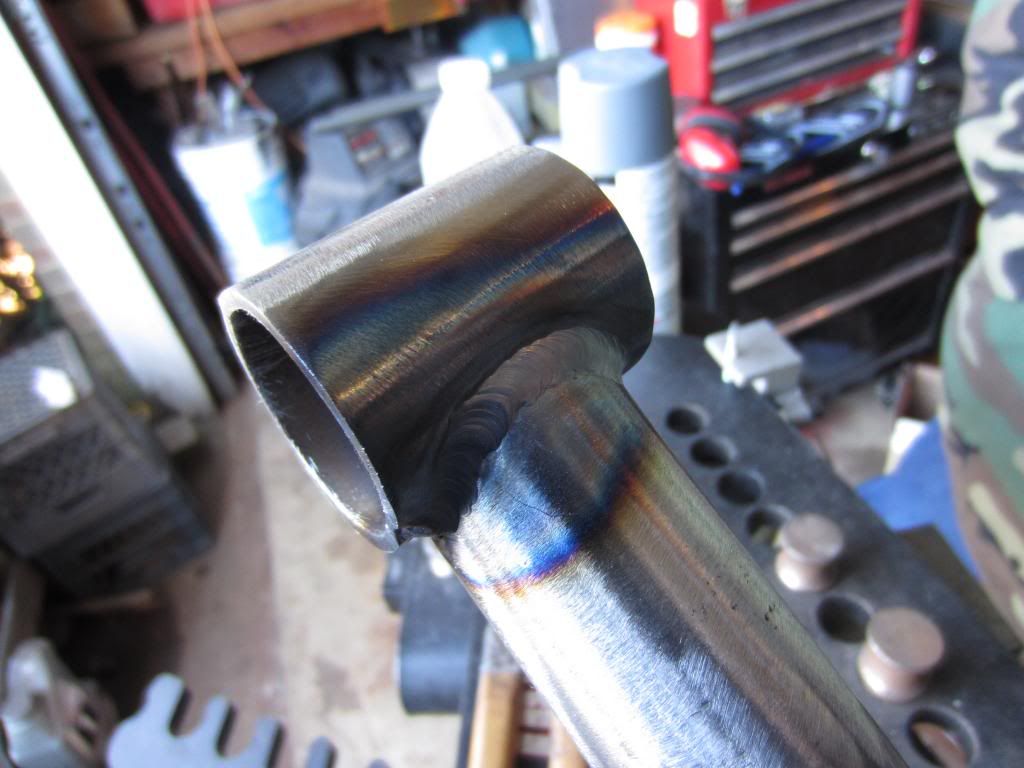
The A pillar comes in two pieces. Some Tig welding..
Custom Rear additions
Drilled holes in the floor and cut the rock sliders to make room for the frame tie in
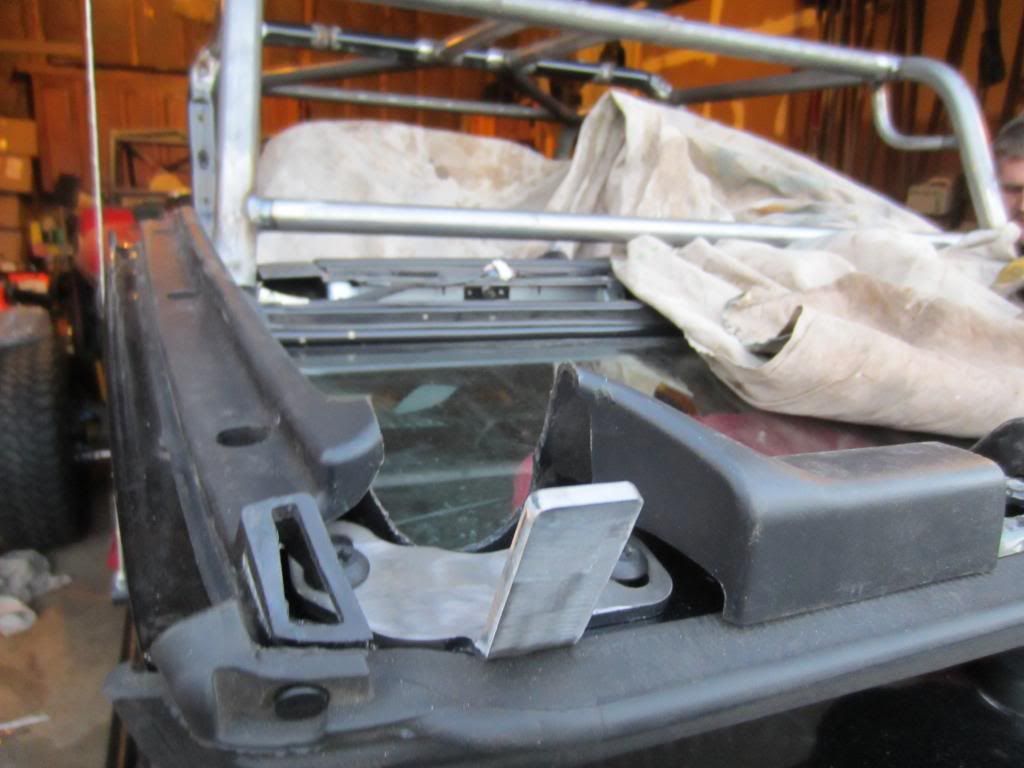
Test fitting the front windshield spreader bars
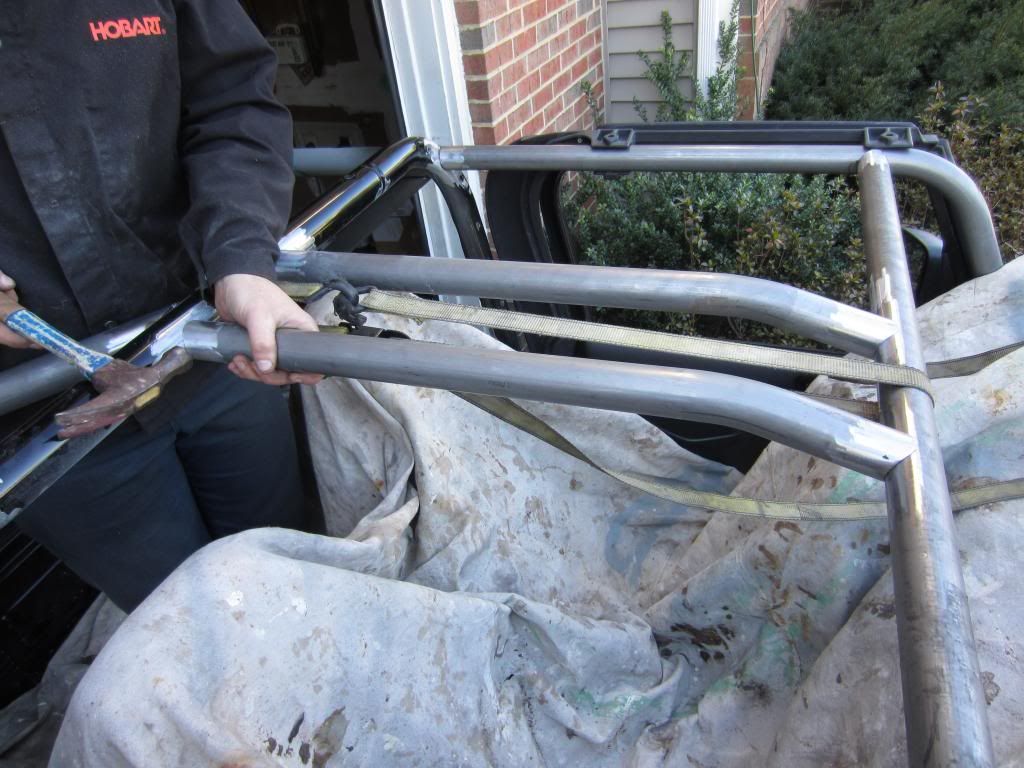
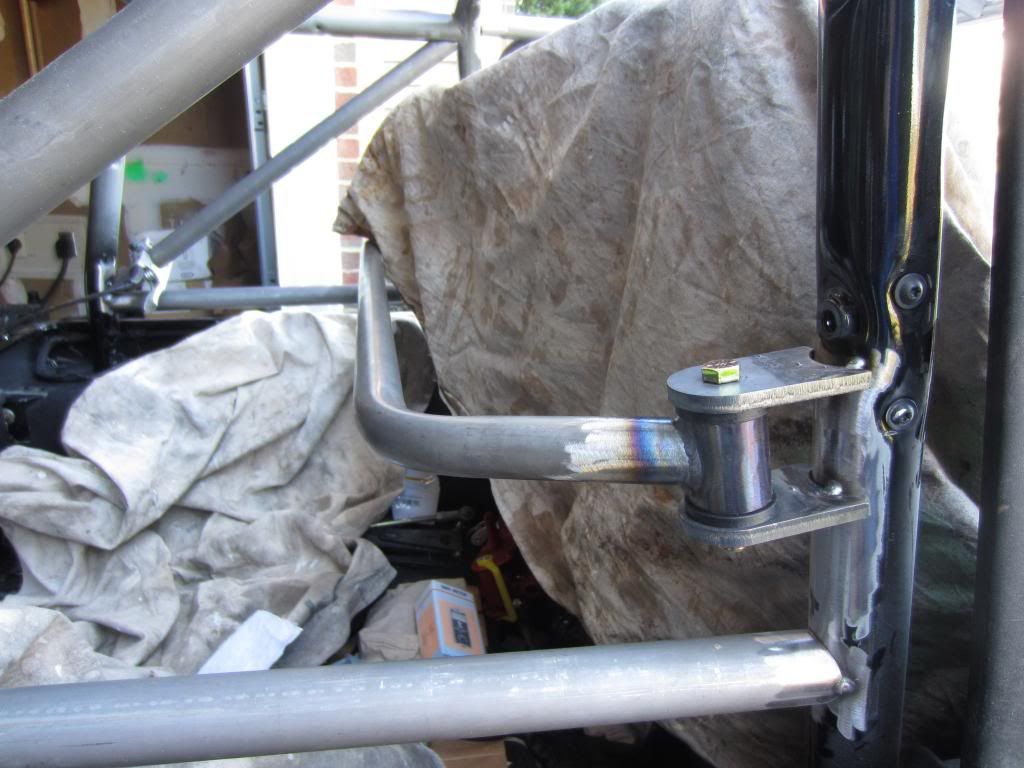
My buddys amazing Tig welds on my shoulder harness bar
Tacking everything in place
Almost ready to be fully welded
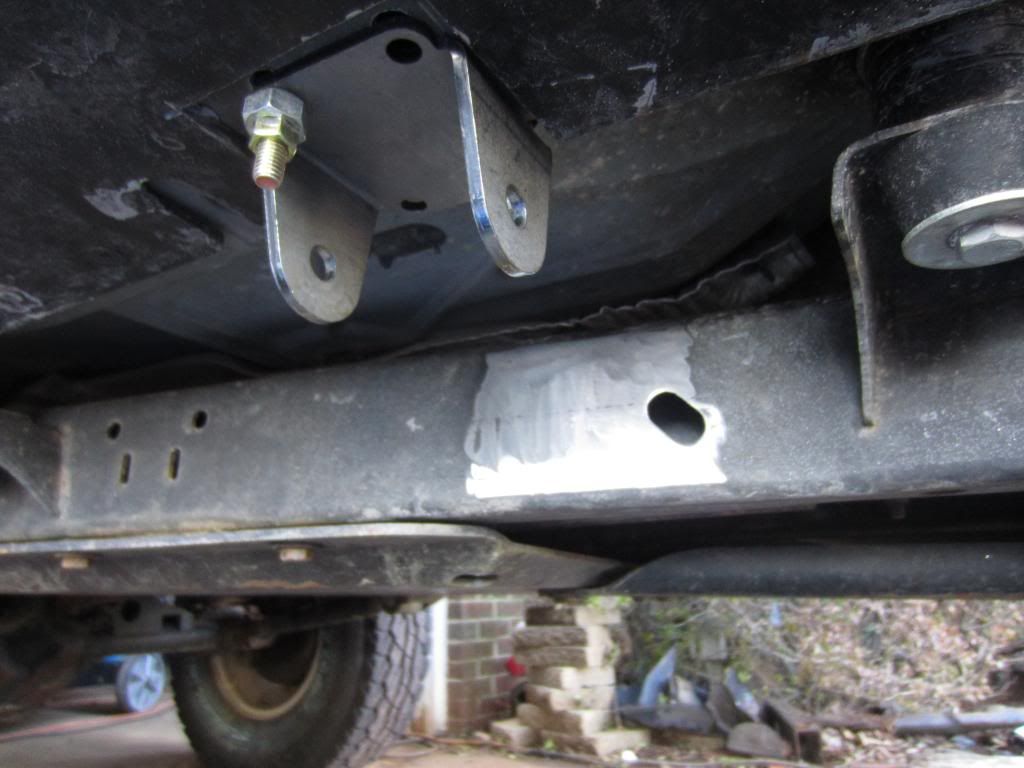
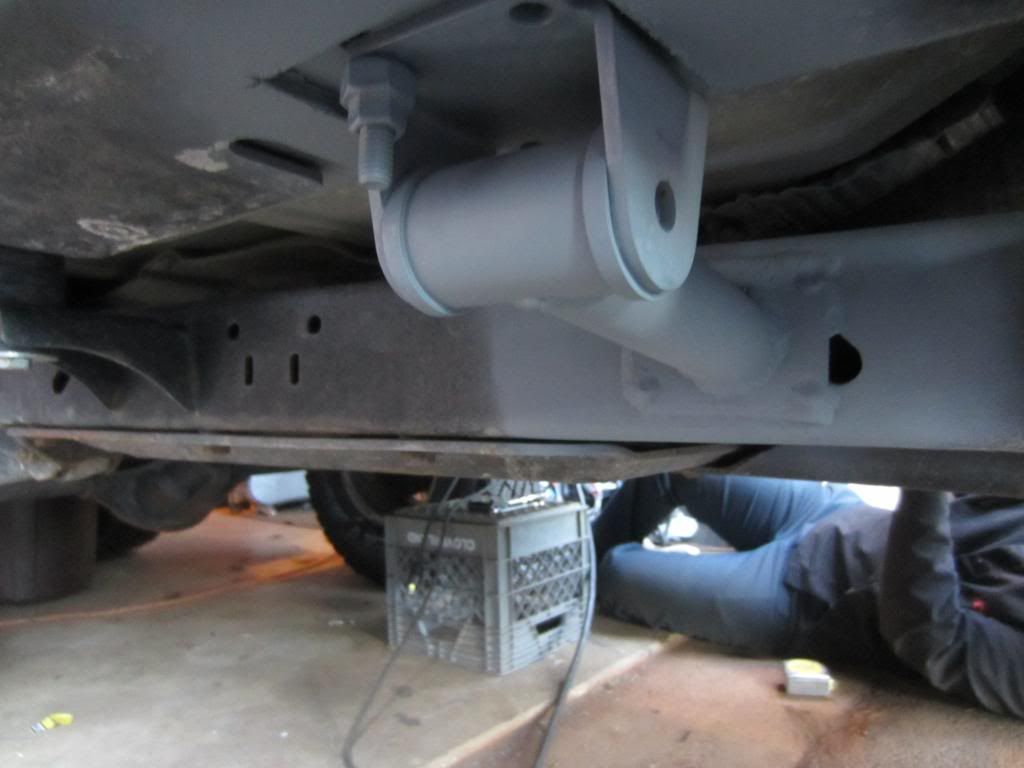
Frame tie in
On the 03-06 models there is a plastic trip around the windshield so that has to be notched.
Finished product

 Last edited by AngryTJ; 01-23-2013, 08:28 PM.
Leave a comment:
-
Looks like a good plan. I forced myself to stop spending money on the Jeep so I can get going on the truck. I'm sure I'll stretch it at some point though.Leave a comment:
-
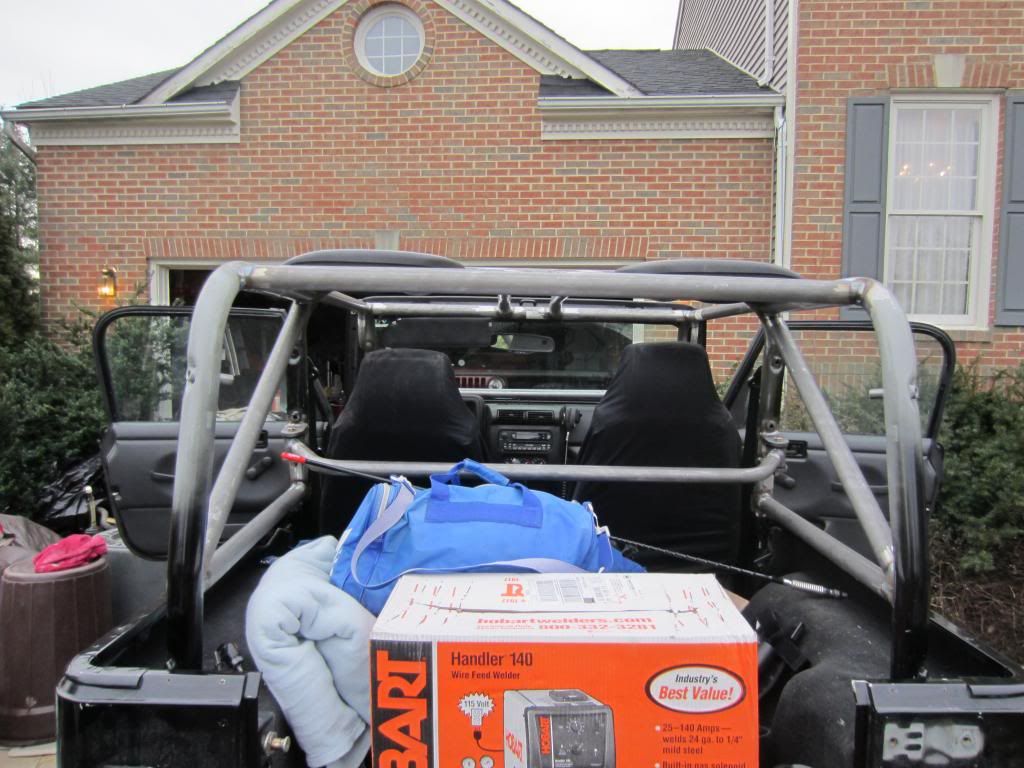
ITS GO TIME!!
Starting a new job in a couple weeks, new year on the way, and an epic west coast wheelin trip planned for June-ish Ive decided to pull the trigger and open up the wallet to get this jeep "finished"!
The following is either here, on its way, or will be ordered in the next week to get the ball rolling on big changes:
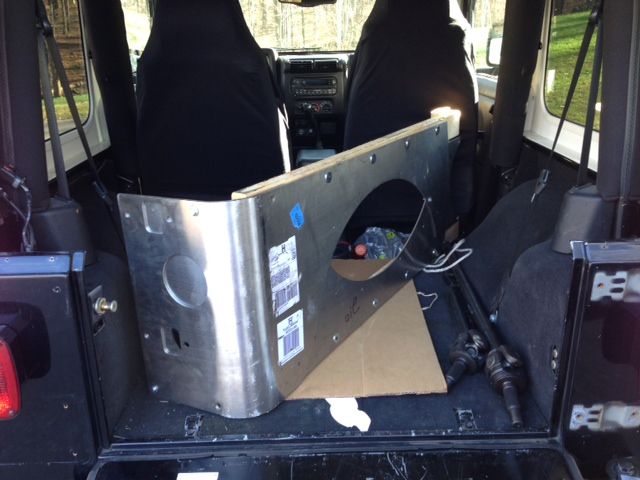
Genright EXT tank. 19g capacity and allowed 5in stretch
Genright stretched corners

Comes with a YJ style Gas filler to compensate for the stretch and still allow me to mount my stock flares.

Brand new Vanco 16" Big Brake Kit from a forum member. Spoke with Blaine who said the 16" kit will fit my 15" racelines since they have 3.25" backspacing I just have to be careful where the sticky weights are.

Poly Front half cage
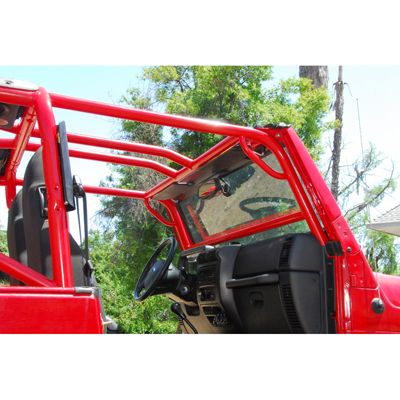
Will be doing my own rear half additions
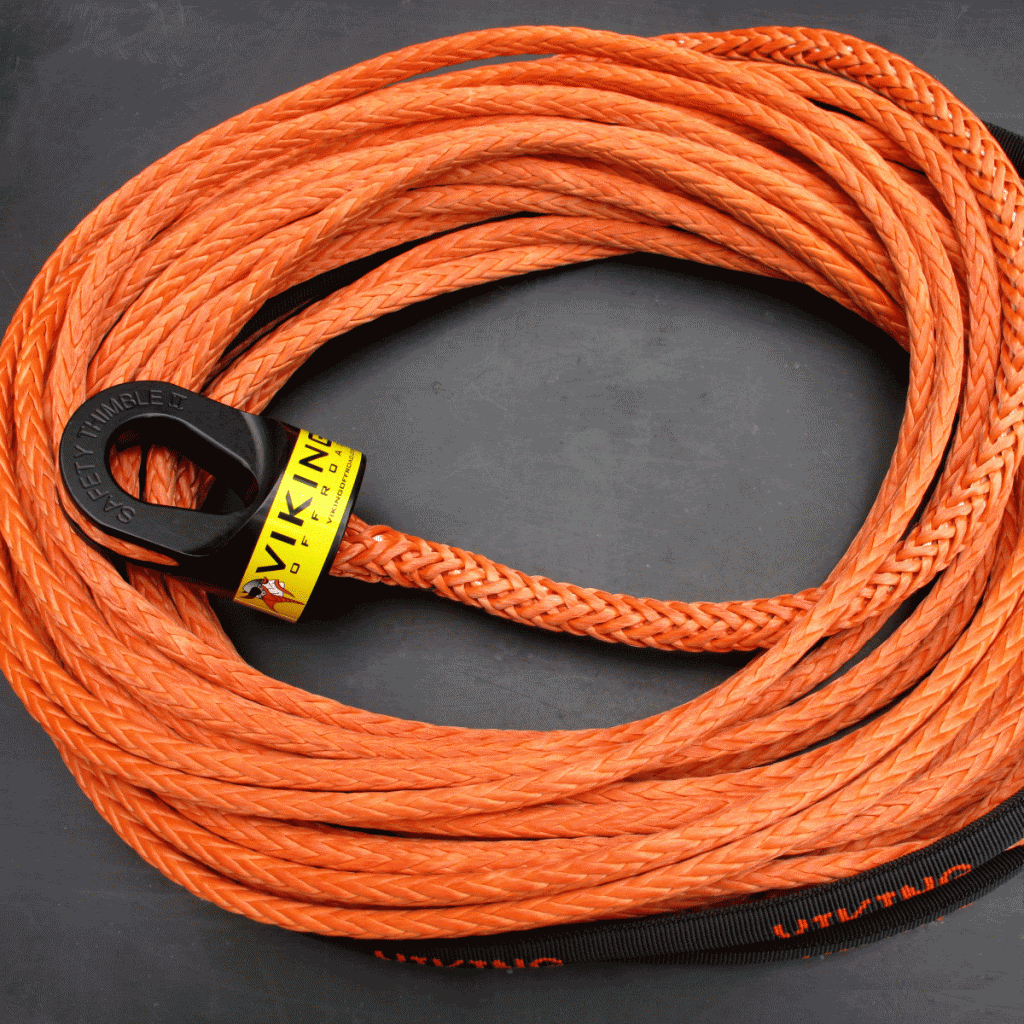
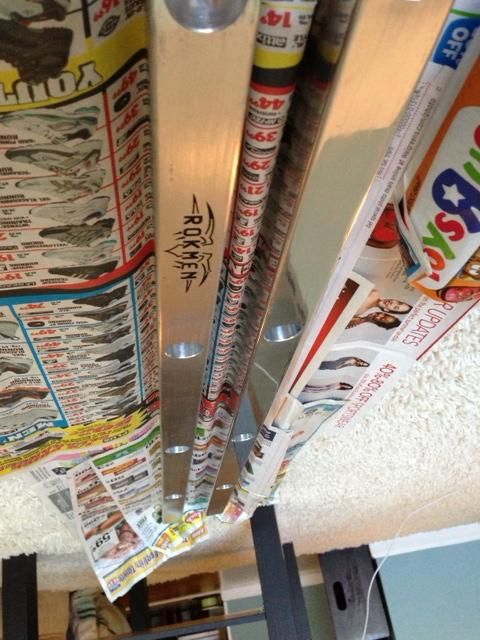
Rokmen Fairlead

Amsteel 3/8" x 80' orange winchline with black safety thimble
Daves Customs Unlimited Shock Towers

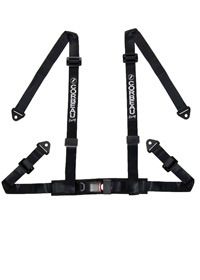
Two 2" Coreau 4pt harness'
Planning to run a shoulder bar using bushings at the ends to allow for it to be removable when the backseat is needed.
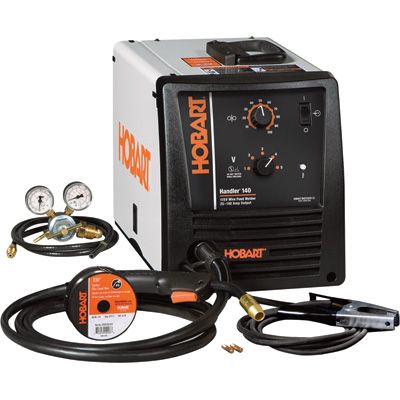
Its time! Hobart 140
Moabs x5
Falken Rocky Mountain AT x 4 (285/75/16) Going to be using these as a street tire

The cage will be going in first toward the end of January then surgery on the rear to allow for 5in stretch will start in February.
Im planning to do something very similar to what a friend tried originally when he stretched.
LETS DO THIS!!
Leave a comment:
-
winch came in, also got some rokmen steel corners and aluminum strikers!
Put my hard doors on and took the rampage top off to throw the hardtop on for winter
Leave a comment:
-
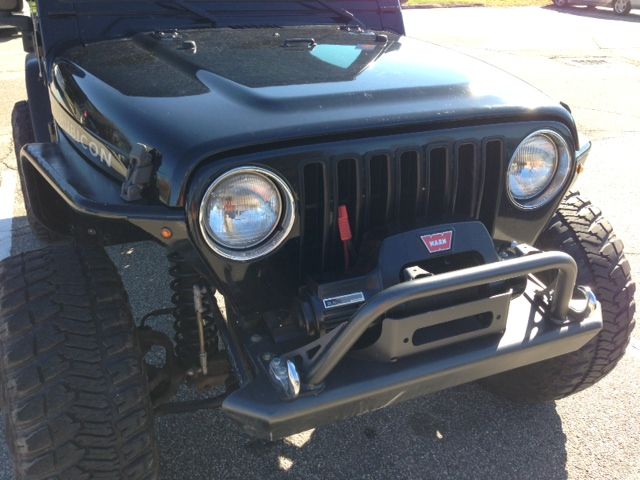
PURCHASE UPDATE
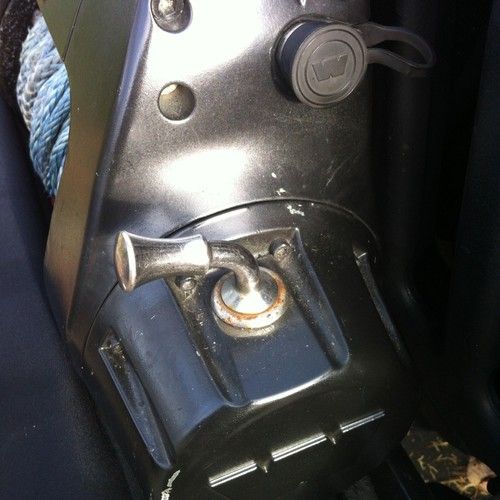
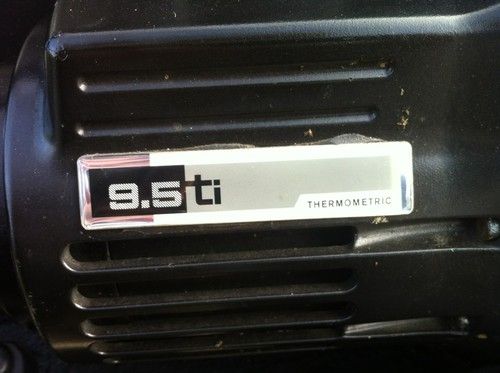
Just scored a Warn 9.5ti on ebay for an amazing price of $450 to my door! Doesnt come with the synthetic line pictured but does have a brand new steel line and fairlead just needs a new clutch lever


Leave a comment:
-
I could have made them too but I just dont have a garage rt now so its easier for me to buy the skids since their cheap anywayLeave a comment:
-
I saw those a while ago and thought about purchasing them but.. I'm just going to make my own outta 1/4 plate.Leave a comment:


 that is all
Leave a comment: