-
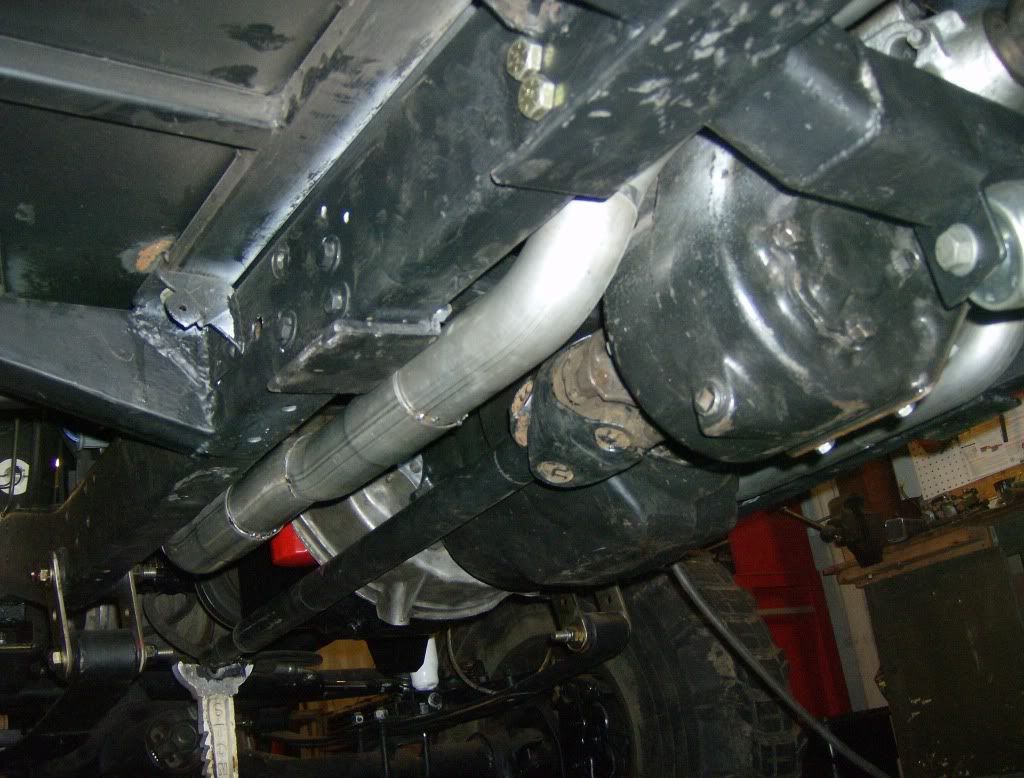
Exhaust.
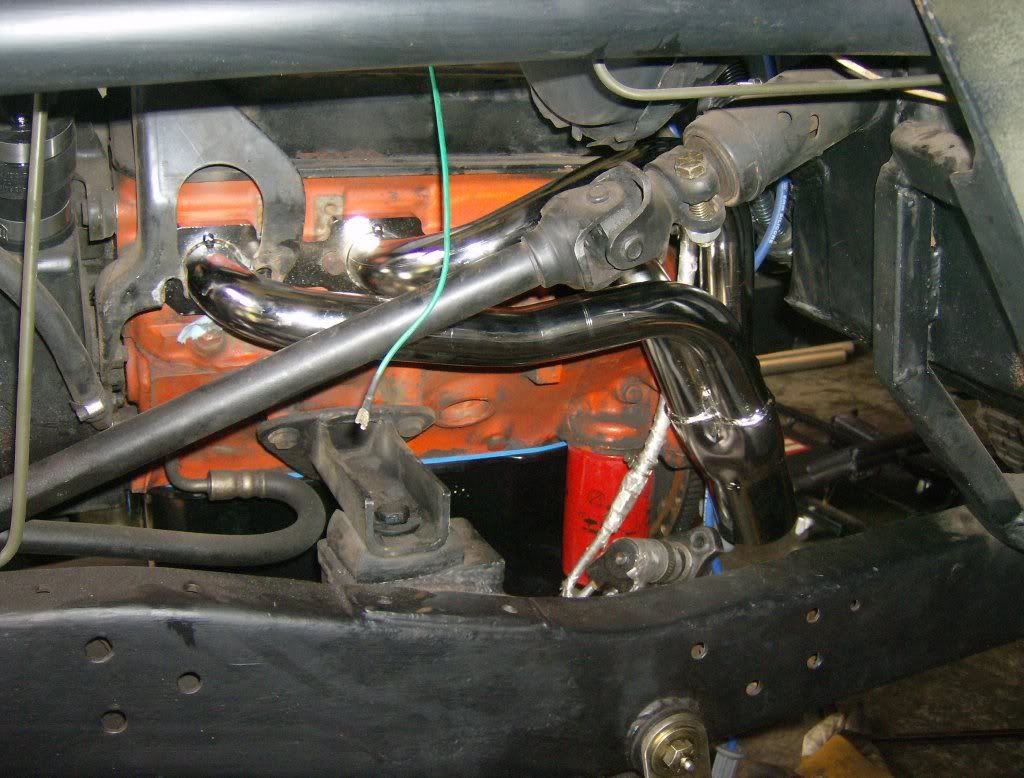
I was dreading this part of the project, but it actually came out pretty nice and sounds halfway decent. It is hard to see in the pics but it is dual all the way to the muffler basically, which tucks up over the driveshaft and upper arms. The exhaust is made from all mandrel bent 2.25 tube from a Jegs builder kit. The Muffler is a Flowmaster Delta force race muffler, from my old rig. I wanted to run a Cat also but there just is no room
Start.
I started at the headers and worked back on each side cutting and fitting each piece. Each piece was tacked in place to start.


Weld
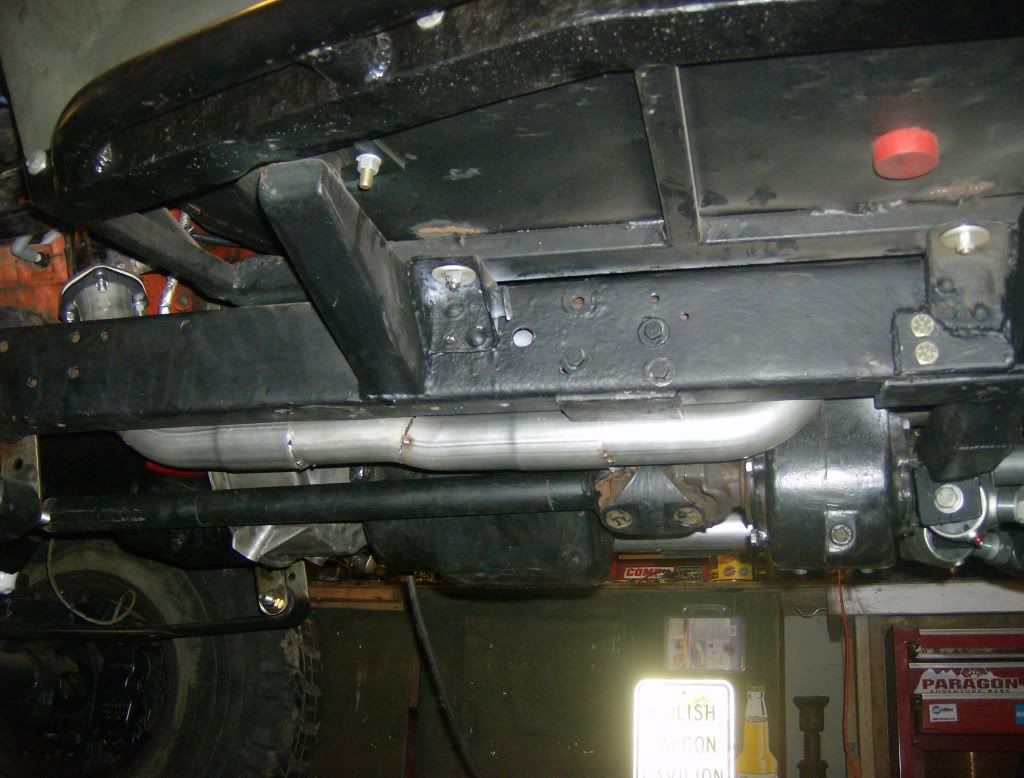
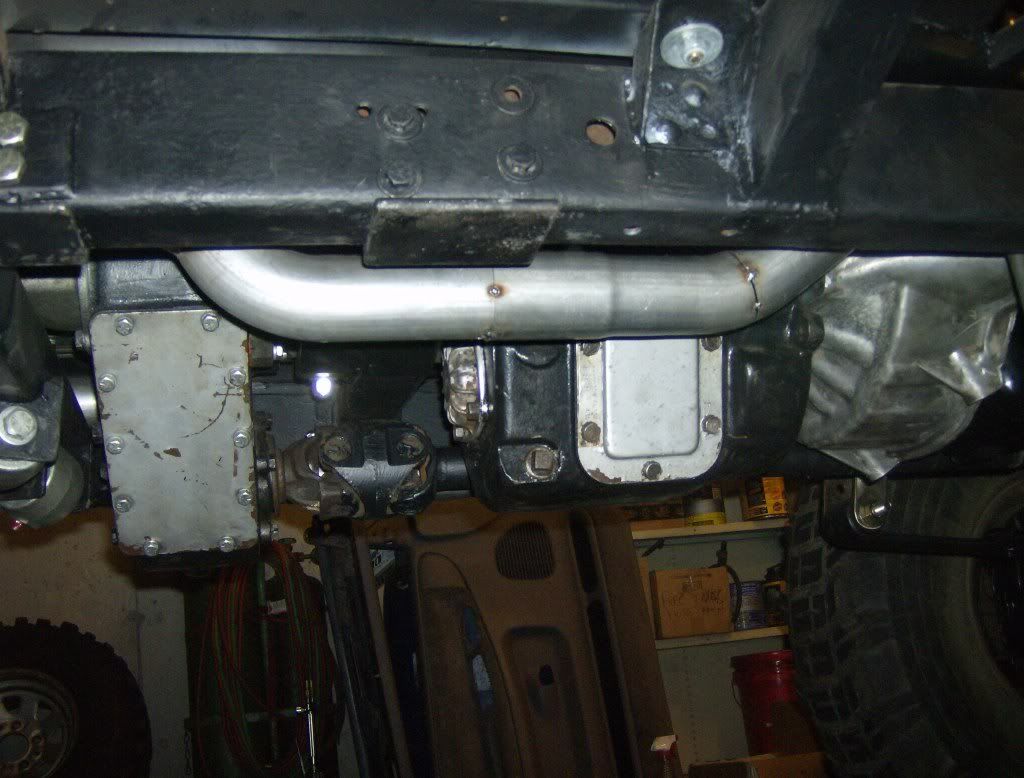
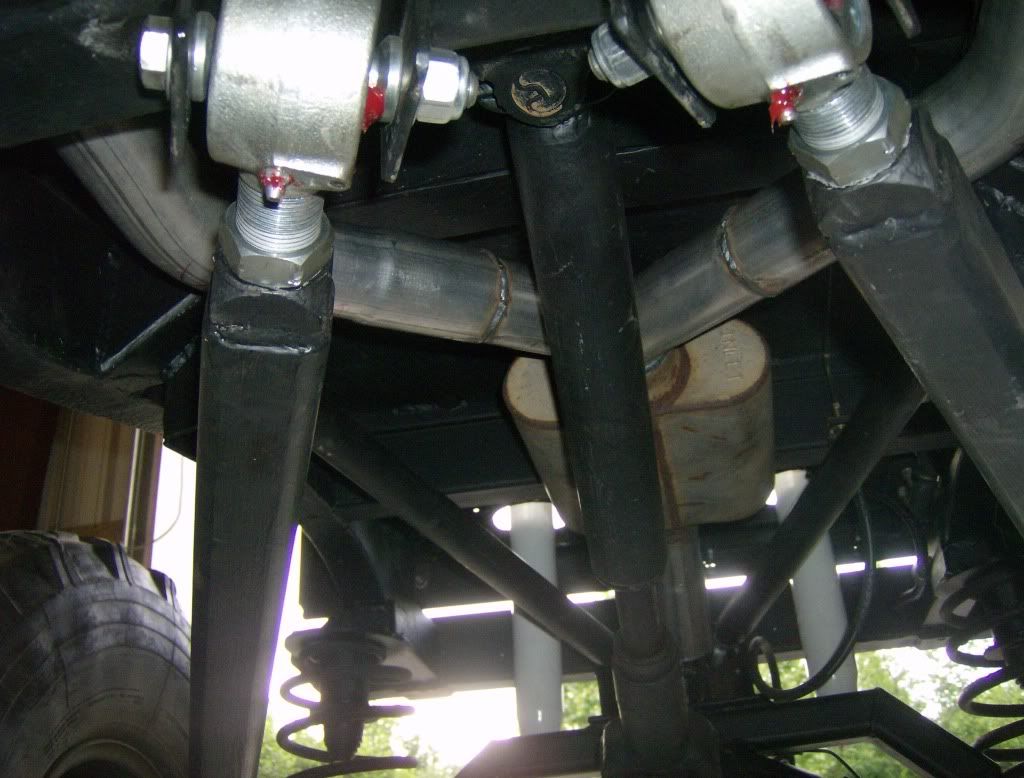
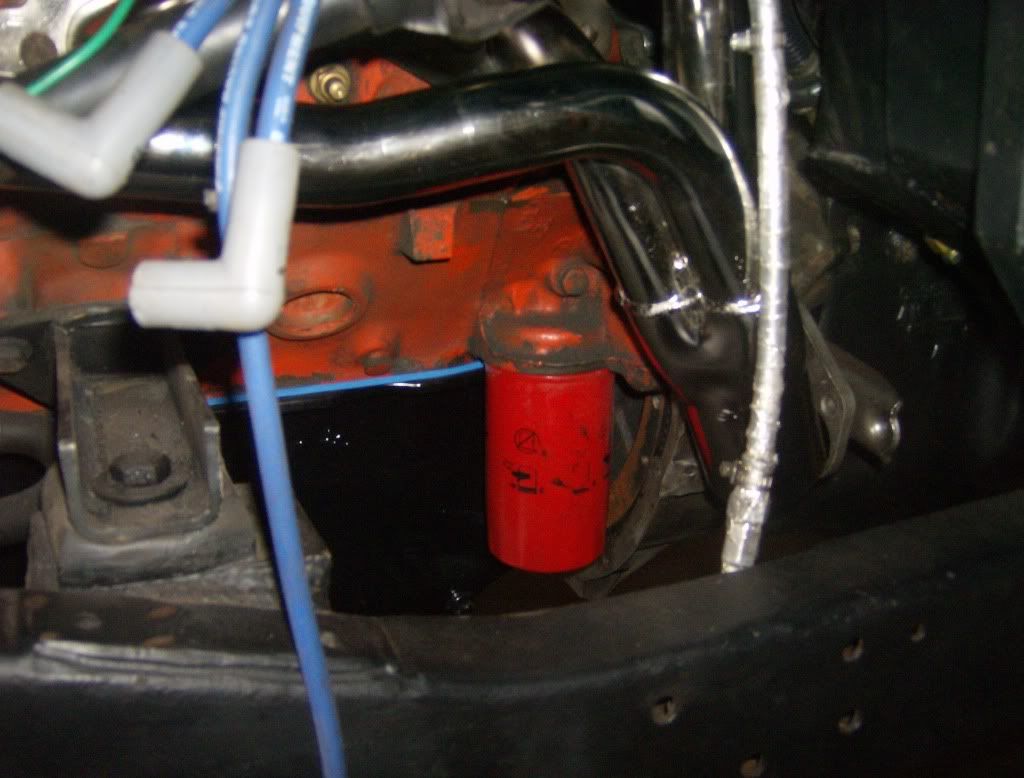
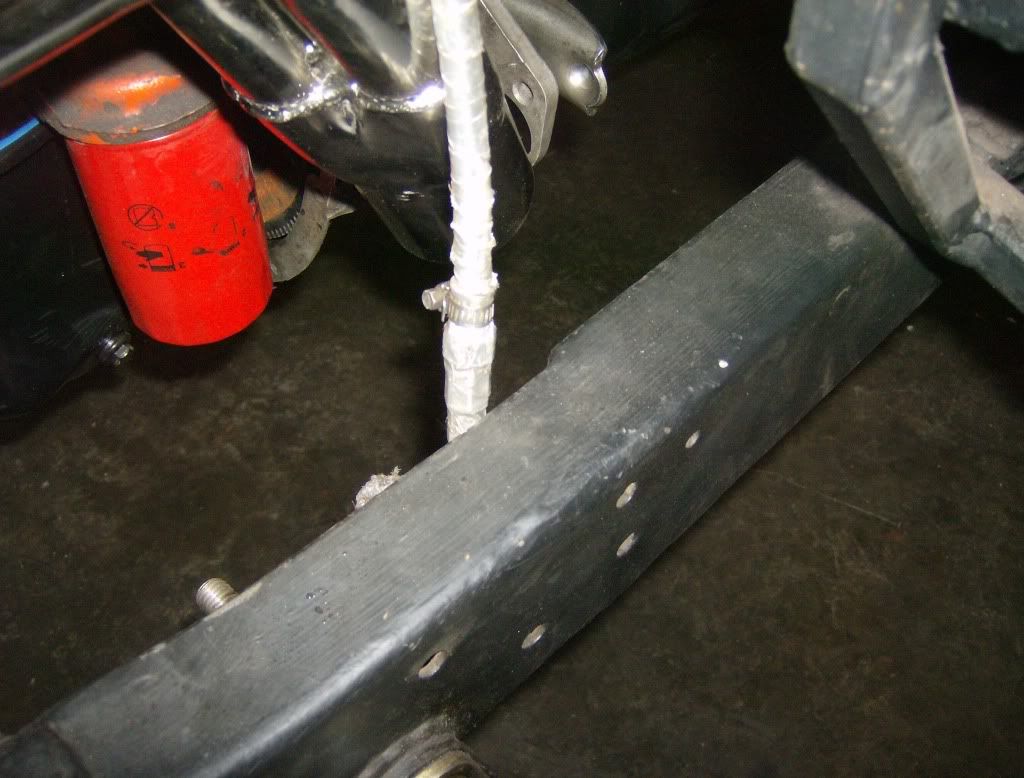
I removed everything to weld it. I actually welded each "downpipe" up individually and did a final fitment of the Y-pipe after I bolted them back in. I wanted it removeable without cutting but not flimsy either. It is clamped after the downpipes behind the lower arm crossmember. You can see one clamp in one pic.

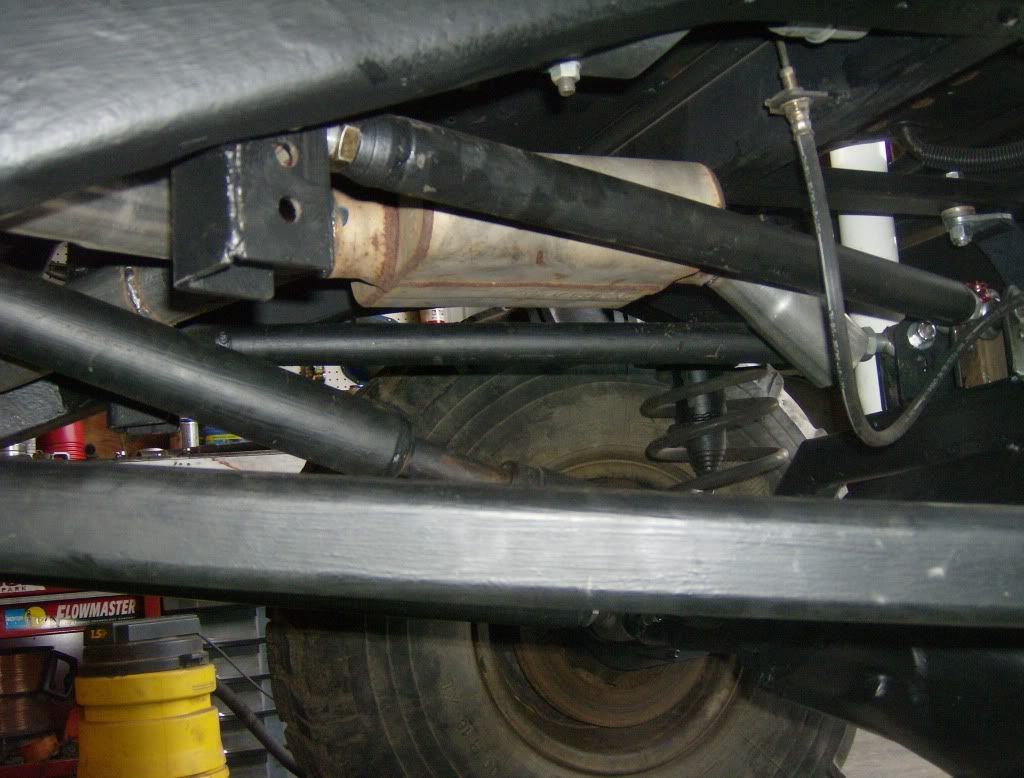

It is very strudy and tight, I just need to add a hanger or two. It will be mostly covered by a skidLeave a comment:
-
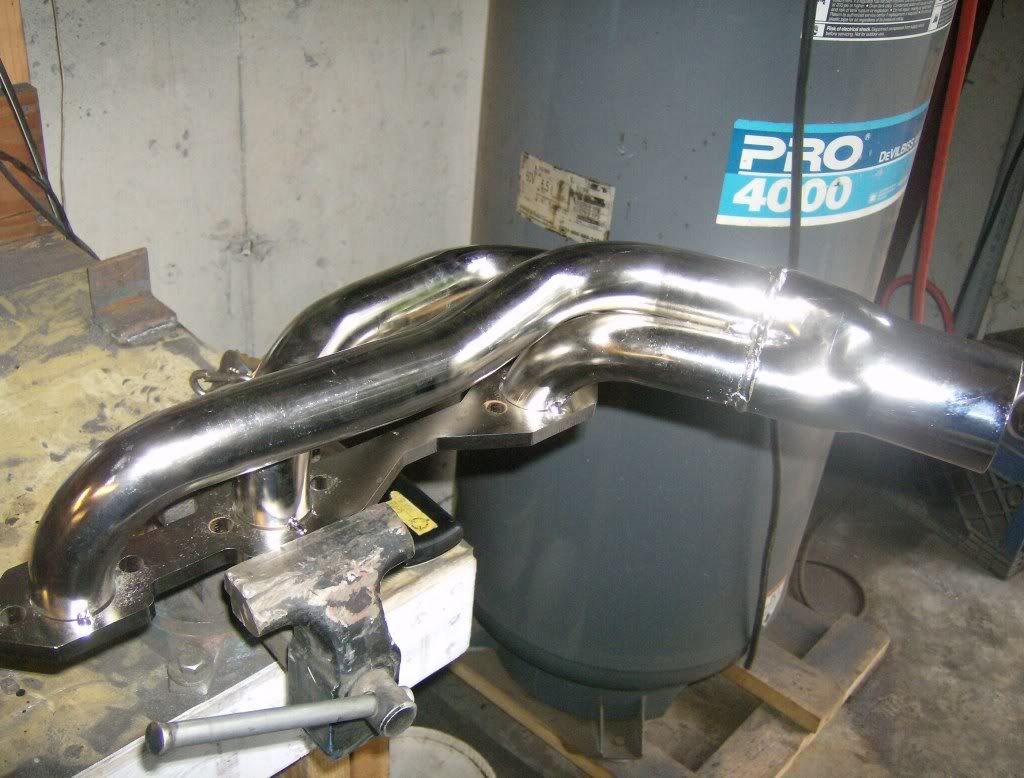
Finished header with O2 sensor bung that I took from an old Toyota Corolla exhaust that I did.
Leave a comment:
-
headers done and installed, took for a ride tonight, clutch is MINT, had it in low range getting sideways in 3rd and 4th gear... stoked. Not much left to do now
Leave a comment:
-
are you gonna wrap the header with ceramic tape on that side. i would be concerned heating up the clutch fluid.Leave a comment:
-
Today
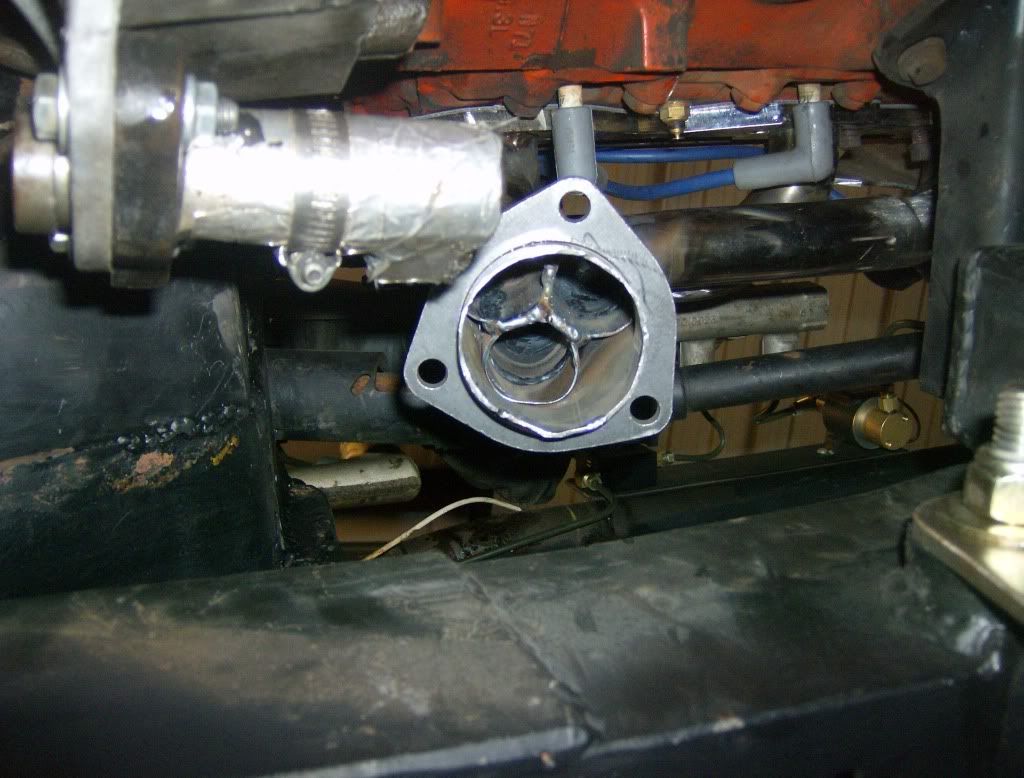
Start
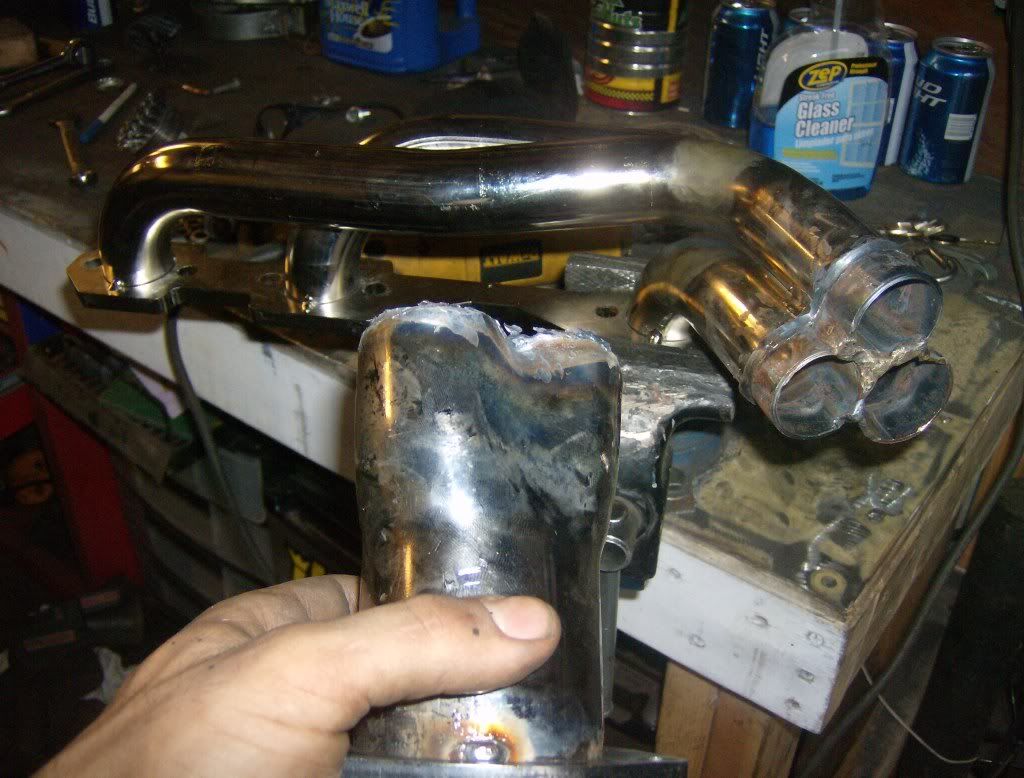
Grind the three welds that hold the three tubes together at the reducer cone.
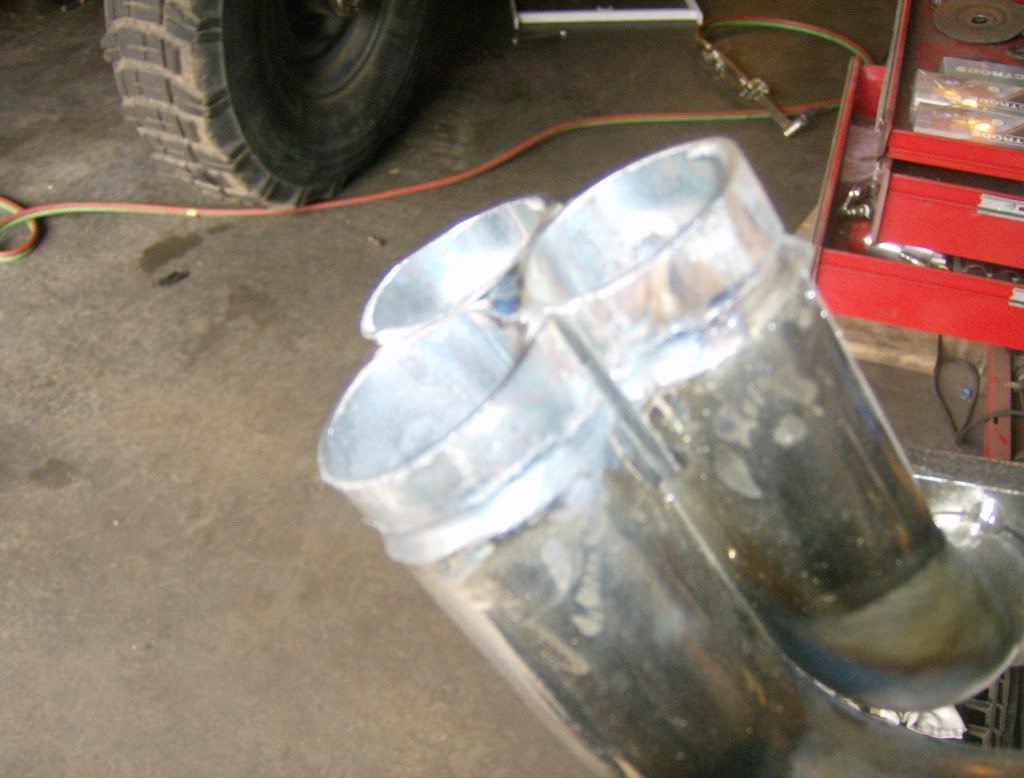
Bolt on and start heating and bending individual tubes
At some point I cut 2 of the tubes in spots where they where nice and straight to shorten them, and tacked back together.
Welded up, except for the flange, I ran out of time
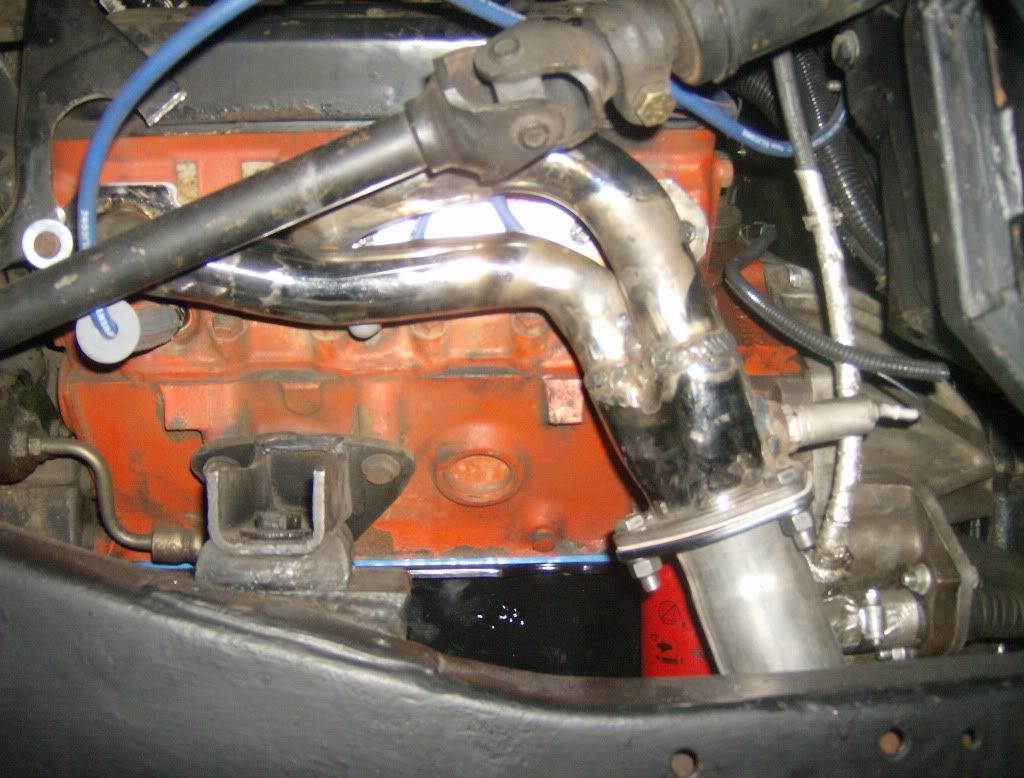
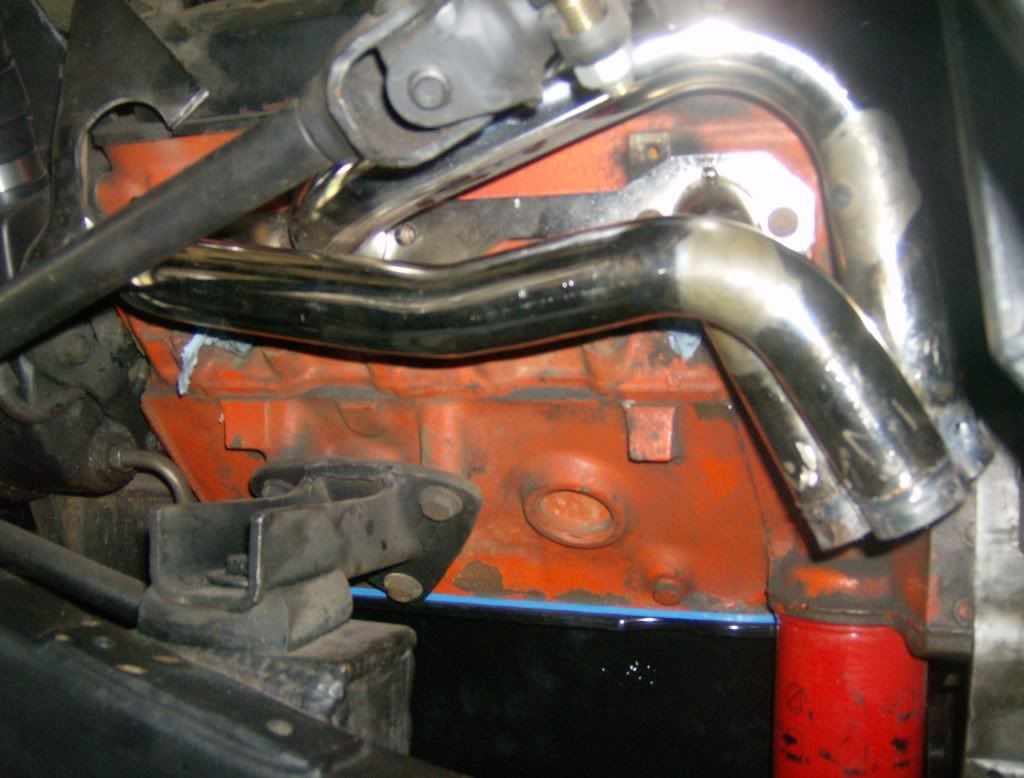
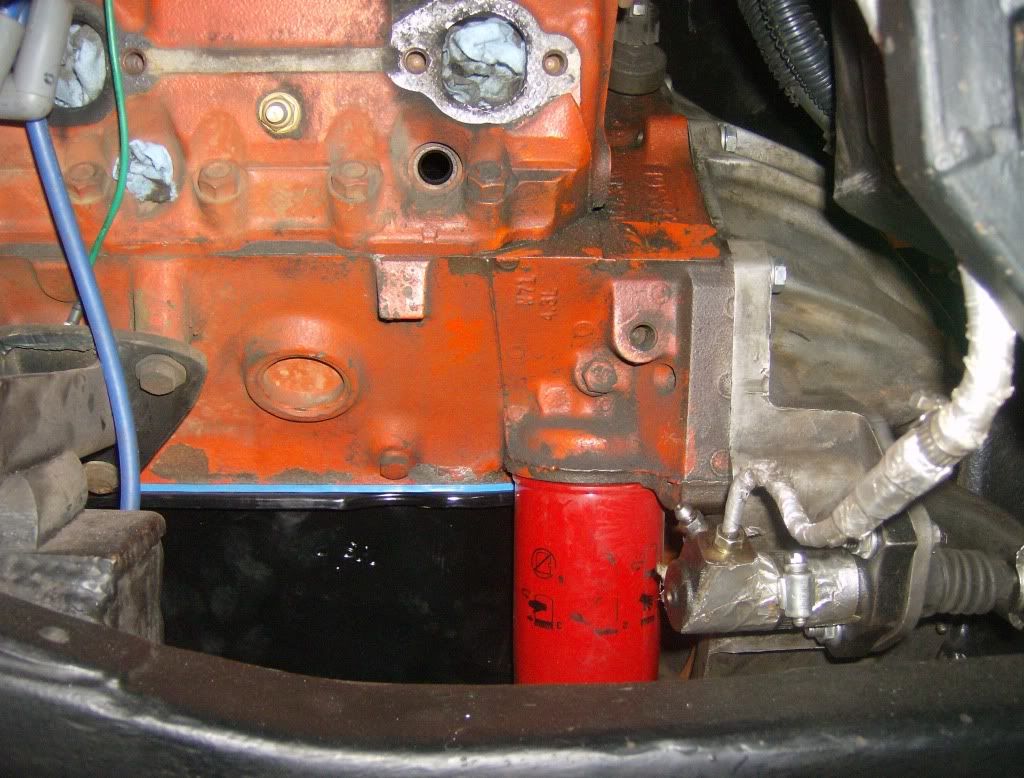
Clears everything nicely, except the rear spark plug. There is no interference between the header and plug or wire, but the header needs to be removed to use a conventional spark plug socket to remove the spark plug. I am just going to make a special tool to remove the plug. A small price to pay for something that fits nice, and not too bad of a hack job. Next time I think I will not even try to bend the tube at all, just cut and weld. And order bare metal without bling coating
From bottom
Leave a comment:
-
damn, lots o work man.
on my friends 318 in a YJ swap he ran into the same problem. so he used 2 passenger side headers so on the drivers side it dumped in front, then just custom routed it. would that work in this application? i looks like it would dump infront of the motor mount??Leave a comment:
-
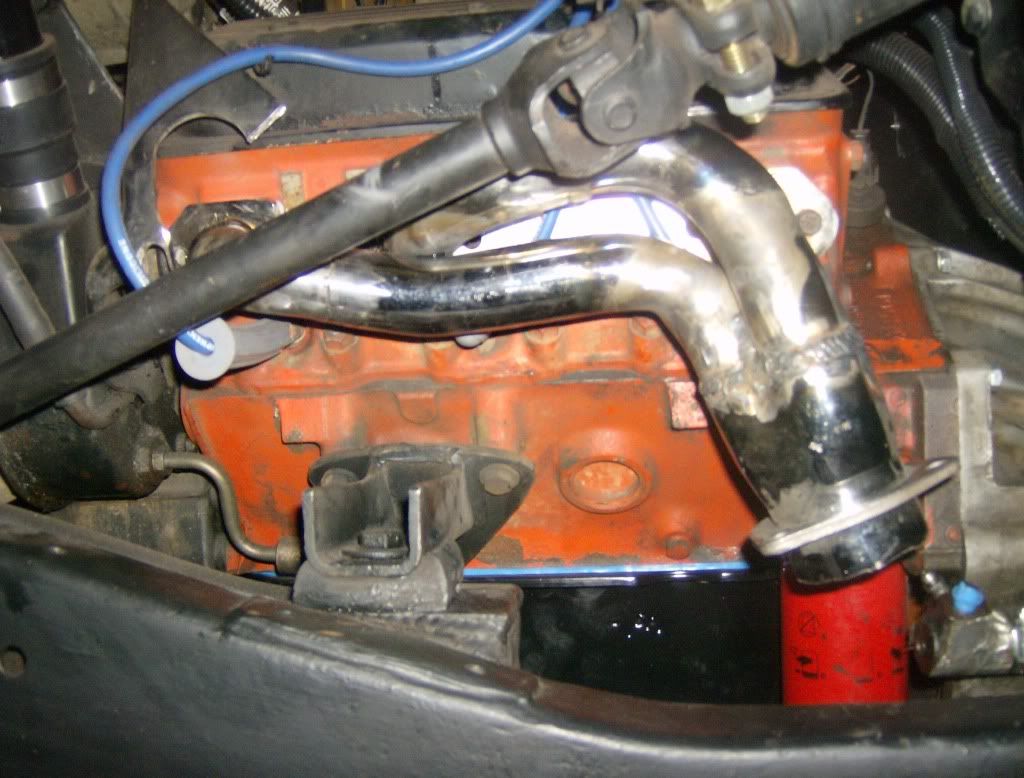
Headers
Interference
Here is a pic of the slave cylinder bolted on. The bellhousing is a Chevy Truck Bellhousing with factory hyd clutch. The slave is a 80-85 Jeep CJ7 6/8 cylinder slave. After looking at some pictures and a couple trips to the parts store, I was able to figure out that this slave bolts to the Chevy bellhousing with no modification necesary. As far as I a know I am the first person to do this
Dump
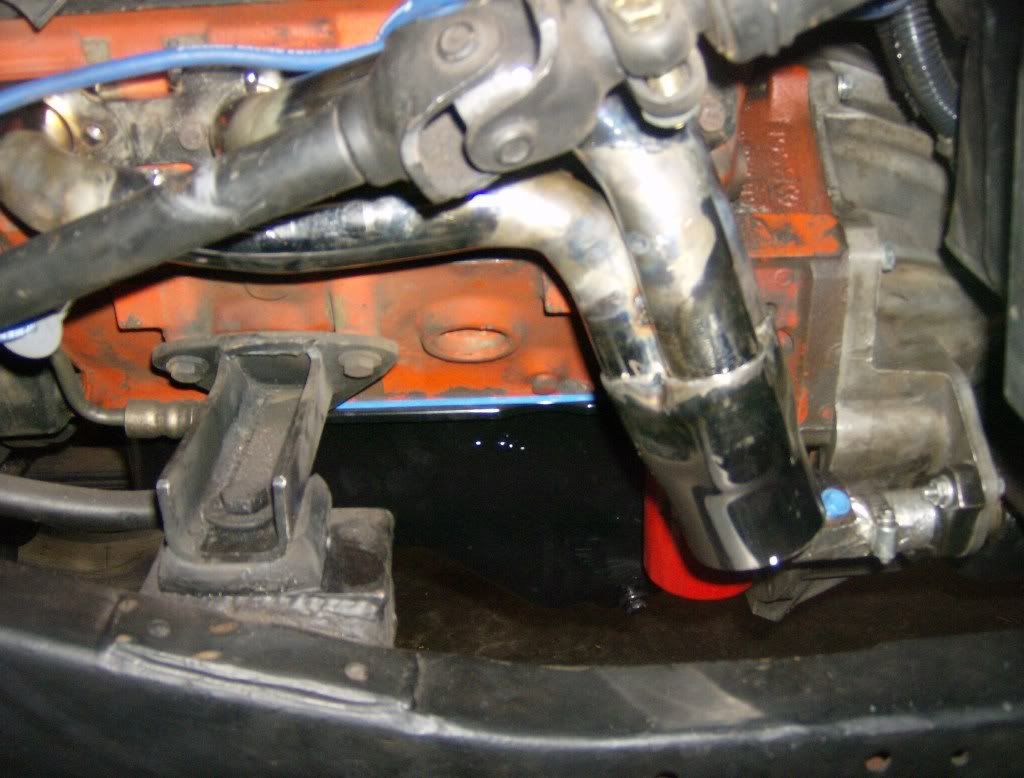
The header dumps right where the slave cylinder is

Goal
I want the header to dump farther forward and closer to the frame.
Start
Clamp header in vise. Grind down welds on the collector cone and slide off. This took over an hour
Next I will grind down the welds that join the three tubes, and bolt the header on and bend each tube to where I want themLeave a comment:
-
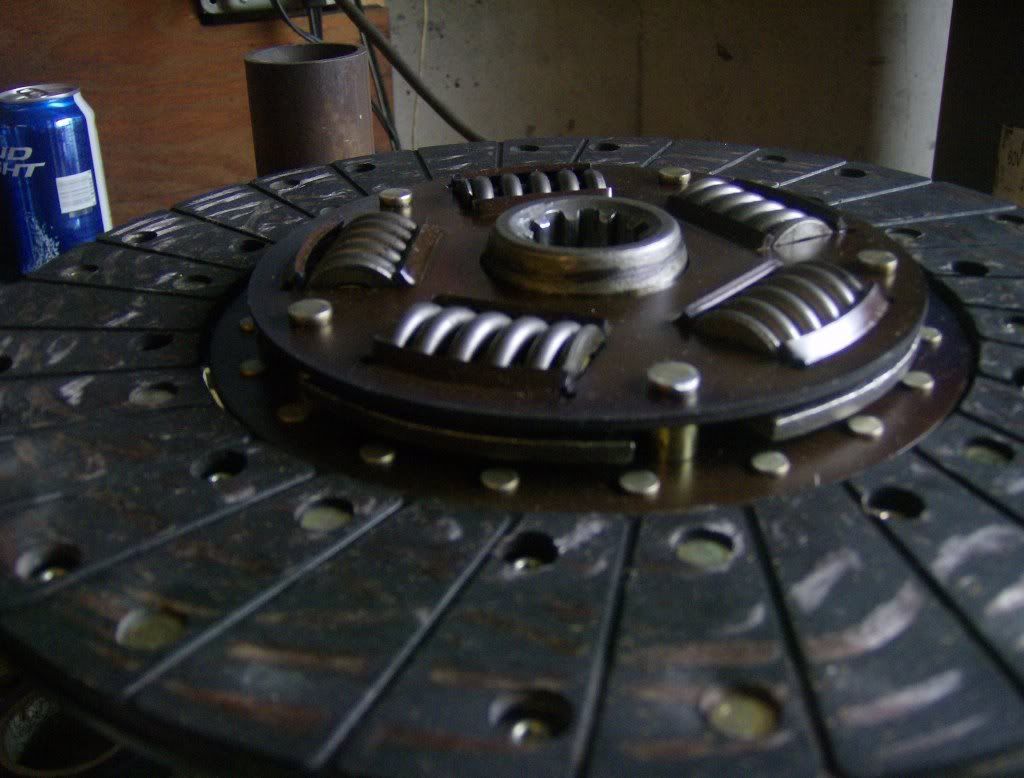
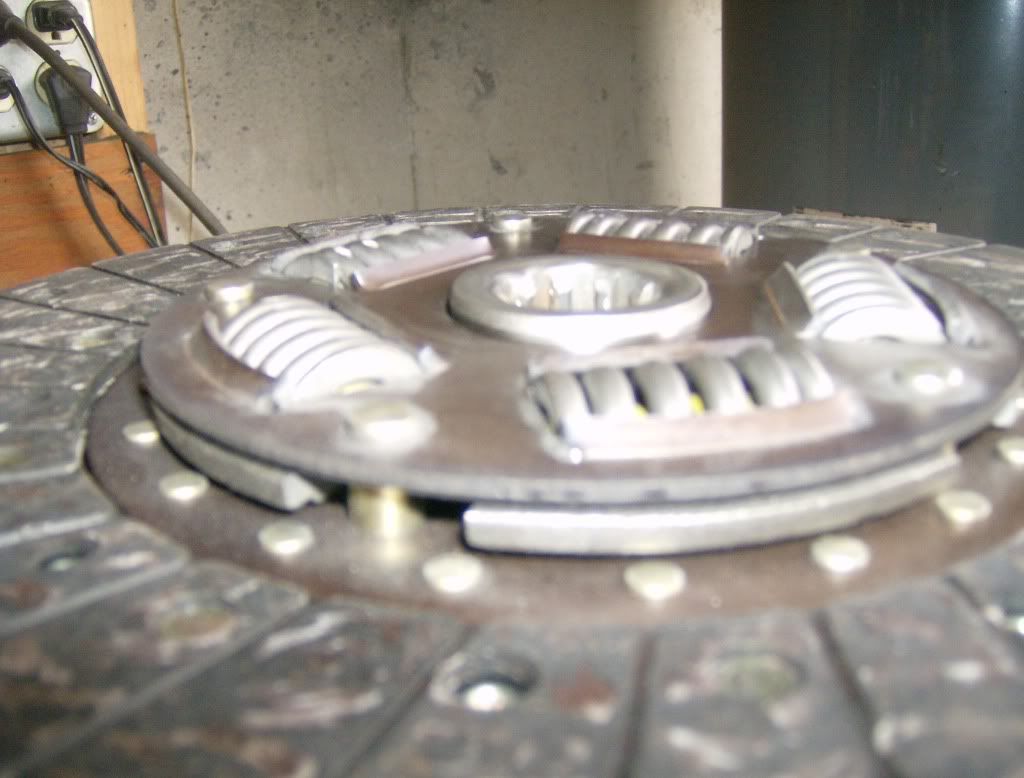
Here is whats up. Maybe you can see now how the splines end on the input shaft and the clutch disc can't slide any farther back

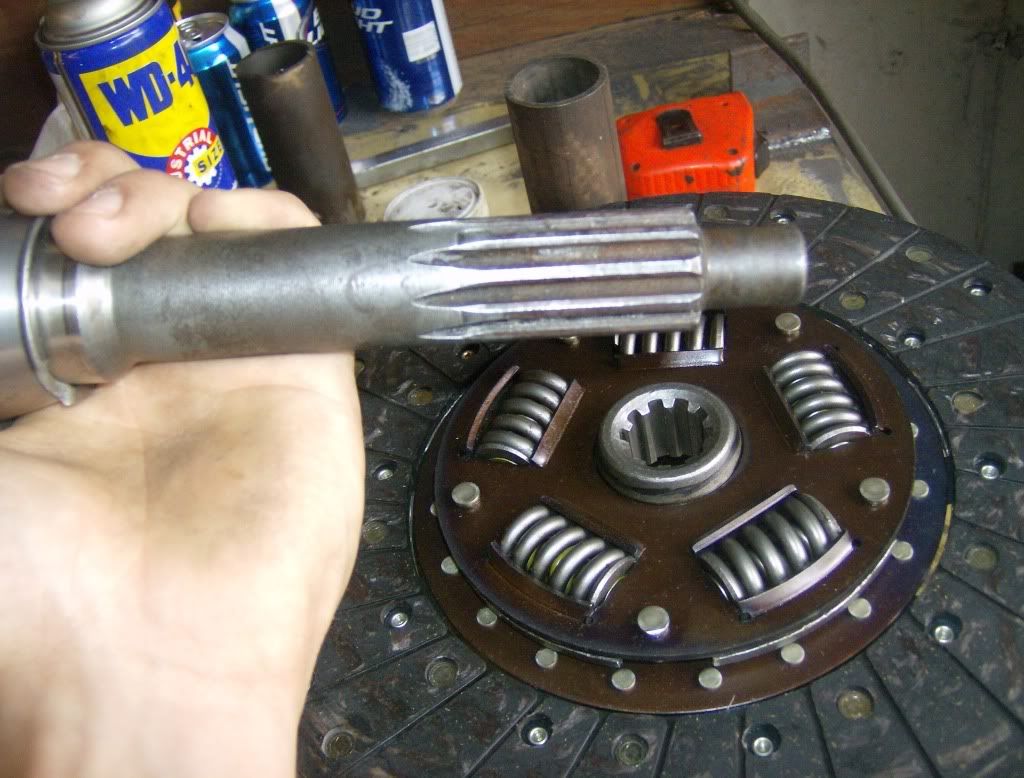
I measured from the face of the pilot bushing towards the rear of the jeep with the clutch assembly bolted to the flywheel... ~2.125" from the face to the back of the clutch disc hub... but only 2" of spline. Here was the solution
Start

I originally wanted to add more spline to the input shaft but the machine shop I went to assured me this would be fine, and there is still plenty of spline engagement. Put the transmission back in and it seems to work this time. I'll know by the end of the weekend
Headers
I put them on with the trans out of the jeep and I thought they fit well
Reinstall the trans
Driver side header points right at the slave cylinder. I am just going to mod the driver side

Leave a comment:
-
I figured out why my clutch wasnt disengaging: not enough spline on the input shaft, the input shaft was jamming the clutch disc into the flywheel. If you don't understand this, that is ok, it is hard to explain without pics. I spent hours on the phone with Centerforce, Novak, AA, Napa, Summit, etc with no solution. Finally I went to a local machine shop to see if they could add more splines to my input shaft and they said they have dealt with this before on S10's they just grind 1/8" off the clutch hub with a hand grinder , but he says they put 400hp to them wth no problem.
My headers came in, they look good. Hopefully I can snap some pics todayLeave a comment:

Leave a comment: