Announcement

Collapse
No announcement yet.

Comanche Build, Dr. Thunder's

Collapse
X
 
  • Filter
  • Time
  • Show
Clear All
new posts

  • Comanche Build, Dr. Thunder's

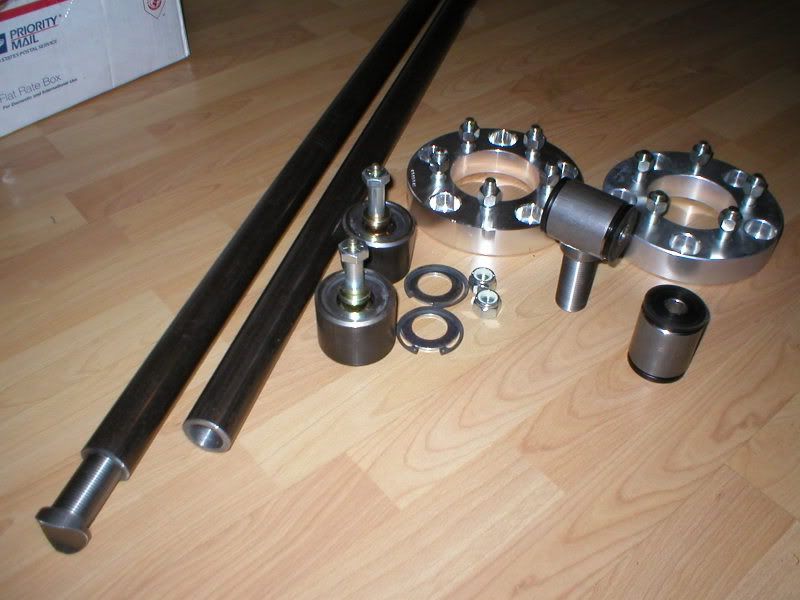
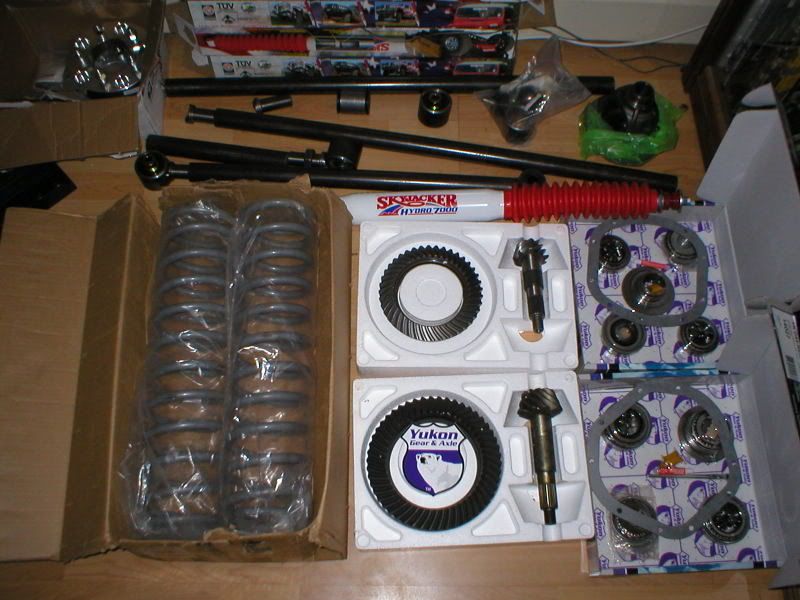
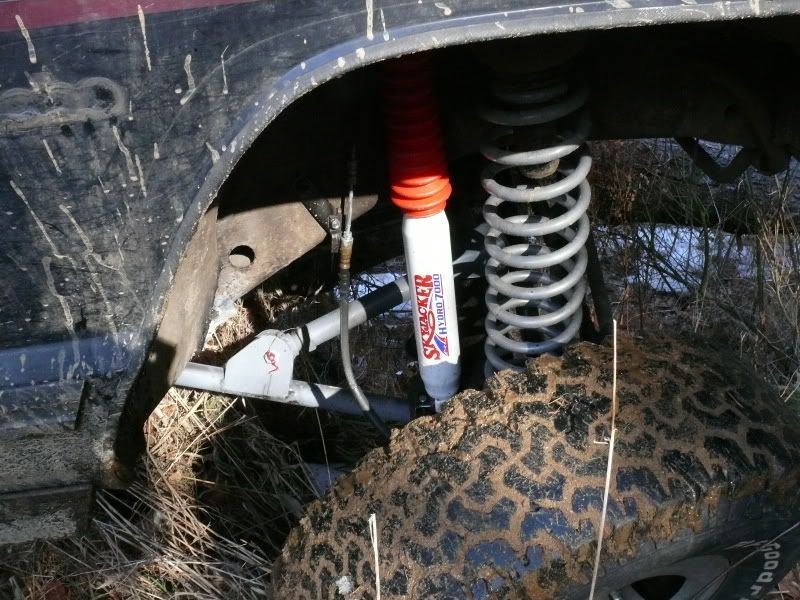
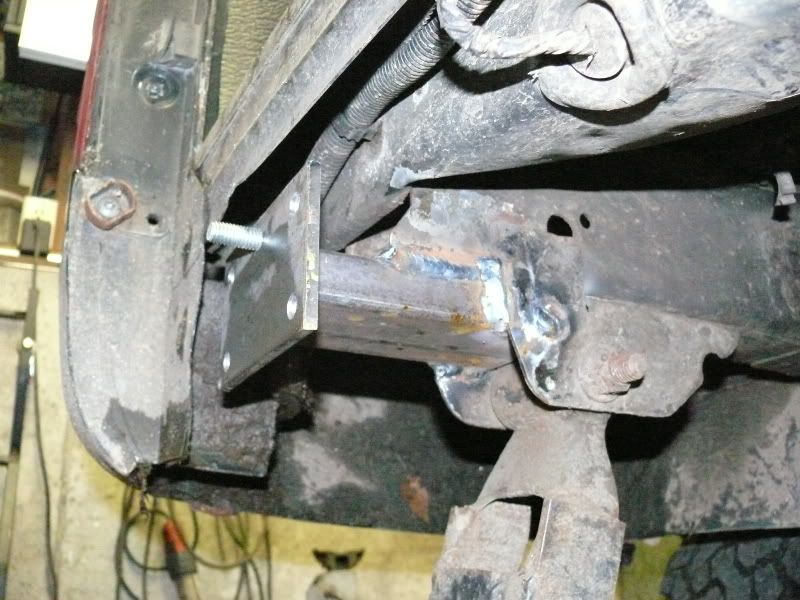
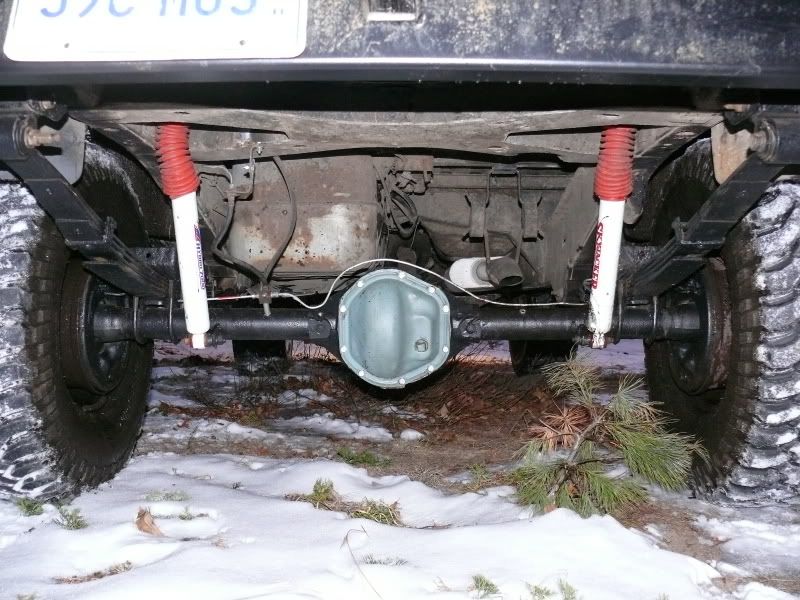
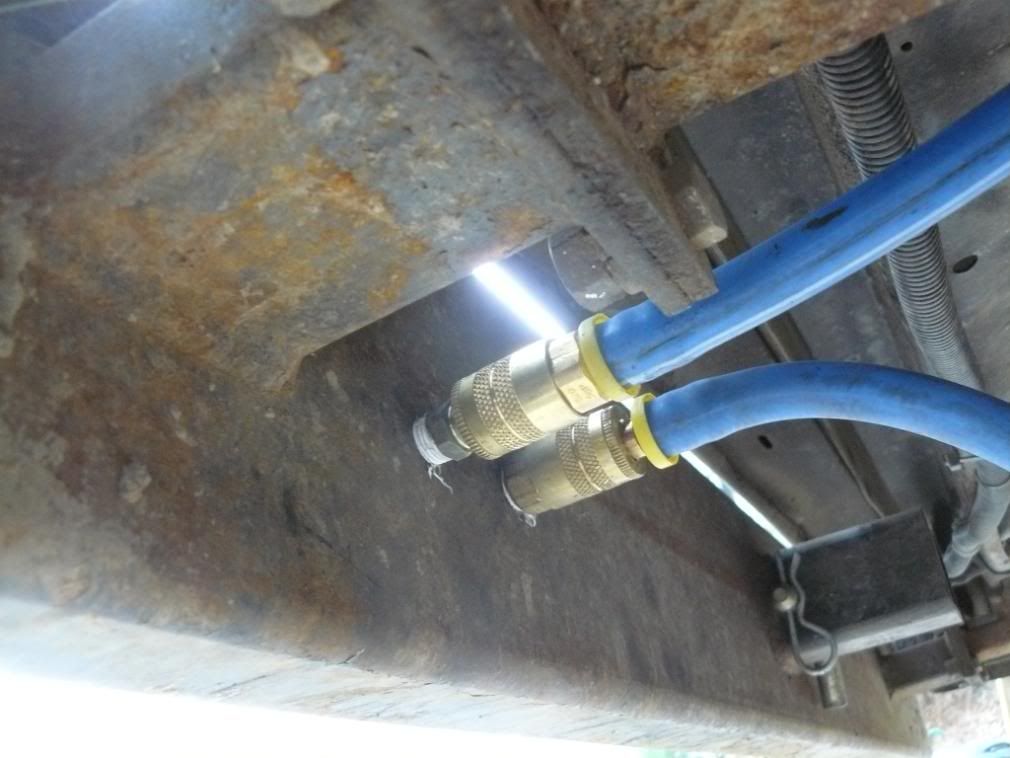
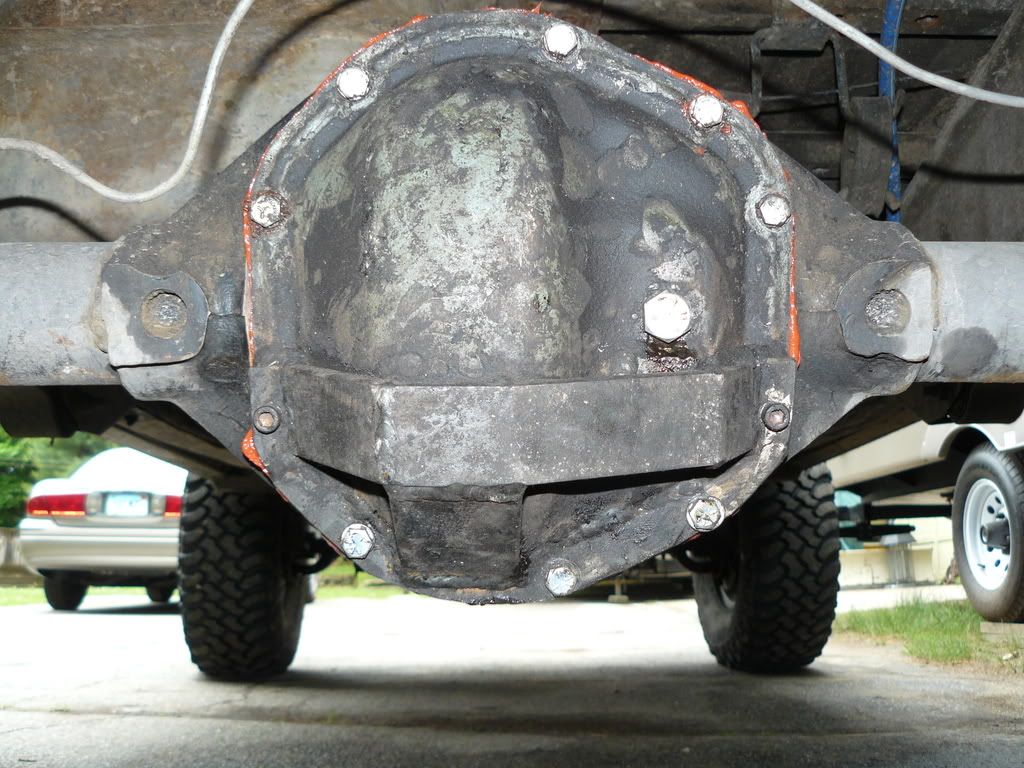
    Figured i'd start a thread on the build up of my comanche. I already bought Rubicon express 4.5 coils and skyjacker shocks, not running a swaybar so i figured stiffer shocks may help a little, plus they were cheap. Dana 44 for the rear, 4.56 gears, possibly detroit locker if funds are available, spring perches, YJ brakelines, wheel adapters/spacers, and have miscellaneous metal needed. For the long arm setup and custom trackbar i have johnny joints, poly joints, .25 wall DOM tubing, etc. All my joints that have studs are 1 1/8 thick fine thread, not sure of tpi.

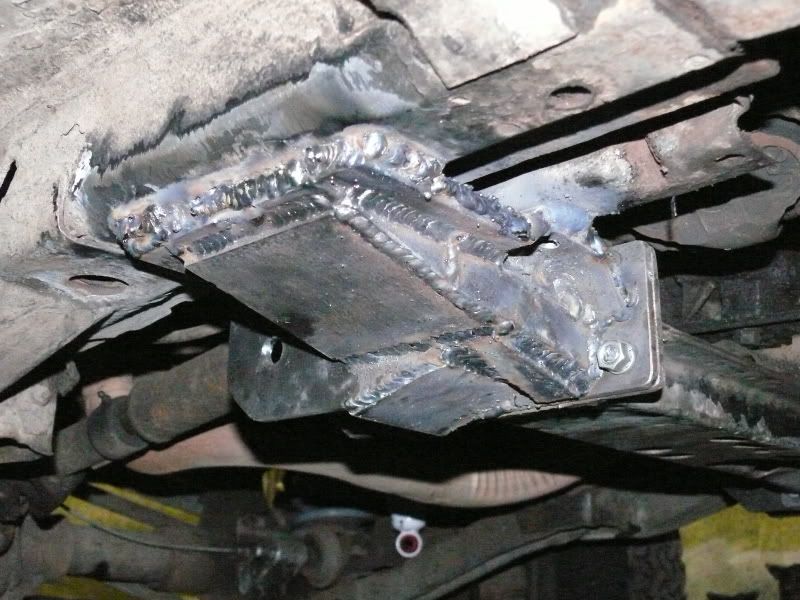
    I am going to run one y-link on the pumpkin side of the diff(driver's) and on lower control arm on the passenger's side.

    Once I have all the parts I will begin the build, it should only take a few days for everthing seeing how i have all day everyday to do it.

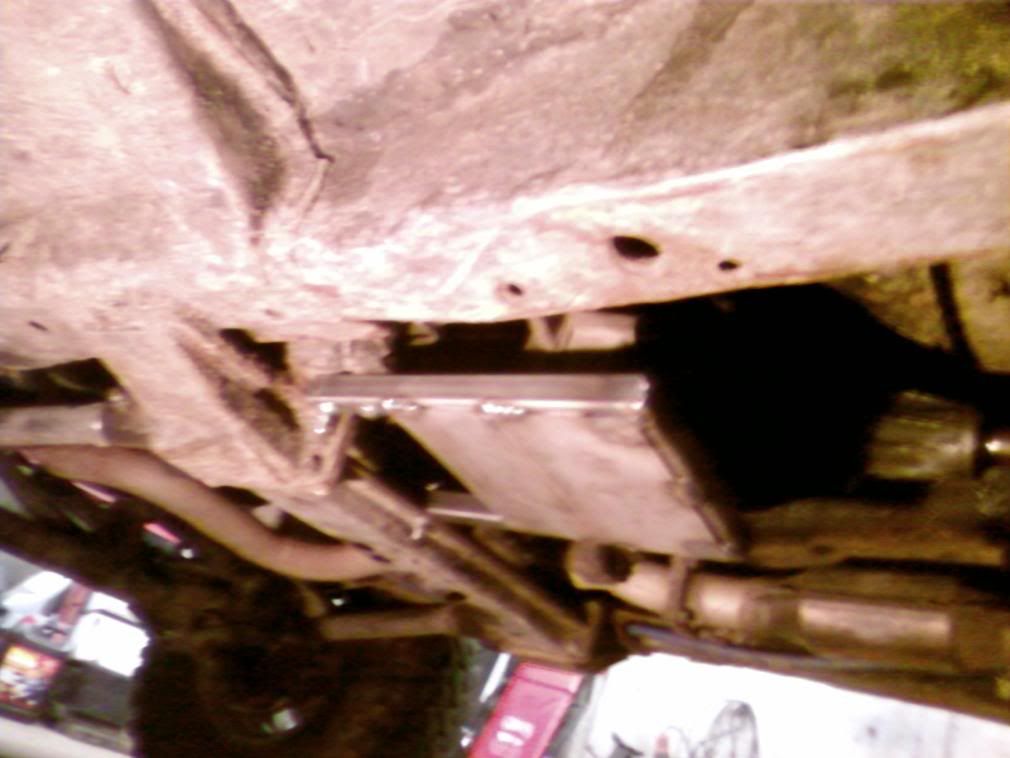
    Here are some of the parts i got today.


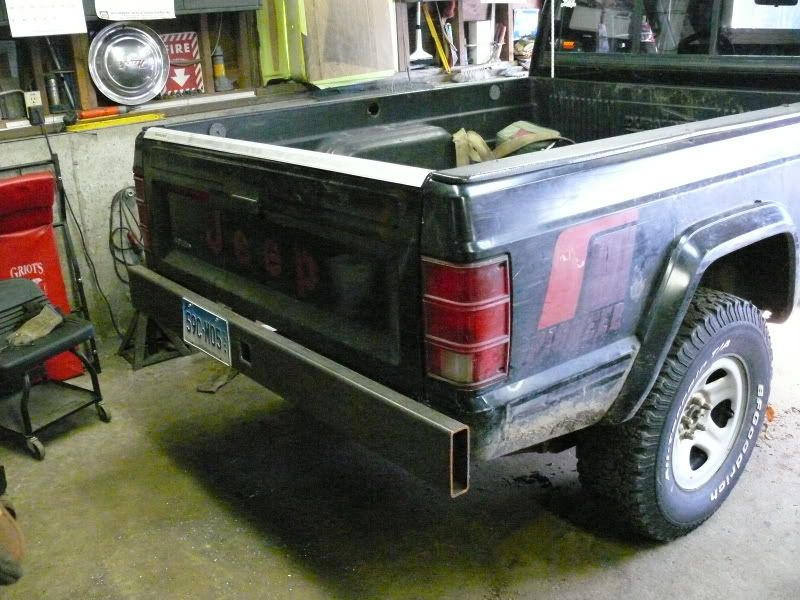
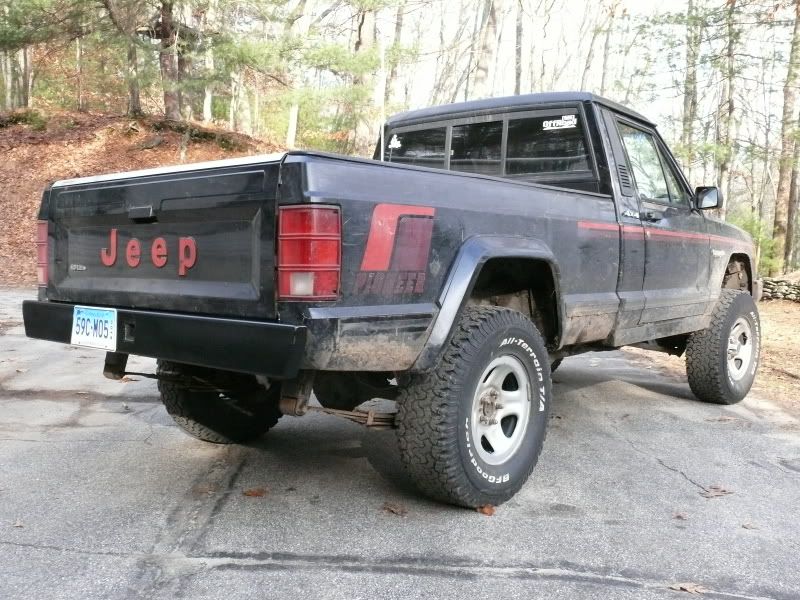
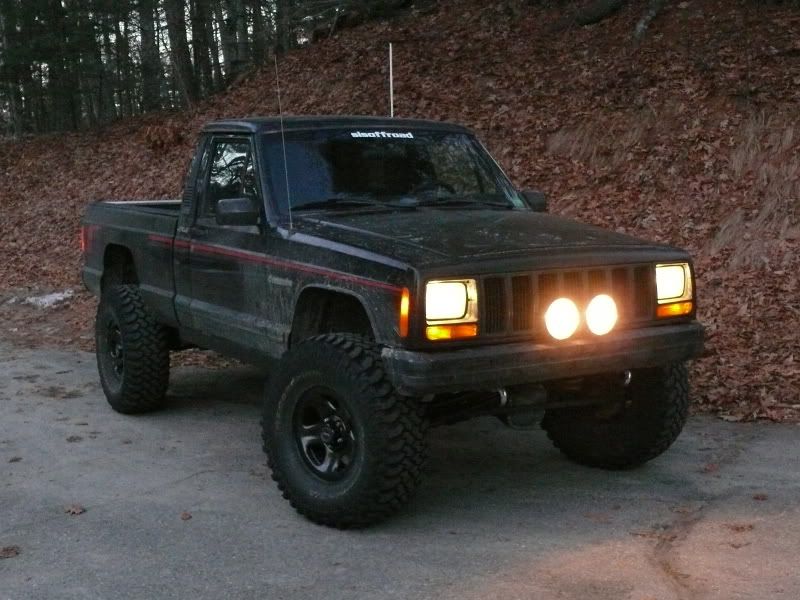
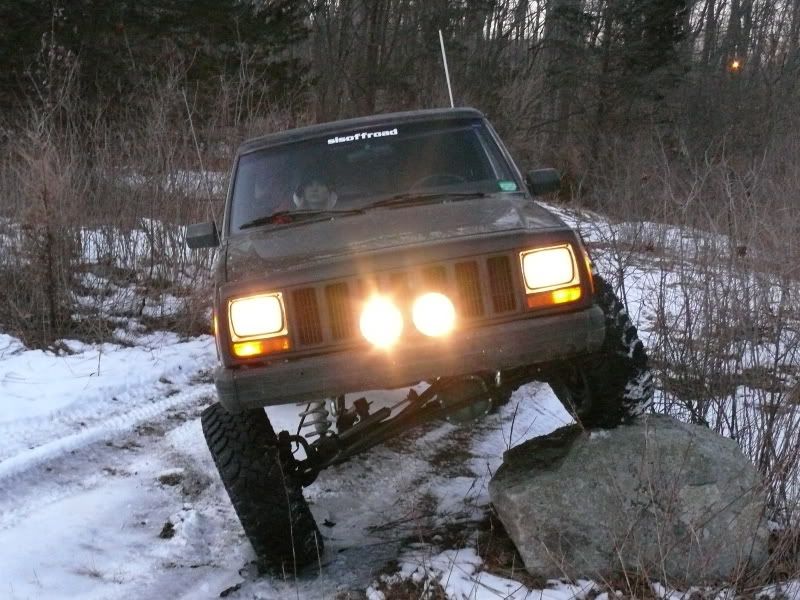
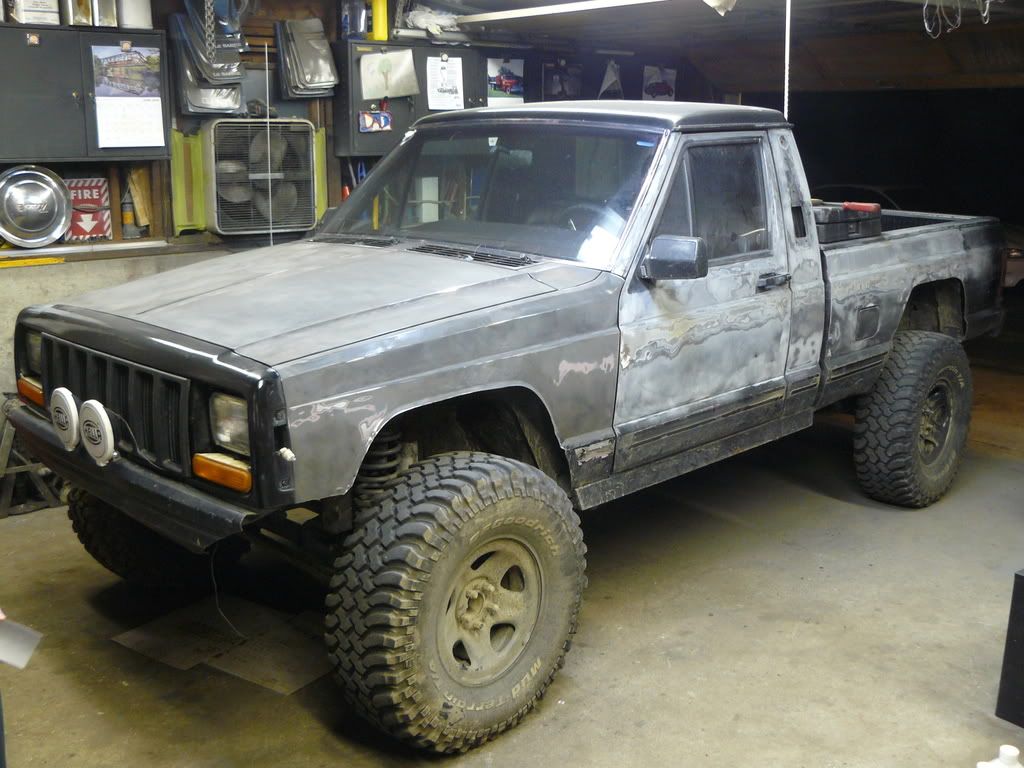
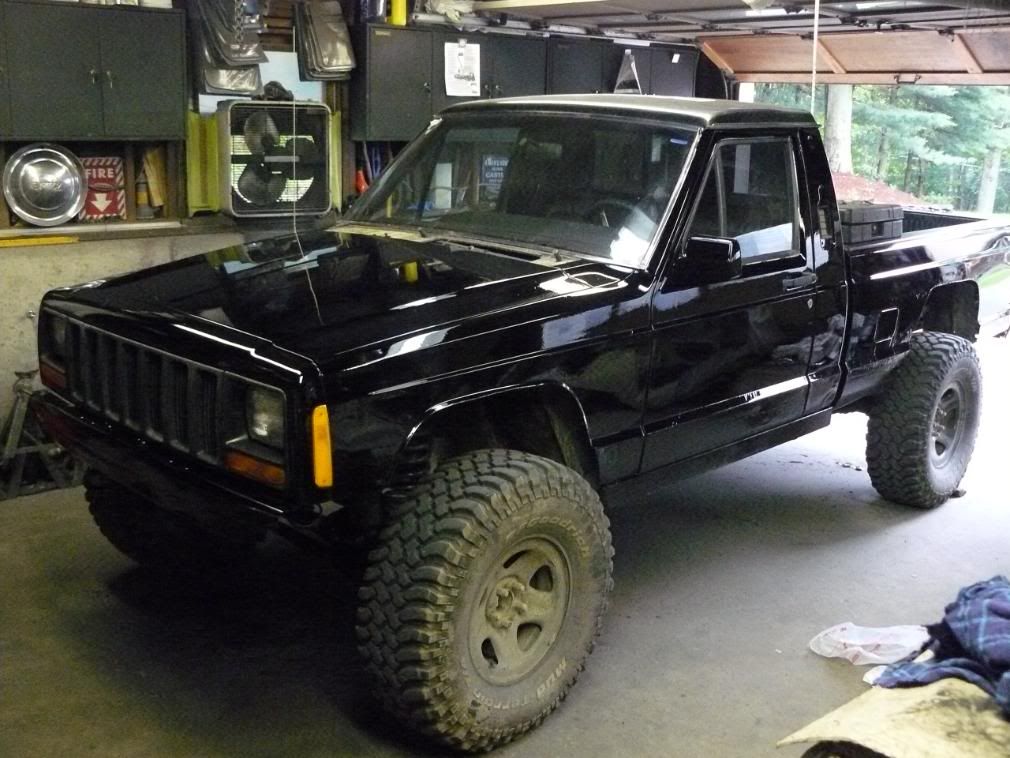
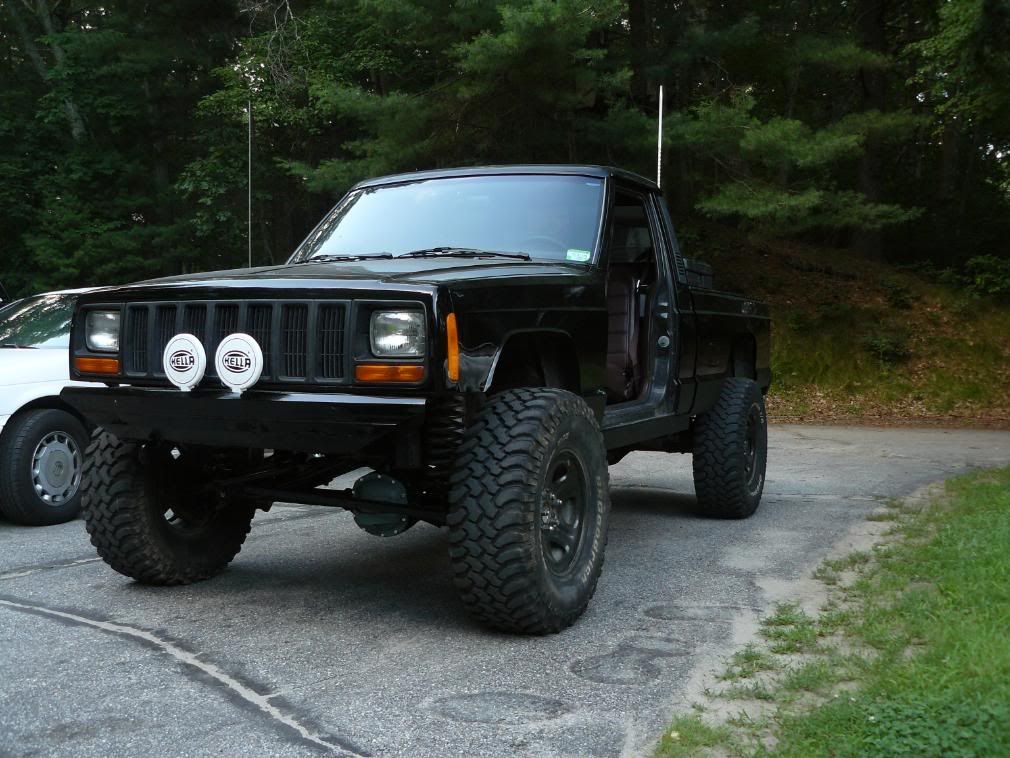
    edit: Here's a before
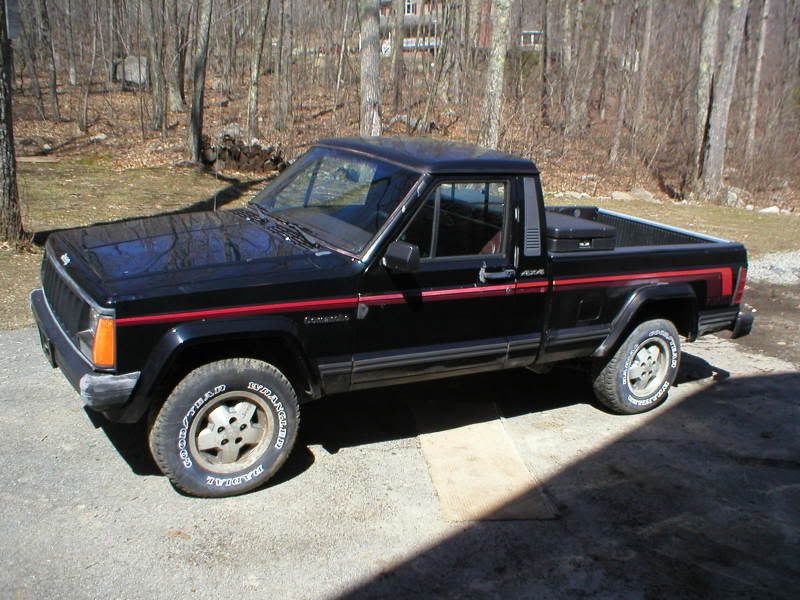
    Last edited by DrThunder; 03-18-2010, 08:26 PM.

  • #2
    more goodies, gears came in today. also got my shocks and RE springs. heres pics of all the goodies.


    check out the size difference between the 30 and 44 gears. does a dana 30 have the same inch size ring gear as a 35? thats pretty unreal how small that is

    Comment


    • #3
      Very beefy. now i gotta finish the other side, about half done. drill holes for j-joints and mount it and weld it to the frame. this setup is way nicer than i originally anticipated and i'm starting to get excited for some results

      in to eat dinner, getting there, next, upper links, track bar, front shock mounts (bottom)
      crappy cell pic


      i have a serious headache from welding in an unventilated garage so i had to stop for the night. i was having a lot of trouble with the welds on the frame. i cleaned it really well with wire brush and grinder but still wasn't having the results i like to see. tomorrow i will find out what was going on and re-weld it.


      pics. it seems my RE coils are growing cause my jeep is a little higher in the front now.


      I think i finished the bumper today. heres some pics, not sure whether or not i should put the shackle mounts on it or not, undecided cause it's really clean looking right now. tell me what you think.

      BEFORE


      AFTER


      Obligatory building shots


      Gears and SOA is done and it's everything i could have hoped. The only things left to do in the near future is to
      -switch out trak lok for detroit or hopefully ox.
      -Finish bumper hooks and paint it nice nice (tuesday)
      -One Ton Steering
      -Rims


      Comment


      • #4
        everything is tucked up real nice and high clearence. very glad to get rid of the shackles, no more big bang after leaving a rock!


        Not sure where I left off with this but since then I've locked the rear end, added hand throttle. That's it. More trimming.

        Now I installed OBA and must say it's one of the best mods yet.
        Things left to do, order a saftey valve for 150psi and thread it in the manifold in place of the plug.

        What I did/needed
        • Sanden Compressor
        • Used a tool lubricator to lubricate the compressor
        • Air Filter
        • Pressure switch ~ $22 turns on at 90, off 125
        • Gauge
        • Fittings
        • Bumper


        I ran the line all the way to the back bumper and have a quick connect in and out of the bumper for ease. Works great and that bumper holds a lot of air! I can run the impact gun with ease with the bumper. Not really much else to say but I like it a lot. Feel free to ask questions. With everything I think it cost about $100 with some freebies.


        Comment


        • #5
          3/8" steel. I raised up the fill plug because rear d44's don't hold much to begin with and with my axle angled up so high it's even worse, held about 1 quart or less. 1 1/3 or so now.

          And the paint, yea. I didn't let it dry before I threw it on so...


          Will be adding more pics soon.


          Have done a bunch of small stuff trying to wrap this bitch up for awhile.

          Added/ made front diff cover
          Added Lock right to front end
          Fixed rear axle pinion angle
          Made a little transfer skid
          Beefed up the control arm mounts on the front axle, not much, just some gussets
          Checked all bearings and swapped out trashed unit bearing
          Added 1500 watt peak 750 watt continuous power inverter to run my friggin toaster at rausch
          Hurculined the lower portion of the jeep and the rear bumper
          Greased everything
          Should get some better pics tomorrow.


          Sorry for the worst pics on earth but you get the idea


          New paint so some new pics.


          And my toaster shelf, or transfer skid, whichever you prefer (sam) either way it keeps the aluminum from getting destroyed and it doesn't stick down at all like a stock transfer skid and it won't bend.

          Comment


          • #6
            Here is an old pic of the frame resto in primer and a picture of the before damages.

            I'll go get some pictures of the bumper now.


            Also just noticed that my temporary trackbar bracket is loose and cracked at the radius where it turns down in stock form. Gonna be building one this saturday. Now I know why there is so much play in the wheel.

            Comment


            • #7
              The plans for this year are to chop the bed first.

              Going to take my springs and flip them around so the shorter end of the leaf is at the back and then tuck the front mount way up into the frame to avoid it hitting rocks and so I can run a much longer shackle in the rear. I plan to cut the bed as much as possible. The shackle will be attached to my rear bumper and my leafs will have lots of travel. The jeep will not sit any higher, more than likely lower (no more than an inch). This also gives me a chance to replace my rounded over spring perches.


              Once summer comes around I will be looking for axles and selling mine as a set.

              Comment


              • #8
                nice truck man. cant wait to see the bed chop.
                "when I'm riding my motorcycle,I'm glad to be alive...when I stop riding my motorcycle,I'm glad to be alive"

                Comment


                • #9
                  Beautiful mj sir, and might I add the fabbing in this build is awesome
                  dirty30

                  Comment


                  • #10
                    Didn't you get soft 8's to run instead of stock wheels with spacers? Either way That truck is awesome...even though your closed cooling system is much worse than an open one.
                    1993 XJ sport 3.5" rustys 33" MTZ's armored.
                    1999 sierra
                    1967 M725 Big and Slow
                    -Dan

                    Comment


                    • #11
                      Goddamn, yours is the only reason I want an MJ.
                      Shane "The Bag" Carlson

                      2.5L TJ, 5-speed, frankenlift, and stuff.
                      My "Bucket" Build
                      MilitaryJeepers.com
                      ‚——P--;===±--= <-
                      !‚–’¯ƒ¹

                      Comment


                      • #12
                        Originally posted by wannabejeep View Post
                        Didn't you get soft 8's to run instead of stock wheels with spacers? Either way That truck is awesome...even though your closed cooling system is much worse than an open one.
                        I HATE YOU I HATE YOU I HATE YOU MORE THAN ANYTHING IN THE WORLDDDDDDDDDDDDDDDDDDD


                        Yes I am running soft 8's now. I didn't go through all of the stuff I wrote about the build and edit so there is probably more things that I've done that aren't listed, like another trackbar bracket I built.

                        Comment


                        • #13
                          I love what you've done Cory... the only thing is you forgot about the pic when you caught yourself on fire...

                          Comment


                          • #14
                            Originally posted by Rico View Post
                            I love what you've done Cory... the only thing is you forgot about the pic when you caught yourself on fire...
                            I forgot about that. I'm not sure what I was doing when that happened but I didn't see it when going through my old build thread.

                            Comment


                            • #15
                              lol it was pretty hilarious reading it

                              Comment

                              Working...
                              X